Options for customizing the editor’s toolbars
Basic toolbar options
toolbar
This option allows you to specify the buttons and the order that they will appear on TinyMCE’s toolbar.
Grouping toolbar buttons
To specify the buttons that should appear on TinyMCE’s toolbar, the toolbar option should be provided with a space separated list of toolbar buttons. To create groups within this list, please add | pipe characters between the groups of buttons that you would like to create.
Type: String
Example grouped toolbar
tinymce.init({
  selector: 'textarea',  // change this value according to your HTML
  toolbar: 'undo redo | styles | bold italic | link image'
});
The size of toolbar groups affects the behavior of the toolbar drawer when the toolbar_mode is set to 'floating' (default value) or 'sliding'. For more information, see: the toolbar_mode option.
|
Adding toolbar group labels
To specify labels to the grouped buttons that appear on TinyMCE’s toolbar, the toolbar option should be provided with an array of objects with name and items as object properties. The name should be a string value that will be set as the title attribute on the div containing the toolbar group. The items should be an array of strings that indicate the buttons that should appear within the particular toolbar group.
Type: Array
Example: adding toolbar group labels
tinymce.init({
  selector: 'textarea',  // change this value according to your HTML
  toolbar: [
    { name: 'history', items: [ 'undo', 'redo' ] },
    { name: 'styles', items: [ 'styles' ] },
    { name: 'formatting', items: [ 'bold', 'italic' ] },
    { name: 'alignment', items: [ 'alignleft', 'aligncenter', 'alignright', 'alignjustify' ] },
    { name: 'indentation', items: [ 'outdent', 'indent' ] }
  ]
});
Disabling the toolbar
To disable the toolbar, the toolbar option should be provided a boolean value of false.
Type: Boolean
Default value: true
Possible values: true, false
Using multiple toolbars
To specify multiple toolbars, the toolbar option should be provided with an array of space separated strings.
Type: Array
Example: adding multiple toolbars
tinymce.init({
  selector: 'textarea',  // change this value according to your HTML
  toolbar: [
    'undo redo | styles | bold italic | link image',
    'alignleft aligncenter alignright'
  ]
});
Alternatively, you may specify multiple toolbars through the use of the toolbar(n) option.
toolbar(n)
This option allows you to specify the buttons and the order that they will appear on instances of multiple toolbars.
Type: String
Example: using toolbar(n)
tinymce.init({
  selector: 'textarea',  // change this value according to your html
  toolbar1: 'undo redo | styles | bold italic | link image',
  toolbar2: 'alignleft aligncenter alignright'
});
Please see the toolbar configuration option for details.
toolbar_groups
The toolbar_groups option creates a toolbar button that displays a collection of other toolbar buttons as a pop-up toolbar. The style of toolbar shown is based on the current toolbar mode. For example, if toolbar_mode is set to floating, the toolbar group pop-up will appear in a floating shelf.
The toolbar_groups feature is only supported when using the floating toolbar mode. If the toolbar_groups option is used with other toolbar modes, the toolbar group button will not be displayed and a warning message will be printed in the console.
|
This option accepts an object, mapping the button name to the group configuration. For details on configuring toolbar groups, see: group toolbar button configuration.
Type: Object
Example: using toolbar_groups
tinymce.init({
  selector: 'textarea',  // change this value according to your HTML
  toolbar: 'formatting | alignleft aligncenter alignright',
  toolbar_groups: {
    formatting: {
      icon: 'bold',
      tooltip: 'Formatting',
      items: 'bold italic underline | superscript subscript'
    }
  }
});
Main editor toolbar behavior
toolbar_mode
The toolbar_mode option is used to extend the toolbar to accommodate the overflowing toolbar buttons. This option is useful for small screens or small editor frames.
When the toolbar_mode is set to 'floating' or 'sliding', the editor will move toolbar buttons to the toolbar drawer based on:
-
The defined toolbar groups.
-
The width of the editor.
For example. If the following toolbar configuration is wider than the editor, the items before the separator (|) will appear in the main toolbar and the rest will be moved to the toolbar drawer.
tinymce.init({
  selector: 'textarea',  // change this value according to your HTML
  toolbar: 'undo redo styles bold italic alignleft aligncenter alignright alignjustify | bullist numlist outdent indent'
});
Two situations to consider when organising the toolbar:
-
When there are two or more toolbar button groups, the main toolbar will show as many complete, sequential toolbar groups as possible within the width of the editor. Any remaining toolbar button groups will be moved to the toolbar drawer.
-
If the first toolbar button group is wider than the editor, the whole toolbar will be shown in the toolbar drawer.
The toolbar modes are not available when using multiple toolbars or the toolbar(n) option.
Type: String
Default value: 'floating'
Possible values: 'floating', 'sliding', 'scrolling', or 'wrap'
| The default value for this option is different for mobile devices. For information on the default mobile option, see: TinyMCE Mobile — Configuration options with mobile defaults. |
Modes
The toolbar mode is specified in the tinymce.init. There are four toolbar modes:
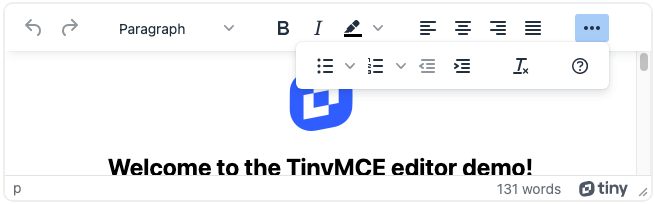
Floating
If the toolbar_mode is configured to floating, the toolbar appears under the toolbar overflow icon in a floating shelf format when the toolbar overflow icon ![]() is clicked.
is clicked.
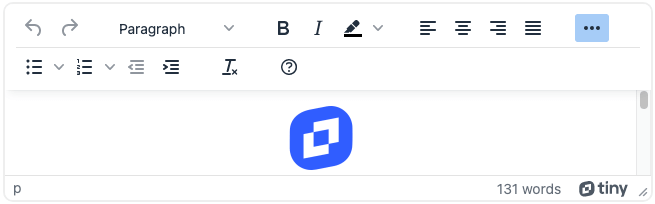
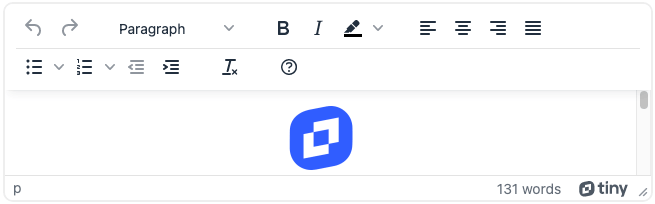
Sliding
If the toolbar_mode is configured to sliding, the toolbar appears as a fixed toolbar under the first toolbar when the toolbar overflow icon ![]() is clicked.
is clicked.
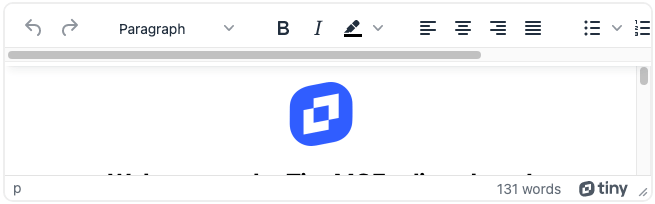
Scrolling
The scrolling toolbar mode is intended for touch screen devices.
If the toolbar_mode is configured to scrolling, the overflow toolbar buttons will remain on the toolbar, but will be hidden from view. To access the overflow toolbar buttons, scroll the toolbar. To scroll the toolbar on a touch screen, use a swiping action. To scroll on a desktop device, hold shift and scroll with a mouse.
A scrollbar will be shown on the toolbar on desktop devices and hybrid devices in desktop mode.
toolbar_location
The toolbar_location option is used to position the toolbar and menubar. The default behavior is to position the toolbar and menu bar above the content area. Setting this option to bottom positions the toolbar and menu bar below the content area. This option works in classic editor (Iframe) mode and inline mode.
Setting this option to auto, positions the toolbar and menu bar either:
-
Above the content area by default.
-
Below the content area if there is not enough space to display the toolbar and menu bar above.
Type: String
Default value: 'auto'
Possible values: 'auto', 'top', 'bottom'
toolbar_sticky
A Sticky Toolbar (or Docking Toolbar), docks the toolbar and the menu to the top of the screen when scrolling down a web page until the editor is no longer visible.
To enable Sticky Toolbars, set toolbar_sticky as true in the tinymce.init script. To disable Sticky Toolbars, set toolbar_sticky as false. Sticky toolbars are always enabled in inline mode and cannot be disabled.
To see a demo of sticky toolbar, see the TinyMCE Sticky Toolbar Demo.
Type: Boolean
Default value: false in classic mode, true in inline mode
Possible values: true, false
| This feature is only supported when TinyMCE is run in classic mode. It is not supported in inline mode. For more information on the differences between the editing modes, see Classic editing mode. |
| The default value for this option is different for mobile devices. For information on the default mobile option, see: TinyMCE Mobile — Configuration options with mobile defaults. |
toolbar_sticky_offset
This option allows the toolbar to stick or dock at the specified offset from the top or bottom of the viewport depending on the toolbar location (toolbar_location). This can be useful when a site has a sticky header navigation bar, allowing the TinyMCE toolbar to "stick" below the site’s navigation bar. This option accepts a height in pixels.
This option requires the toolbar_sticky option be set to true to take effect.
|
Type: Number
Default value: 0
Persistent inline editor toolbar options
toolbar_persist
| This feature is only supported when TinyMCE is run in inline mode. It is not supported in classic mode. For more information on the differences between the editing modes, see Inline editing mode. |
This option disables the automatic show and hide behavior of the toolbar and menu bar for inline editors. Enable this option to always show the toolbar and menu bar, and not hide them whenever focus is lost. Use this option to make the toolbar and menu bar persistent for inline editors.
Type: Boolean
Default value: false
Possible values: true, false
fixed_toolbar_container
| This feature is only supported when TinyMCE is run in inline mode. It is not supported in classic mode. For more information on the differences between the editing modes, see Inline editing mode. |
Use this option to render the inline toolbar into a fixed positioned HTML element. For example, you could fix the toolbar to the top of the browser viewport.
Type: String
fixed_toolbar_container_target
| This feature is only supported when TinyMCE is run in inline mode. It is not supported in classic mode. For more information on the differences between the editing modes, see Inline editing mode. |
Use this option to render the inline toolbar into a fixed-positioned HTML element by passing a HTMLElement directly to the option. This option is similar to the fixed_toolbar_container option, which accepts a CSS selector.
fixed_toolbar_container has precedence over fixed_toolbar_container_target, so in order for fixed_toolbar_container_target to work, do not use the fixed_toolbar_container option.
|
Type: HTMLElement
Contextual (content-specific) toolbars
quickbars_selection_toolbar
The quickbars_selection_toolbar option configures the Quick Selection toolbar provided by the quickbars plugin. To change the buttons on the Quick Selection toolbar, provide a space-separated string of toolbar button names. The Quick Selection toolbar is intended for buttons related to formatting content, but any TinyMCE toolbar buttons or custom toolbar buttons are allowed.
To disable the Quick Selection toolbar, set quickbars_selection_toolbar to false.
Type: String
Default value: 'bold italic | quicklink h2 h3 blockquote'
quickbars_insert_toolbar
The quickbars_insert_toolbar option configures the Quick Insert toolbar provided by the quickbars plugin. To change the buttons on the Quick Insert toolbar, provide a space-separated string of toolbar button names. The Quick Insert toolbar is intended for buttons related to inserting content, but any TinyMCE toolbar buttons or custom toolbar buttons are allowed.
To disable the Quick Insert toolbar, set quickbars_insert_toolbar to false.
Type: String
Default value: 'quickimage quicktable'
quickbars_image_toolbar
The quickbars_image_toolbar option configures the Quick Image toolbar provided by the quickbars plugin. To change the buttons on the Quick Image toolbar, provide a space-separated string of toolbar button names. The Quick Image toolbar is intended for image-related buttons, but any TinyMCE toolbar buttons or custom toolbar buttons are allowed.
To disable the Quick Image toolbar, set quickbars_image_toolbar to false.
Type: String or false
Default value: 'alignleft aligncenter alignright'
Contextual (content-specific) plugin toolbars
editimage_toolbar
The exact selection of buttons that will appear on the contextual toolbar can be controlled via editimage_toolbar option.
Possible values:
-
rotateleft -
rotateright -
flipv -
fliph -
editimage -
imageoptions
Type: String
Default value: 'rotateleft rotateright | flipv fliph | editimage imageoptions'
link_context_toolbar
By default it is not possible to open links directly from the editor. Setting link_context_toolbar to true will enable a context toolbar that will appear when the user’s cursor is within a link. This context toolbar contains fields to modify, remove and open the selected link. External links will be opened in a separate tab, while relative links scroll to a target within the editor (if the target is found).
This context toolbar is the same as the context toolbar mentioned in the Link plugin - link_quicklink documentation.
|
Type: Boolean
Default value: false
Possible values: true, false
table_toolbar
This option allows you to specify the toolbar buttons shown on the contextual toolbar for tables. Provide a space-separated list of toolbar buttons in the order they should be shown. To create groups on the toolbar, use the | pipe character to add a separator between toolbar buttons.
To disable the table toolbar, set the value to an empty string.
Type: String
Default value: 'tableprops tabledelete | tableinsertrowbefore tableinsertrowafter tabledeleterow | tableinsertcolbefore tableinsertcolafter tabledeletecol'
Possible values: Any toolbar button. For a list of predefined toolbar buttons, see: Toolbar Buttons Available for TinyMCE.
Example: default table_toolbar configuration
tinymce.init({
  selector: 'textarea',  // change this value according to your HTML
  plugins: 'table',
  toolbar: 'table',
  table_toolbar: 'tableprops tabledelete | tableinsertrowbefore tableinsertrowafter tabledeleterow | tableinsertcolbefore tableinsertcolafter tabledeletecol'
});