


In our previous article on JavaScript and localStorage, we worked through a simple localStorage example using a textarea for user input.
A basic textarea is going to be enough for your applications in some cases, but at other times your users will want to write more than simple text; and integrating the TinyMCE WYSIWYG rich text editor is super easy to do.
Start with a simple example
We’re going to build on the JavaScript localStorage example from our previous post, starting with a simple index.html file with a single textarea, and two buttons:
<!DOCTYPE html>
<html lang="en">
 <head>
 </head>
 <body>
   <h1>JavaScript localStorage demo</h1>
   <textarea id="myTextarea" rows="10" cols="80"></textarea>
   <p></p>
   <button onclick="mySave()">Save</button>
   <button onclick="myLoad()">Load</button>
   <script>
     function mySave() {
       var myContent = document.getElementById("myTextarea").value;
       localStorage.setItem("myContent", myContent);
     }
     function myLoad() {
       var myContent = localStorage.getItem("myContent");
       document.getElementById("myTextarea").value = myContent;
     }
   </script>
 </body>
</html>You might like to test this page in a browser before proceeding to the next step.
Add the editor
Continuing with the previous example, include the following code in the head section <head>...</head> of your HTML. This will add the TinyMCE editor to your page, effectively replacing the textarea identified by selector in the configuration options.
<script src='https://cdn.tiny.cloud/1/no-api-key/tinymce/6/tinymce.min.js' referrerpolicy="origin"></script>
<script>
  tinymce.init({
    selector: '#myTextarea',
    height: 400,
    plugins: 'lists, link, image, media',
    toolbar: 'h1 h2 bold italic strikethrough blockquote bullist numlist forecolor backcolor | link image media | removeformat help',
    menubar: false
  });
</script>Replace no-api-key with your own Tiny API Key. If you don’t already have one, you can get a free API Key directly from Tiny now.
NOTE: If you open the file in your browser at this point, you may still see a warning message even once you’ve included your own API Key. To remove it you’ll need to:
- Host the file on a server (localhost is fine).
- Register your domain against the API Key in the Tiny account dashboard (unless you’re running it on localhost — localhost is already registered by default). There might be a short delay while the update propagates across our global CDN.
In our example, we’ve provided some additional config to customize the plugins and options available on the toolbar. There’s a huge range of core and premium features that can be added (or removed) as needed. (You get a 14 day trial of the premium plugins when you get the API Key.)
Link the buttons
Although the editor is now on the page, and you can enter text and format it with all the options, the Save and Load buttons will no longer work. So we just need to make a few extra tweaks to get them working again.
First, we’ll tweak the mySave() function. Instead of getting the value from the textarea, we’ll make use of the getContent() function, from the extensive TinyMCE API, to access the editor contents. So we’ll modify the function as follows. Note that you can refer to the editor by the id of the element that it replaced, in this case myTextarea.
function mySave() {
  var myContent = tinymce.get("myTextarea").getContent();
  localStorage.setItem("myContent", myContent);
}
Modify the myLoad() function in a similar way, using the TinyMCE setContent() function.
function myLoad() {
  var myContent = localStorage.getItem("myContent");
  tinymce.get("myTextarea").setContent(myContent);
}
Test it
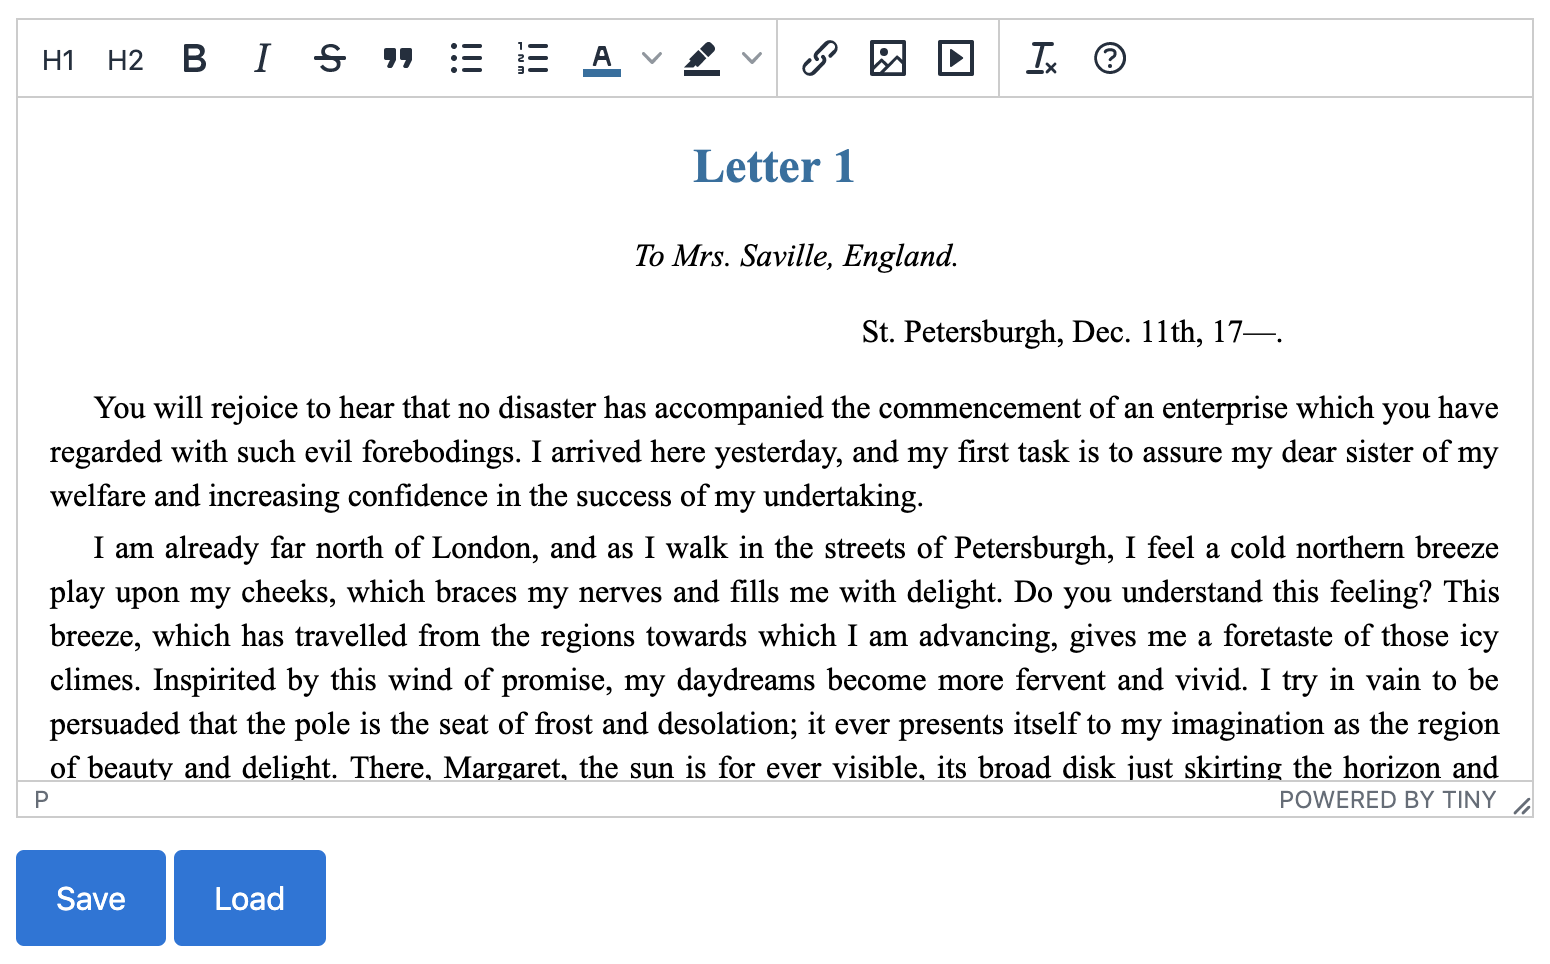
Open the file, type some text in the editor, and click Save. (Again, like in the previous blog post, I pasted in a bit of prose from Frankenstein in the image above.) Then refresh the page, click Load, and the saved content will appear.
Do we really need the load button?
In practice, instead of a load button, we would often want our saved content to be loaded automatically.
We’ll do this by adding the setup option to the TinyMCE initialization script, defining a callback that will be executed before the TinyMCE editor instance is rendered. In this case, on initialization we want to set the content based on what is in localStorage.
<script>
  tinymce.init({
    selector: '#myTextarea',
    height: 400,
    plugins: 'lists, link, image, media',
    toolbar: 'h1 h2 bold italic strikethrough blockquote bullist numlist forecolor backcolor | link image media | removeformat help',
    menubar: false,
    setup: function (editor) {
      editor.on('init', function (e) {
        editor.setContent(localStorage.getItem("myContent"));
      });
    }
  });
</script>You can also delete the myLoad() function and the Load button since they’re no longer being used.
Now, open the file in your browser, type some text in the editor, and click Save. Then refresh the page and the saved content will be populated in the editor automatically from localStorage.
What’s next?
TinyMCE actually uses localStorage for a similar feature - the Autosave plugin! It also has a few extra features, like automatically saving every 30 seconds, and blocking navigation away from the editor. Check out the Autosave plugin documentation for more details.
This is only the tip of the iceberg when it comes to JavaScript and rich text editing. Read more of our related content:
- Integrate TinyMCE with React, Angular, Vue, and more
- Automatically remove unwanted CSS in pasted content with PowerPaste
- Go mobile and switch to dark mode
If you’d like to know more about Tiny, follow us on Twitter or send us a message. You can also reach out to me on Twitter directly.


