


For the last ten years, the beloved dark mode has made a massive resurgence in UX/UI across the globe. It’s not just developers who are keen to see light text on a dark background. More and more people want to flick the switch on their devices and go dark in their apps, including their rich text editors.
In this guide, we’ll walk through how to enable dark mode in TinyMCE, so you can enable your users to stay in your apps for longer and have a better UI experience. It’s quick and easy to implement.
Step-by-step guide to setting up TinyMCE dark mode
If you’d like to check out TinyMCE dark mode for yourself, follow these steps to get a demo up and running in a few minutes.
Step one: Set up index.html
To set up this file, you will:
- Create an HTML file called index.html
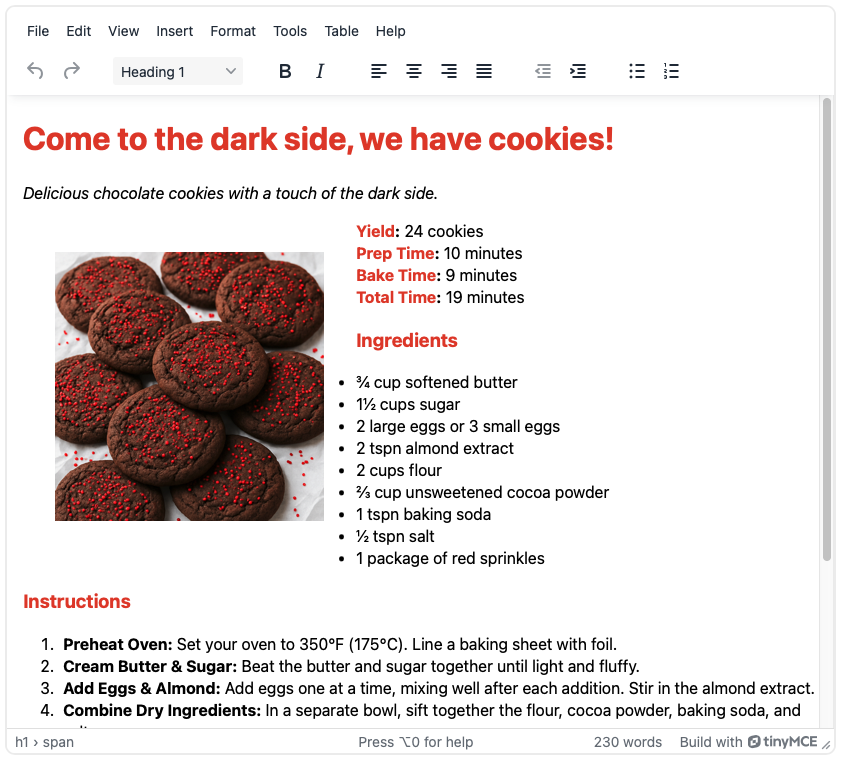
- Copy and paste this TinyMCE configuration for a basic RTE with some fun content (A recipe for chocolate cookies!) that we can launch locally:
<!DOCTYPE html>
<html lang="en">
<head>
<title>TinyMCE Dark Mode Demo</title>
<!-- Replace 'no-api-key' in the link below with your API key -->
<script src="https://cdn.tiny.cloud/1/no-api-key/tinymce/8/tinymce.min.js"
referrerpolicy="origin"></script>
<script>
tinymce.init({
selector: '#editor',
plugins: 'lists link image table code help wordcount',
toolbar: 'undo redo | blocks | bold italic | alignleft aligncenter alignright alignjustify | outdent indent | bullist numlist'
});
</script>
</head>
<body>
<textarea id="editor"><h1><span style="color: #e03e2d;">Come to the dark side, we have cookies!</span></h1>
<p><em>Delicious chocolate cookies with a touch of the dark side. </em></p>
<p><em><img style="float: left; padding: 2em;" src="https://i.imgur.com/r78DILR.png" alt="A picture of chocolate cookies with red sprinkles" width="269" height="269"></em></p>
<p><strong><span style="color: #e03e2d;">Yield</span>:</strong> 24 cookies<br><strong><span style="color: #e03e2d;">Prep Time</span>:</strong> 10 minutes<br><strong><span style="color: #e03e2d;">Bake Time</span>:</strong> 9 minutes<br><strong><span style="color: #e03e2d;">Total Time</span>:</strong> 19 minutes</p>
<h3><span style="color: #e03e2d;">Ingredients</span></h3>
<ul>
<li>¾ cup softened butter</li>
<li>1½ cups sugar</li>
<li>2 large eggs or 3 small eggs</li>
<li>2 tspn almond extract</li>
<li>2 cups flour</li>
<li>⅔ cup unsweetened cocoa powder</li>
<li>1 tspn baking soda</li>
<li>½ tspn salt</li>
<li>1 package of red sprinkles</li>
</ul>
<h3><span style="color: #e03e2d;">Instructions</span></h3>
<ol>
<li><strong>Preheat Oven:</strong> Set your oven to 350°F (175°C). Line a baking sheet with foil.</li>
<li><strong>Cream Butter & Sugar:</strong> Beat the butter and sugar together until light and fluffy.</li>
<li><strong>Add Eggs & Almond:</strong> Add eggs one at a time, mixing well after each addition. Stir in the almond extract.</li>
<li><strong>Combine Dry Ingredients:</strong> In a separate bowl, sift together the flour, cocoa powder, baking soda, and salt.</li>
<li><strong>Mix Dough:</strong> Sdd the dry ingredients to the butter mixture a little at a time, mixing until combined.</li>
<li><strong>Scoop Dough:</strong> Drop rounded balls of dough onto the prepared baking sheet, spacing them about 2 inches apart.</li>
<li><strong>Bake:</strong> Bake for ~9 minutes, or until the edges are set and the tops appear just set.</li>
<li><strong>Add Toppings:</strong> Right after removing from the oven, sprinkle cookies with red sprinkles.</li>
<li><strong>Cool:</strong> Allow cookies to cool on the baking sheet for a few minutes before transferring them to a wire rack to cool completely.</li>
</ol>
<p> </p></textarea>
</body>
</html>💡 Note: Don’t forget to replace ‘no-api-key’ with a valid key from TinyMCE. If you don’t already have one, you can get a free TinyMCE API key for 14 days.
Step two: Test the TinyMCE setup
To see how this configuration works inside TinyMCE, you’ll need to use http-server. Here’s a quick way to set it up if you don’t already have it installed:
- Install Node.js from nodejs.org
- Install http-server by running:
npm install -g http-serverTo start the demo and run TinyMCE locally, you’ll navigate to your project folder in Terminal and run these two commands:
npm i
http-serverGo to http://localhost:8080/ to see the app. Now we’ll be able to enable dark mode in TinyMCE in the next step. 🎉
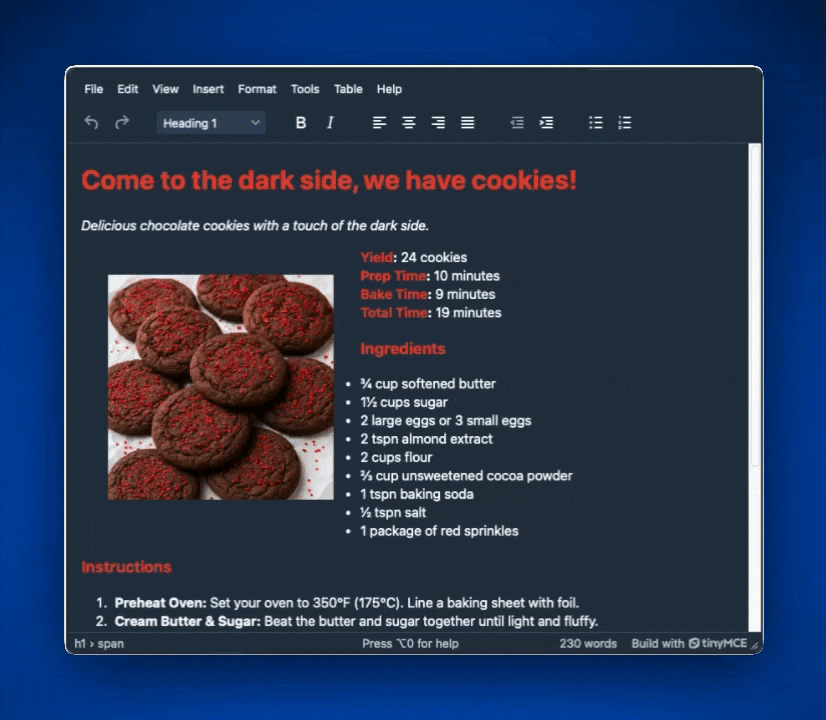
Step three: Enable dark mode in TinyMCE with content_css and skin
Now that we have a basic RTE running locally, we can enable the dark mode feature. It’s quick and easy to do.
There are two configurations to add and alter in TinyMCE to create dark mode:
content_css: This configuration option requires a path to a CSS file or files or the name of a TinyMCE CSS skin. TinyMCE ships with six default CSS skins, and one of them isdark. Read more aboutcontent_cssand its parameters in the TinyMCE documentation.- ⚠️ Note: This setting only controls the content CSS, exactly as it says. It doesn’t change the look of TinyMCE.
skin: This is a configuration option that requires the name of a skin or a path to a custom skin file in your project. There are premium skins available for TinyMCE, but for now it’s good to just know that there are two TinyMCE skins anyone can use. The default skin for TinyMCE is called “oxide”, but it can be set to “oxide-dark” instead. We’ll talk more about custom skin creation later in this guide.
Let’s add a basic dark mode to TinyMCE by adding content_css and skin to our demo configuration:
tinymce.init({
  selector: "#editor",
  plugins: "lists link image table code help wordcount",
  toolbar:
    "undo redo | blocks | bold italic | alignleft aligncenter alignright alignjustify | outdent indent",
  content_css: "dark",
  skin: "oxide-dark",
});
Save index.html and refresh your localhost page in the browser to see TinyMCE in dark mode 🎉
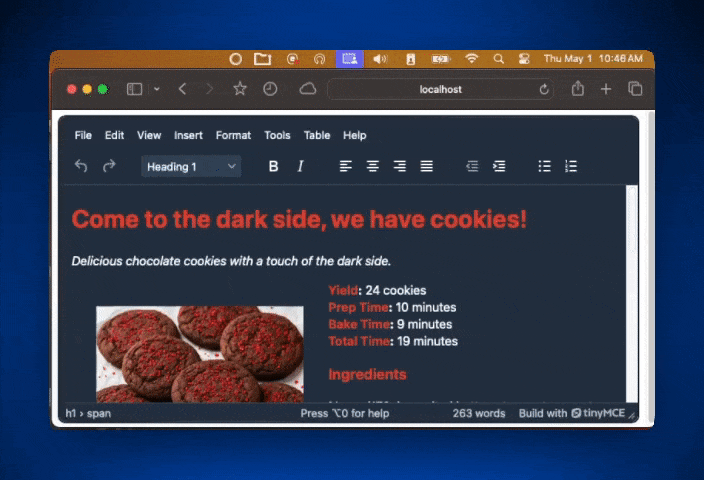
How to enable dark and light mode detection in TinyMCE
It’s possible to let TinyMCE detect whether your users want dark or light mode depending on their OS settings and then adjust the RTE’s UI to match.
To do this, you’ll replace the values in skin and content_css each with a CSS media query. This query checks to see if the user has dark mode turned on and then adjusts TinyMCE’s skin to align.
If the user doesn’t have dark mode turned on in their operating system, TinyMCE defaults to the original light UI.
tinymce.init({
  selector: "#editor",
  plugins: "lists link image table code help wordcount",
  toolbar:
    "undo redo | blocks | bold italic | alignleft aligncenter alignright alignjustify | outdent indent",
  skin: window.matchMedia("(prefers-color-scheme: dark)").matches
    ? "oxide-dark"
    : "oxide",
  content_css: window.matchMedia("(prefers-color-scheme: dark)").matches
    ? "dark"
    : "default",
});
Once you’ve changed your TinyMCE configuration in index.html to reflect the above code, you can refresh your demo in the browser, and it will be capable of detecting the device’s display mode.
Advanced customization: Create a custom TinyMCE skin for a personalized experience
The TinyMCE UI skins come from the Oxide theme, written in a CSS preprocessor called Less that runs through the TinyMCE Style API. Specifically, TinyMCE skin files use Less variables to access ~300 variables that apply various CSS styles to the rich text editor.
To customize TinyMCE dark mode for a personalized experience, there are a few prerequisites:
- Familiarity with the command line and basic commands
- Yarn is installed
- A little familiarity with Yarn and Node
- A basic understanding of Less and Less variables
If you’re comfortable diving in, follow the documentation on how to create a custom TinyMCE skin. It’s important to note that you’ll be copying and adjusting the default Oxide skin to create your custom TinyMCE skin. We recommend that developers not modify or override CSS rules directly.
Enhanced skins and icons pack
Many development teams need access to more skins and icons for quick customization but don’t have time for the hassle of developing a custom skin. We’ve built the Enhanced Skins & Icon Packs feature for teams who want to customize their rich text editor in a flash. We have skins that match numerous popular design systems, like Bootstrap, Material Design from Google, and Fabric from Microsoft Office.

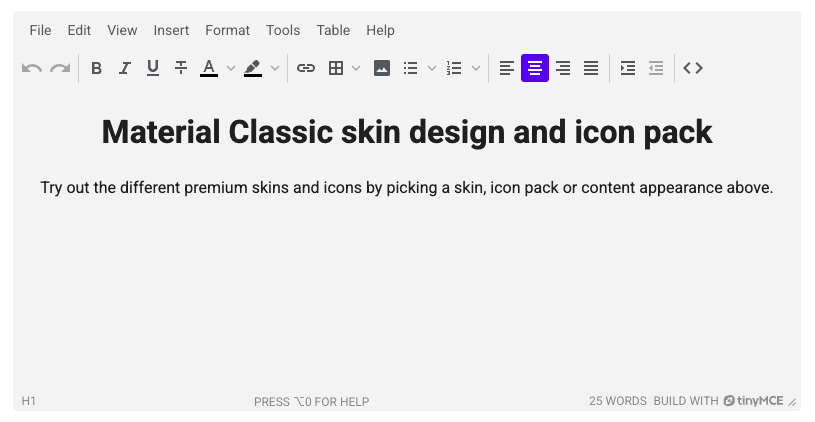
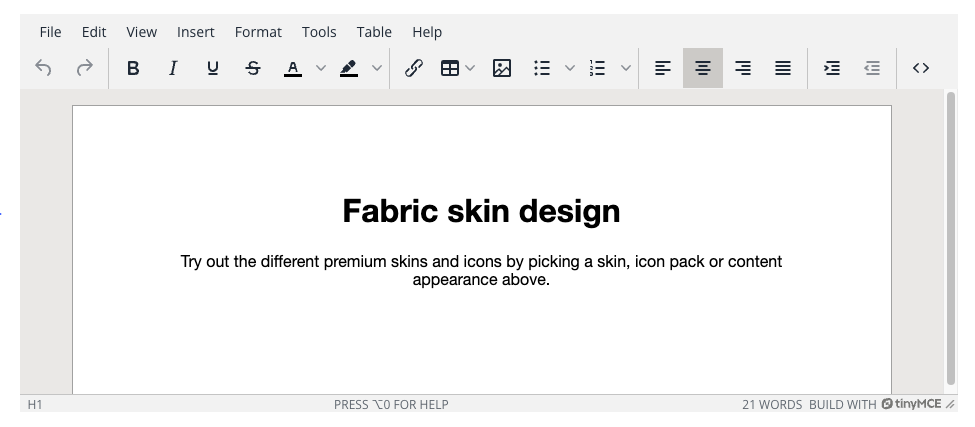
This feature includes many different TinyMCE skins to choose from. They all have familiar UIs that fit right into document management systems, learning management systems, content management systems, and different design systems. Try the Enhanced Skins & Icons Packs demo out for yourself with your TinyMCE API key.
Wrap up: Best practices for using dark mode in rich text editors
Enabling dark mode in TinyMCE isn’t just a nod to user preference. It’s a thoughtful step toward building more intuitive, inclusive interfaces that meet users where they are. Whether they’re coding late into the night, drafting content in a quiet library, or navigating vision challenges, dark mode ensures they have a comfortable experience in your app.
Here are a few quick best practices to keep in mind when it comes to adding dark mode to any UI:
- Don’t skip accessibility: Make sure your color contrast meets WCAG 2.1 standards. Low-contrast text might look sleek, but it can become unreadable for users with visual impairments or screen fatigue.
- Use media queries for responsiveness: Let your app auto-detect light or dark preferences with prefers-color-scheme, like we set up during our guide today. It’s a simple touch that adds to the user experience.
- Test across browsers and devices: Visual consistency is key. Test how your dark mode implementation looks in Chrome, Firefox, and Safari at a minimum to make sure it’s a high-quality experience no matter where your users visit your app.
At the end of the day, adding dark mode to TinyMCE is only a few lines of code. Yet the result is a smoother, more thoughtful UI that respects the ways different people use technology. So go ahead and flip the switch, go dark, and give your users an editor that works beautifully at any hour, on any operating system.


