


When using TinyMCE in your project built with Angular, you want a fast and reliable way to integrate it with your existing codebase. The Official TinyMCE Angular WYSIWYG editor component brings TinyMCE into the Angular world.
Creating a simple Angular project
We're going to start by setting up a simple Angular project with the Angular CLI. By using the CLI to set up the boilerplate, we'll be able to quickly dive into what we're all here for, namely tinymce-angular! If you already have the CLI and a project set up, you can jump directly to the next section to install the TinyMCE Angular component.
# If you use npm
$ npm install -g @angular/cli# If you use Yarn
$ yarn add -g @angular/cliAfter installing the CLI, you can generate a new project by running the following command.
$ ng new tinymce-angular-demoNext, the CLI will ask us a few questions about the kind of project we want to create. In this guide, we're going to keep it as simple as possible.
$ Would you like to add Angular routing? No
$ Which stylesheet format would you like to use? CSSThe CLI will scaffold our new project and automatically install all the dependencies it requires. When it has finished, we can enter the newly-created directory, fire up the application, and open up it in a browser at the address displayed on the command line (the default is localhost:4200).
$ cd tinymce-angular-demo
$ npm run startInstalling the TinyMCE Angular component
Next, we'll need to install the tinymce-angular component with our package manager of choice.
# If you use npm
$ npm install @tinymce/tinymce-angular# If you use Yarn
$ yarn add @tinymce/tinymce-angularThe tinymce-angular component is a wrapper around TinyMCE and thus requires TinyMCE to be able to do its work. By default, the component will load TinyMCE from Tiny Cloud. This is the simplest and quickest way to get going. The only thing you'll need for this is a free API Key from the Tiny website. The alternative is to self-host TinyMCE and make it available together with the assets it requires.
Importing EditorModule
Before we can use it, we have to import EditorModule from the tinymce-angular package and add it to the imports array of our project's main module. In our project, generated by the Angular CLI, this is called AppModule, and it's defined in src/app/app.module.ts.
/* ... */
import { EditorModule } from "@tinymce/tinymce-angular";

@NgModule({
  /* ... */ imports: [BrowserModule, EditorModule] /* ... */,
})
export class AppModule {}
app.module.ts
Now that EditorModule has been imported, we can add it to our project, together with the configuration we wish to have.
Adding TinyMCE to our project
The template generated by the Angular CLI, app.component.html, contains some markdown. Exactly what it contains is of no importance to us here since we're going to delete all of it and insert only the markdown needed for our editor.
<editor
apiKey="Get your free API key and paste it here"
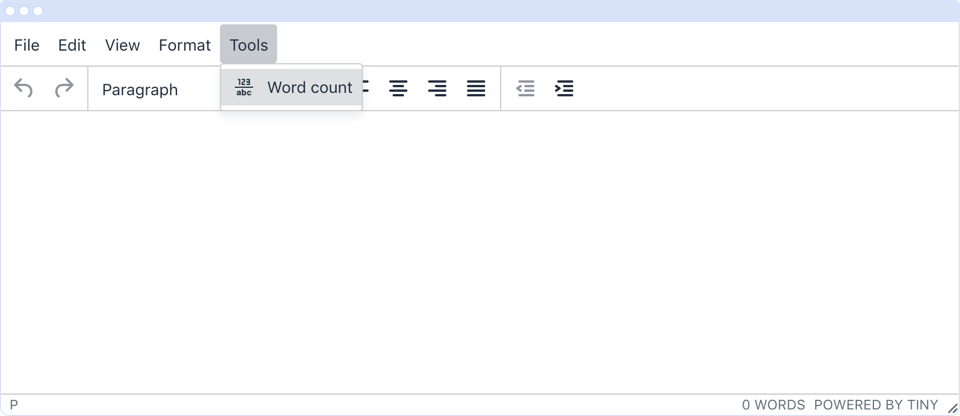
plugins="wordcount"
></editor>app.component.html
Get your free API Key (including a free trial of our premium plugins).
Here we've added the Word Count plugin as an example, but there are many more Tiny plugins you can choose from to enhance the editor. To find out more about the configuration options available, check out the documentation.
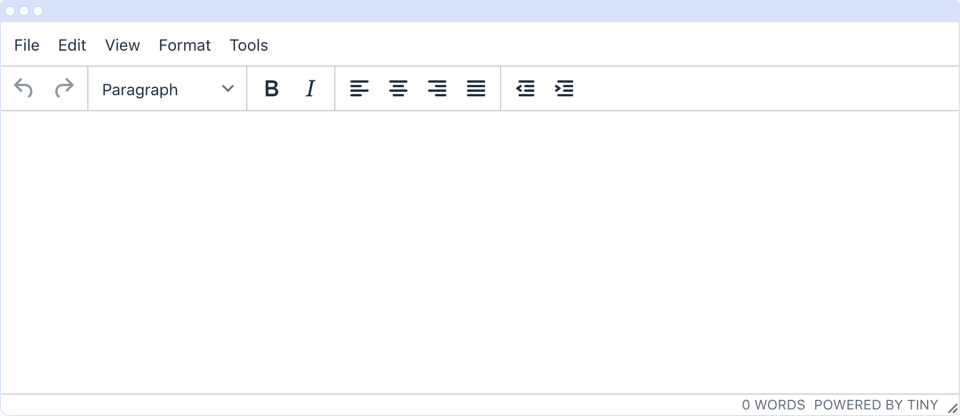
On saving the file, TinyMCE will appear in your app. (You might have to refresh your browser.)
Wrapping up
We now have TinyMCE running in a simple Angular project.
Build on this example with our step by step guide on how to create an Angular reactive form with a rich text editor, together with the popular Angular Material component library.
Also check out the extensive range of TinyMCE plugins that are helping other developers create the best content creation experience for their users.


