


Every year, the unicode consortium meets to approve new emoji. If emoji hadn’t become such an essential part of communication, these annual meetings wouldn’t be needed. But they are. And that means that it’s not a wise decision to leave emoji out of software and application design, just to save time and energy.
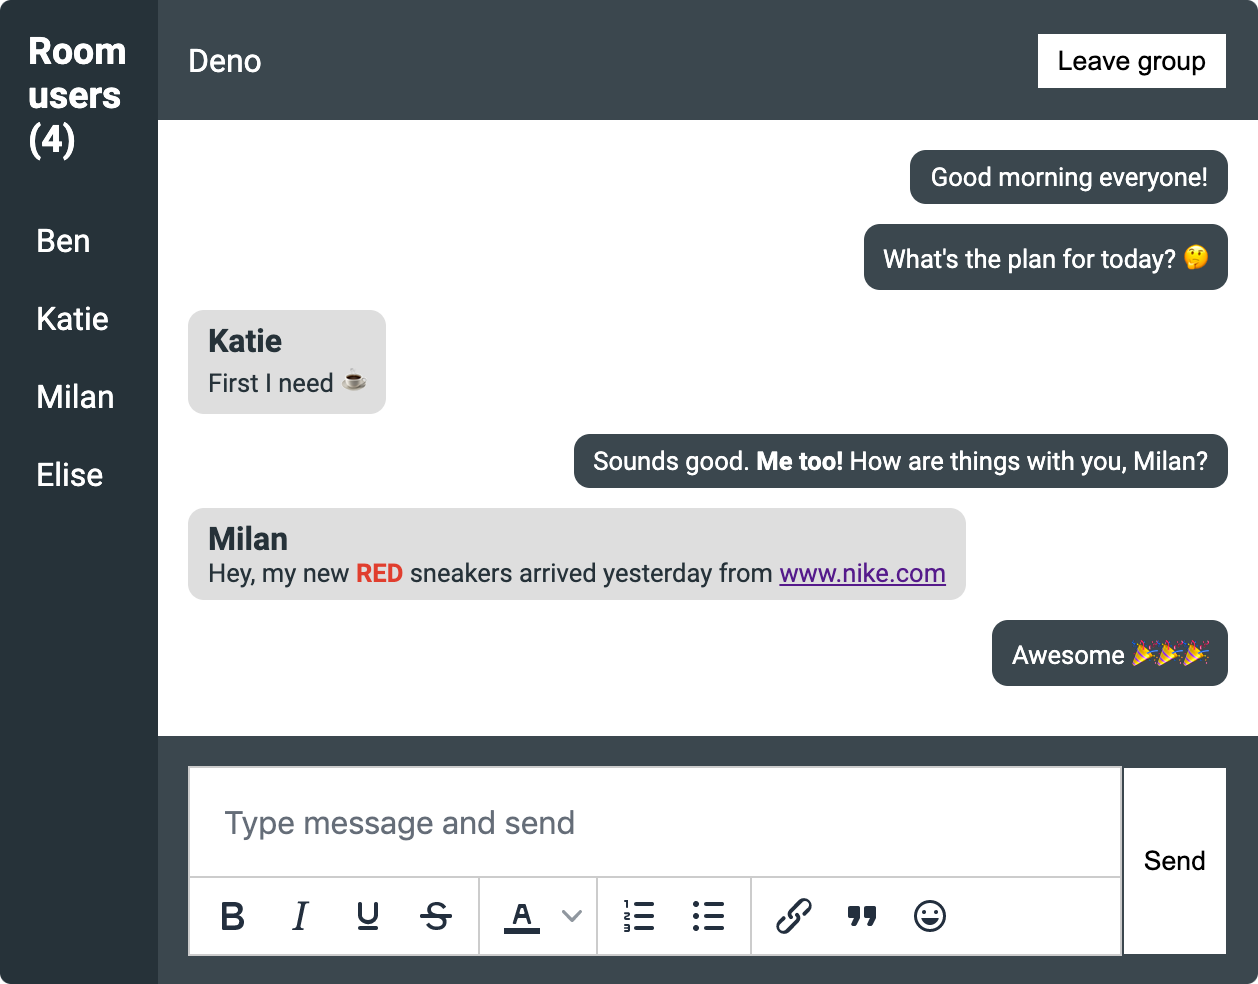
A decision to exclude emoji from your application design is a decision to take away an extra dimension of self-expression. The kind of expression that would be difficult to do with text only 😜.
Here’s the good news though: if you’re using a rich text editor in your application, you have access to an emoji library with only a small amount of configuration. Adding an emoji picker is possible with the open source rich text editor TinyMCE, for example, where the emoji picker integrates with the editor as a plugin that you can switch on or off as needed. TinyMCE also easily integrates with JavaScript and popular frameworks like React, Angular, Vue, Bootstrap, jQuery, and Rails.
This article explains the steps needed to add an emoji picker to a textarea using TinyMCE. It takes you from the initial editor set up, to integration into frameworks, and configuring the plugin for emoji library access.
How to configure a text editor with emoji support
Emoji picker prerequisites
All you need to get started is:
- A working knowledge of JavaScript
- A working knowledge of HTML
- A TinyMCE API key, which gives you 14 days FREE access to TinyMCE Premium plugins.
Including your TinyMCE API key in your application removes any warning errors about domain names. And you can sign up for an API key using Google or GitHub accounts if needed.
Configuring the emoji picker for your text editor
The following example starts with sample HTML content. Create an index.html file, and add this to it form a single textarea:
<!DOCTYPE html>
<html lang="en">
  <head>
    <meta charset="utf-8">
    <meta name="viewport" content="width=device-width, initial-scale=1">
  </head>
  <body>
  <h1>Emoji picker example</h1>
    <form method="post">
      <textarea id="mytextarea">ASCII art is great, but...</textarea>
    </form>
  </body>
</html>1. Add the TinyMCE script
You can get a free API key now (it includes a 14-day trial of our premium plugins). Once you have the key, add the following script tag containing the TinyMCE CDN link to your HTML file. Add your TinyMCE API key in place of the “no-api-key” string:
<script src="https://cdn.tiny.cloud/1/no-api-key/tinymce/6/tinymce.min.js" referrerpolicy="origin"></script>2. Initialize TinyMCE on the textarea
Initialize TinyMCE on the textarea by adding the following code to the <head> of your HTML. The selector option is a CSS selector. In this case, it’s an id. Assign the same id to a textarea tag in the HTML body, and it will transform into the TinyMCE rich text editor.
<script>
  tinymce.init({
    selector: "#mytextarea",
    plugins: "emoticons",
    toolbar: "emoticons",
    toolbar_location: "bottom",
    menubar: false
  });
</script>The plugins and toolbar options indicate which plugins to load and which options should be available on the toolbar: this configuration adds the emoticon plugin alongside several other plugins for essential TinyMCE functionality.
This configuration also sets the location of the toolbar to the bottom of the frame and removes the TinyMCE menubar.
That’s all there is to it! In place of the regular textarea, you now have a WYSIWYG component with an emoji picker.
Enabling the emoji keyboard
To open the emoji keyboard dialog, start by typing the “:” character, and then the name of the emoji (“smile” for example). You can then navigate the dialog that opens with arrow keys and the return key to select the emoji you need.
Adding the emoji selector to React and other popular frameworks
TinyMCE is easily integrated with your favorite frameworks (React, Angular, Vue, and Bootstrap). Check out these detailed guides to some of the most popular integrations, including adding an emoji picker:
- Add a rich text editor to a simple Vue project
- How to add an Emoji Picker to your Angular App
- React Emoji Picker: Add emoticons to your text fields in just two steps
- Enhance Bootstrap forms with WYSIWYG editing
- Enhance React forms with a rich text editor
- Create an Angular reactive form with a rich text editor
Customizing the emoji picker
What happens when the The Unicode Consortium approves new emoji? They slowly become available in the major emoji libraries.
For example, in 2020, 117 new emojis were introduced. And while the consortium may limit the number of emoji added to the library each year, that’s no reason to stop adding or customizing what’s available, when building communication components in your app.
However, emoji don’t always make it into every emoji picker as soon as they get approval. Fortunately, you can add custom emojis to TinyMCE with a little extra configuration. You can also restrict the emoji set, if needed. Check out the comprehensive guide to the emoticon plugin for more information.
Get Your Free TinyMCE API Key →
Solving emoji picker problems
Emoji not displaying on front end
You may find that within your AngularJS app, while the emoji library configuration is correct, that emoji still won’t appear on the front end of the application. The emoji content added to the text area may reference the emoji with the correct URL, but the emoji itself won’t appear on the front end.
To solve this, confirm if you have the TinyMCE relative URL option configured and set to true, or do not have it configured, try setting the option to false:
tinymce.init({
  selector: "mytextarea",
  relative_urls: true,
  document_base_url: "http://www.example.com/path1/",
});
Setting the option to false prevents TinyMCE from handling relative URLs, and can offer a solution by forcing absolute pathways to images.
Could not load emoticons error
When working within a React application, if you receive an error that states “could not load emoticons” this means that editor init (tinymce.init) has an issue that isn’t loading, and then as a result it’s preventing the emoticons plugin from loading. Check on the tinymce.init script to make sure there are no loading errors.
Working with the WYSIWYG editor
Now that you’ve replaced the textarea with our WYSIWYG editor, you’ll probably want to know more about how to configure it to get the most out of it. Firstly, you may want to know how to set its dimensions and how to access its content.
Setting the editor dimensions
Dimensions can be set in the initialization script; for example:
<script>
  tinymce.init({
    /* … */
    height: 450,
    width: 450
  });
</script>Getting text from the editor
Retrieve the contents of the editor using getContent(); for example:
tinymce.get("mytextarea").getContent();
Because TinyMCE is an HTML editor, the content is retrieved as HTML by default; however, you can get it as text only with:
tinymce.get("mytextarea").getContent({ format: "text" });
Find out more information about TinyMCE in the Tiny docs, including how to set content and get content. We've also written an article on how to get content and set content in TinyMCE.
Why limit your user options to emojis?
TinyMCE is highly flexible and can fit almost any use case where you require text entry in your apps; for instance, recently, we customized TinyMCE with several user options and integrated it with a real-time chat app.
What next?
Now that you have an emoji picker in your applications, adding more of the functionality provided by TinyMCE is as easy as adding a couple of lines of code. See the full list of core and premium plugins available, and our related article on how to customize the TinyMCE toolbar.


