


Control over how your web application looks is essential. If you’re struggling, or fighting your way through an adversarial set of commands and HTML configurations just to get your rich text editor to look right... know that it doesn’t have to be that way.
When developing with TinyMCE, you can take control of how your toolbar looks, and customize it for your needs by adjusting a list of plugins.
How to take control of the Toolbar
The most direct way is to switch off the Toolbar by setting the toolbar: false function. The toolbar is now gone, and you don’t have to think about it anymore.
However, if your goal is designing something specific with your toolbar, you first need to change your rich text editor HTML from the false to true, and type in quotation marks (to make a string). Now you have an empty list waiting for you to select and include toolbar plugins.
For instance:
1) Add the “core” plugin “newdocument” into your string
2) Switch off the menubar. Your rich text editor HTML should look like this:
tinymce.init({
        selector: "textarea",
        plugins: [
            "<different plugins you want to use go here>"
        ],
        menubar: false,
toolbar: "newdocument”3) Load your application to see how it looks in a browser
These two methods are the most direct and expedient ways to take control of your TinyMCE toolbar.
The next step from here – and it’s a vital one – is to plan your toolbar design. To do that, we recommend taking a look at the core plugin list (if you haven’t already). Then, take some time to plan and write down what to put in your toolbar to make your build easier.
There are also some more tips here on Blueprint about adapting the toolbar for your design needs. But If you haven’t already done so, first look at the core plugins on offer.
What are the TinyMCE core toolbar plugins?
We provide 37 individual plugins. There is some overlap, for example the formatselect core plugin contains the h1, h2, h3, h4, h5, and h6 core plugins inside it. Some of them create dropdown lists, and some are tools you can click on to transform text.
Why provide core rich text editor toolbar plugins?
Think of it this way: in hardware, Moore’s law says hardware storage capacity for computers doubles every 18 months. In rich text editor interface design, change happens slowly and irregularly.
Rich Text Editor toolbars and menus have remained unvaryingly similar since the mid-1970s, when Word Processor and GUI tools were established.
Because users expect to see similar tools across different applications, the TinyMCE toolbar conforms to the current toolbar standards seen across word processors and text entry spaces found everywhere online.
So, in short, we provide a set of core toolbar plugins because it’s what application users expect to see.
What do some of the core plugins look like?
Here’s some example rich text editor HTML, with three core plugins configured:
toolbar: "newdocument formatselect fontselect fontsizeselect";
And this results in the following toolbar:
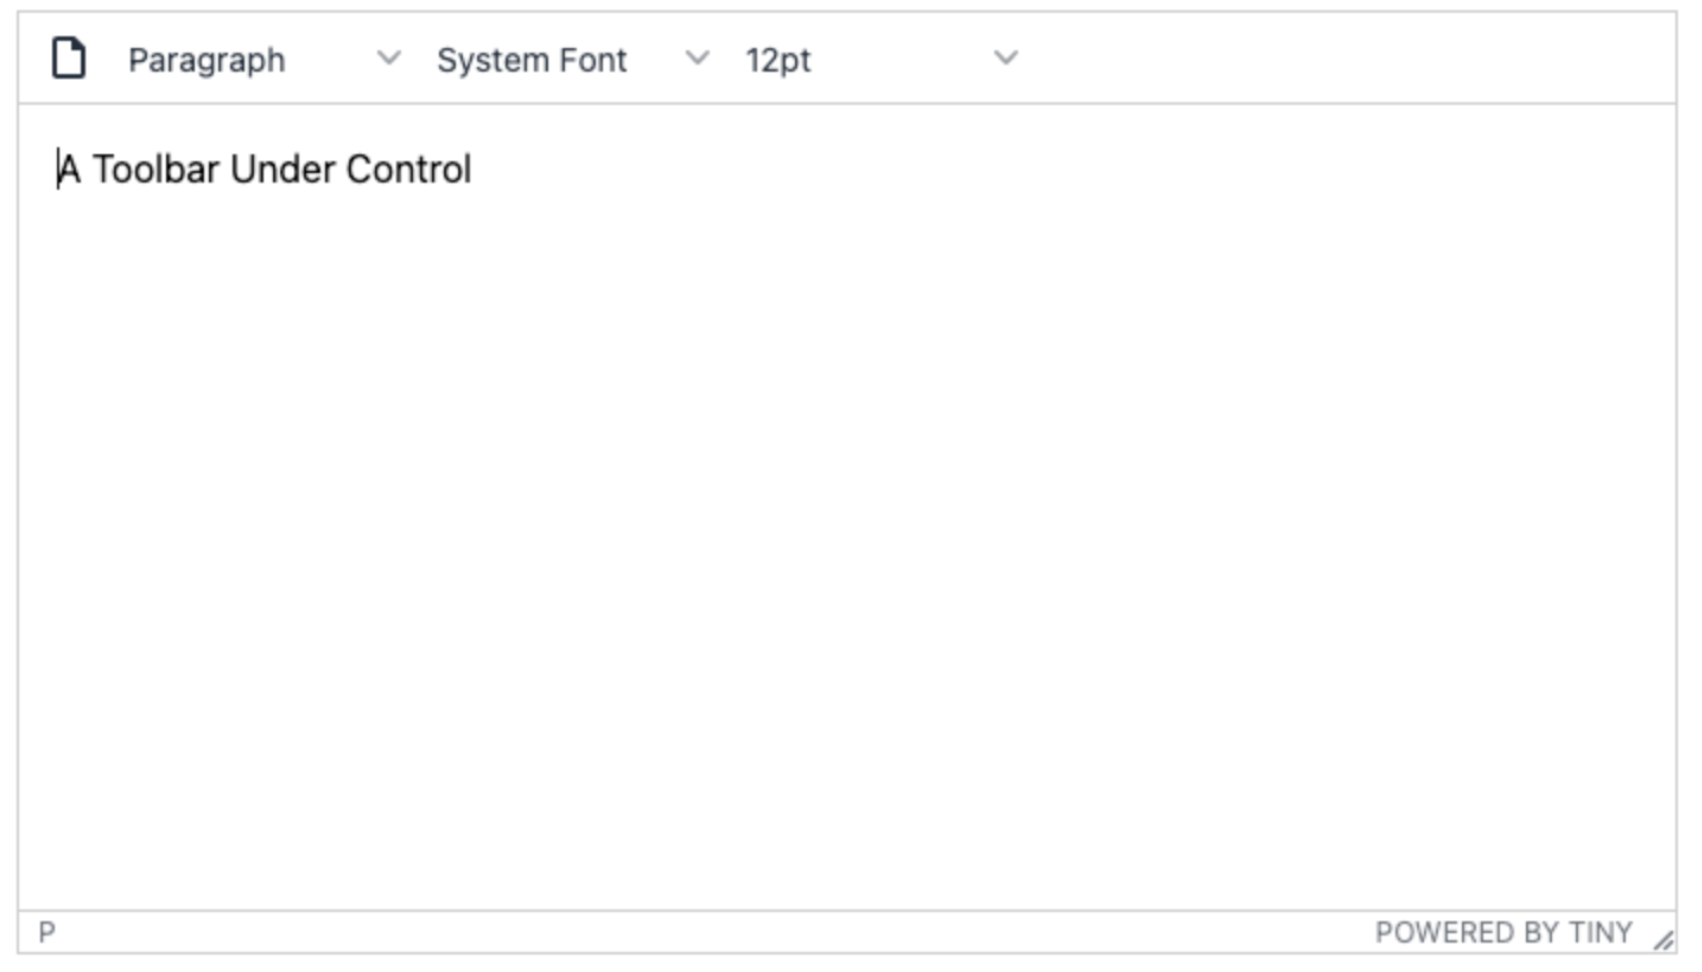
This creates a new set of options for users to select from the toolbar. Here, we’ve taken control of the core plugins visible –creating a WYSIWYG editor that's designed for starting a new document, setting a font, adjusting the font size, and changing the format.
But, let’s be honest, it doesn’t look very good.
To solve the appearance, there are icons that you can select to improve the appearance of your toolbar. Icons can help you not just take control of your toolbar, but enhance it to fit your application goals and user’s needs.
Control core plugins with icons
Consult the list of core plugin icons. Make sure you allow time to examine the list of icons, and decide which ones fit your application. Returning to the earlier example:
1. Include the toolbar_groups function in your TinyMCE init script
2. Write a name for the core plugin group = in this case “fontgroup”
toolbar: "newdocument",
        toolbar_groups: {
            fontgroup: {

            }
},3. Copy the name of the toolbar group into the toolbar function list
toolbar: "newdocument fontgroup",4. Inside the fontgroup, include your icon of choice
5. Specify the core plugins to include in the group
fontgroup: {
                icon: "settings",
                items: "formatselect fontselect fontsizeselect"
}Then, open your rich text editor in a browser to see the results.
![]()
Where to from here?
It's possible to adjust the core behavior of the TinyMCE toolbar. Keep the list of core
plugins available on the toolbar nearby as you write your rich text editor HTML. The icon set is also handy to keep nearby when planning your web application.
You can also sign up to get a free API key and test out for yourself how TinyMCE helps you take control of your toolbar.


