


Text alignment is critical for ensuring content feels natural, especially when aligning text in HTML for different languages. Various languages require specific text directions for optimal readability—left-to-right for Western languages such as French, Spanish, and English, and right-to-left for languages like Arabic, Hebrew, and Urdu.
TinyMCE makes setting alignment and direction in HTML straightforward. This versatile WYSIWYG rich text editor lets users adjust HTML text direction with a simple click, ensuring content displays correctly for any language. Use this guide to quickly configure text direction in TinyMCE.
Text Alignment in Rich Text Editors - TinyMCE
Getting content flow right in rich text editors is not merely a convenience—it is essential for ensuring your content is both clear and accessible, particularly in multilingual contexts. The directionality acts like a GPS for your content, guiding how it flows across the page. This is particularly crucial for right-to-left (RTL) languages like Arabic and Hebrew. When set correctly, your content will flow seamlessly, perfectly aligning with your reader’s expectations.
Editors like TinyMCE simplify the process of toggling text direction, enabling you to manage multiple languages and writing systems within a single document. However, this is about more than just aesthetics—proper HTML text direction ensures that your content communicates effectively, both linguistically and culturally. For a global audience, this attention to detail reflects a strong commitment to accessibility and inclusivity. In web content management, these finer points make a significant impact.
How to Change and Align Text in HTML
Ensuring readability across languages necessitates adjusting content flow based on the specific language. In TinyMCE, you can easily control the direction in HTML within the application or allow users to select it themselves via a toolbar button. Customizing this feature in TinyMCE is both quick and straightforward, providing the flexibility required to handle multilingual content effectively.
Step One: Launch a local version of TinyMCE
To try out the TinyMCE directionality plugin, all you have to do is create an index.html file and paste the following code inside it.
You’ll need a TinyMCE API key to replace “no-api-key” inside the script src URL so you can use the editor without an API key error. Obtaining a free 14-day premium TinyMCE API key for this example is simple.
<html lang="en">
   <head>
      <!-- Replace 'no-api-key' in the link below with your API key -->
      <script src="<a href="https://cdn.tiny.cloud/1/no-api-key/tinymce/7/tinymce.min.js">https://cdn.tiny.cloud/1/no-api-key/tinymce/7/tinymce.min.js</a>" referrerpolicy="origin"></script>
   </head>
   <body style="margin:100px;padding:0">
      <script>
         tinymce.init({
            selector: "textarea" // Selects the textarea element to convert it into a TinyMCE editor
         });
      </script>
      <textarea>
         Welcome to TinyMCE!
      </textarea>
   </body>
</html>Huzzah! Save your index.html file and you’re all set to add text alignment to TinyMCE.
Step Two: Add the directionality plugin to TinyMCE
Adding the directionality plugin to your TinyMCE script requires only a single line of code. Simply include directionality: "rtl" in your TinyMCE configuration.
tinymce.init({
  selector: "textarea", // Selects the textarea element to convert it into a TinyMCE editor
  directionality: "rtl", // Sets the text direction to right-to-left
});
Step Three: Move Text Left or Right in TinyMCE
Now that the plugin is added, you can choose which text direction you’d like to have as the default inside your RTE. There are three possible values:
|
Value |
Details |
|
ltr |
Left-to-right text direction. This is the default. |
|
rtl |
Right-to-left text direction. |
|
auto |
Allow the browser to determine the text direction inside the RTE. (Recommended strictly when the text direction is unknown.) |
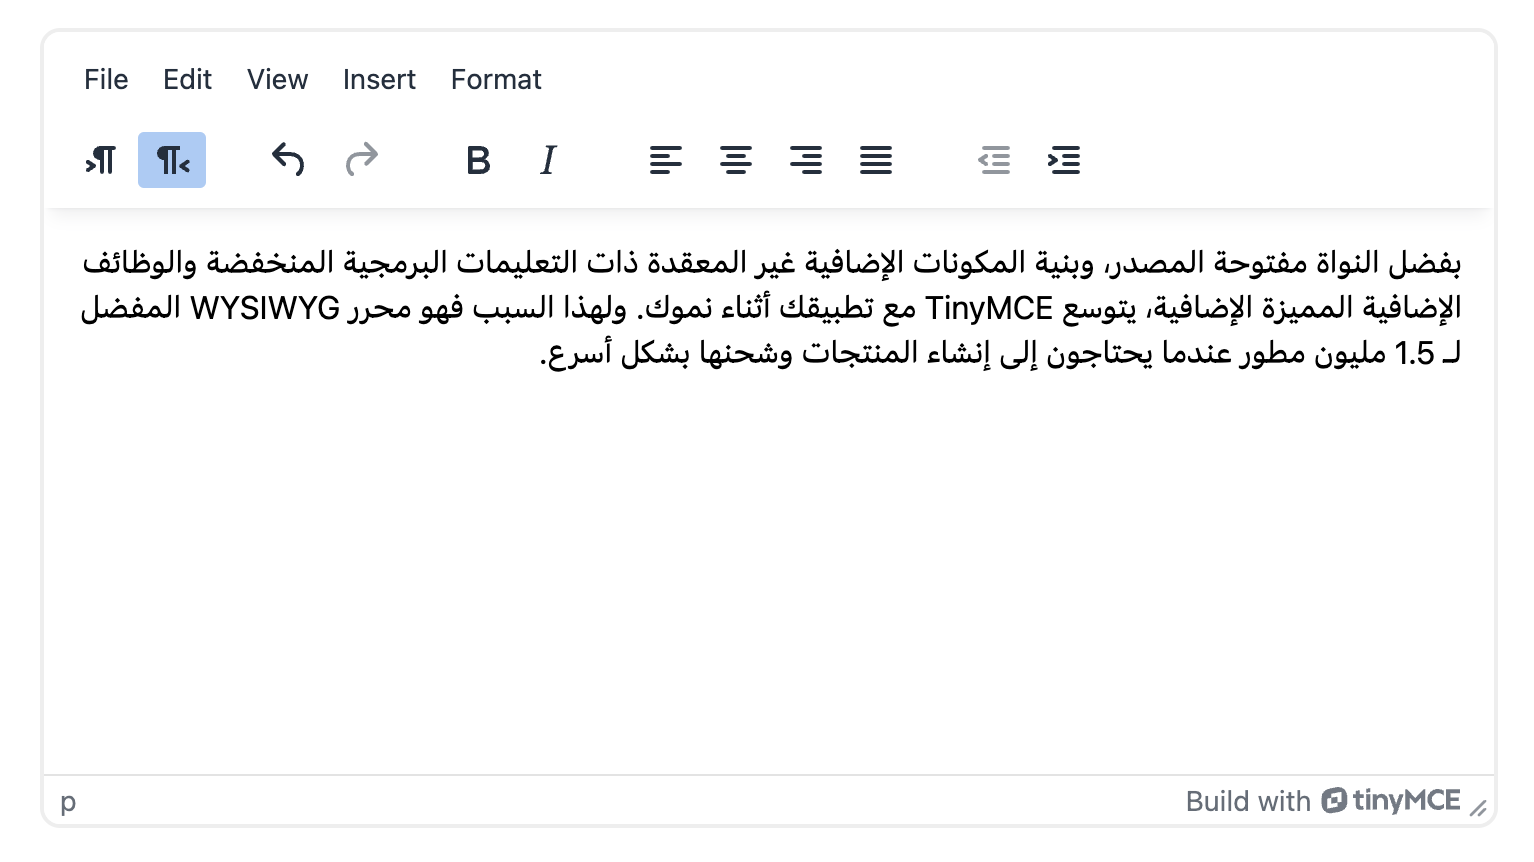
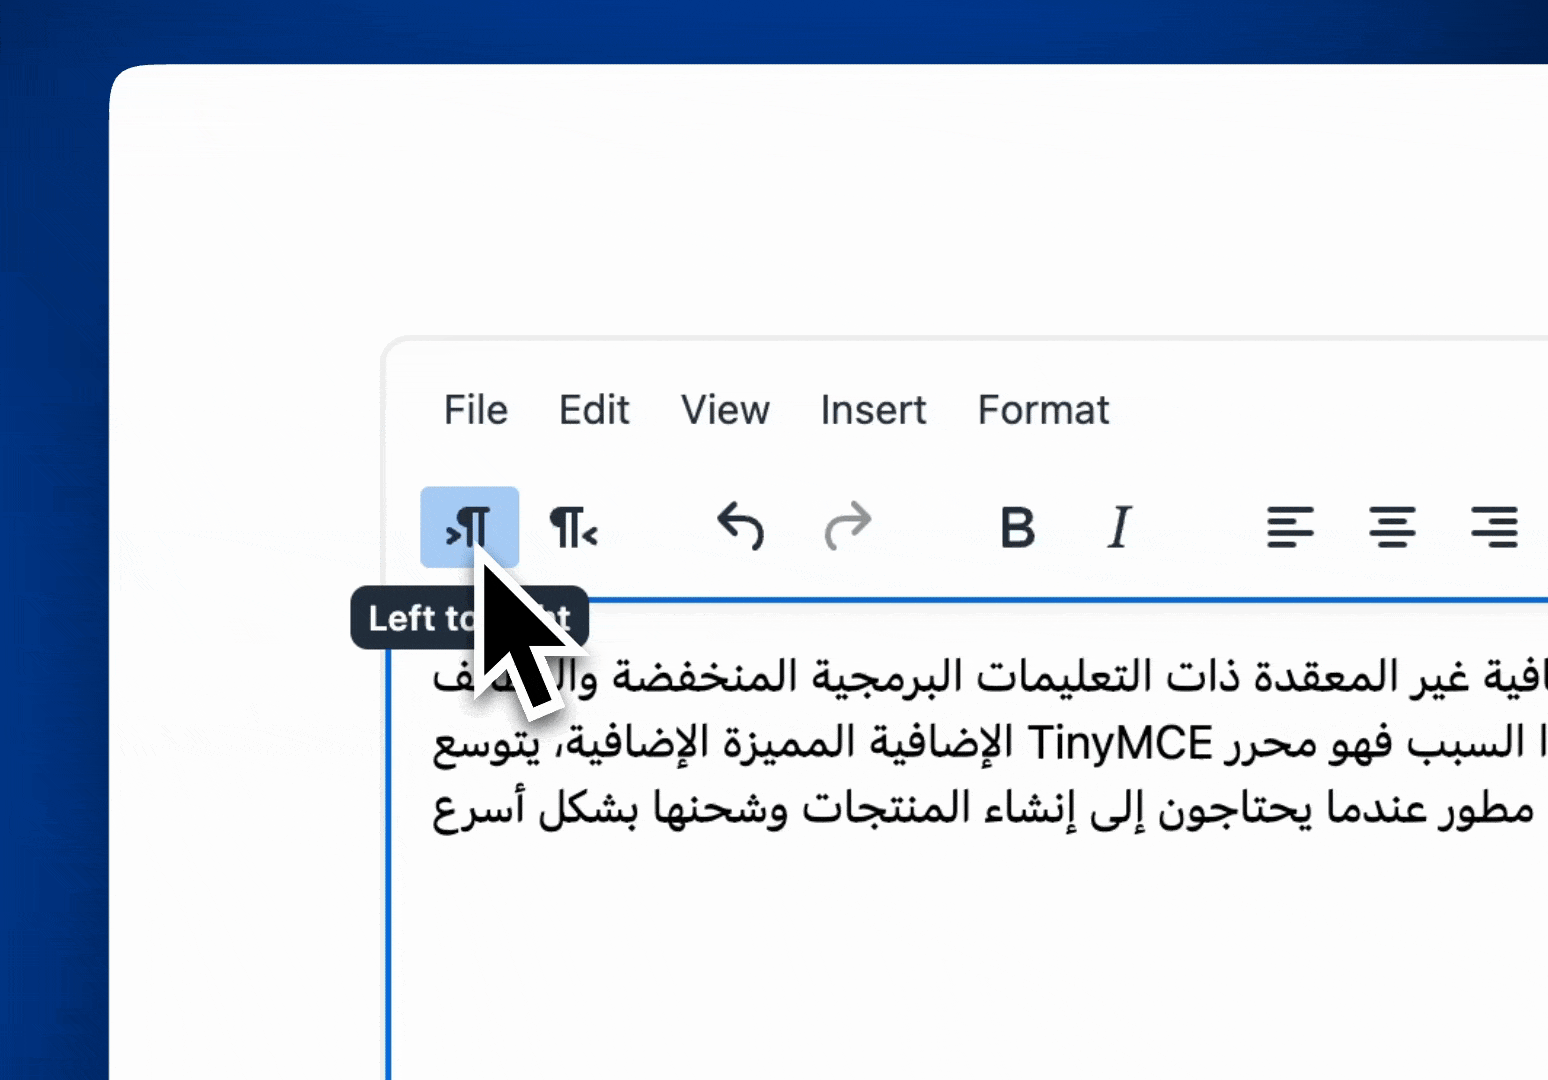
To set the text direction to right-to-left, choose rtl. To set it to left-to-right, choose ltr. If you select rtl, your text will align like this:
How to Add Text Alignment Buttons to TinyMCE's Toolbar
Text alignment in HTML goes beyond simply adding the directionality plugin to TinyMCE. You can also add optional buttons to the TinyMCE toolbar, allowing users to set the direction in HTML with a single click. To do this, include the toolbar and plugin key-value configurations:
plugins: "directionality", // Enables the directionality plugin for text alignment
toolbar: "ltr rtl | undo redo | styleselect | bold italic | alignleft aligncenter alignright alignjustify | outdent indent", // Configures the toolbar with text direction buttonsHere is the full index.html file with all directionality settings added to TinyMCE:
<html lang="en">
    <head>
        <!-- Replace 'no-api-key' in the link below with your API key -->
        <script src="<a href="https://cdn.tiny.cloud/1/no-api-key/tinymce/7/tinymce.min.js">https://cdn.tiny.cloud/1/no-api-key/tinymce/7/tinymce.min.js</a>" referrerpolicy="origin"></script>
    </head>
    <body style="margin:100px;padding:0">
      <script>
          tinymce.init({
             selector: "textarea", // Selects the textarea element to convert it into a TinyMCE editor
             plugins: "directionality", // Enables the directionality plugin for text alignment
             toolbar: "ltr rtl | undo redo | styleselect | bold italic | alignleft aligncenter alignright alignjustify | outdent indent", // Configures the toolbar with text direction buttons
             directionality: "rtl", // Sets the text direction to right-to-left
          });
      </script>
      <textarea>
         Welcome to TinyMCE!
      </textarea>
    </body>
</html>Align HTML text in TinyMCE
With text align buttons and directionality configured, you can test your demo app by opening the HTML file in a local browser. Type some French or Arabic, then click the buttons to check out the left-to-right and right-to-left text alignment. It will display like this:
Best Practices for Text Alignment and Directionality
When working with international content, selecting the appropriate text direction setting is crucial for readability and user experience. Consider these best practices:
- Use ltr for Western languages: Left-to-right (
ltr) text direction is suitable for most Western languages like English, French, and Spanish. - Use rtl for Middle Eastern languages: Right-to-left (
rtl) text direction is necessary for languages like Arabic, Hebrew, and Urdu to ensure proper readability. - Consider auto for dynamic content: If the text direction may vary and is not known beforehand, the
autosetting can be useful. It lets the browser automatically determine the direction based on the content, but use this with caution as it may not always be accurate.
Properly setting text direction not only improves the visual flow but also enhances accessibility and inclusivity, making your content more effective for a global audience.
Wrap up
Thank you for following this step-by-step guide.
If you are new to TinyMCE, discover how easy it is to integrate it with some of the most popular JavaScript frameworks:
- Enhance React forms with a rich text editor
- Add a rich text editor to a simple Vue project
- Integrate Svelte with TinyMCE rich text editor
If you enjoyed this integration guide, check out our webinar on how TinyMCE 7 is perfect for Learning Management Systems.
Note: The first version of this article was written by Ben Long in 2021. It was last updated by Coco Poley in 2024.


