Once you’ve decided to enhance your product with TinyMCE, the world’s most popular open source editor, you can get it up and running in your applications with just 6 lines of code.

One of these six lines of code is used to load the TinyMCE package on your page.
But where should you load it from?
Running TinyMCE from the cloud
For most setups, we recommend running TinyMCE from the cloud. That way, you’ll have peace of mind, knowing you’re always up-to-date with the latest version and newest features.
Get started with a free API key (with a 14-day trial of our premium plugins) and load the TinyMCE package as follows, replacing no-api-key with your own.
<script src="https://cdn.tiny.cloud/1/no-api-key/tinymce/6/tinymce.min.js" referrerpolicy="origin"></script>Self-hosting TinyMCE
However, we understand that in some cases you might need to self-host TinyMCE. So here’s an overview to help you get started.
To do this, you need to get a copy of the TinyMCE package so your application can access it locally. You can get a copy of the TinyMCE package in one of two ways:
- Download TinyMCE and unzip it where you need it (for example, on your application server)
- Use a package manager such as NPM, Bower, Composer, or NuGet
Once you have the TinyMCE package locally available to your application, you can load it on your application pages with the following script:
<script src="/path/to/tinymce/tinymce.min.js"></script>For example, in a simple HTML page:
<!DOCTYPE html>
<html>
<head>
<script src="/path/to/tinymce/tinymce.min.js"></script>
<script type="text/javascript">
tinymce.init({
selector: '#mytextarea'
});
</script>
</head>
<body>
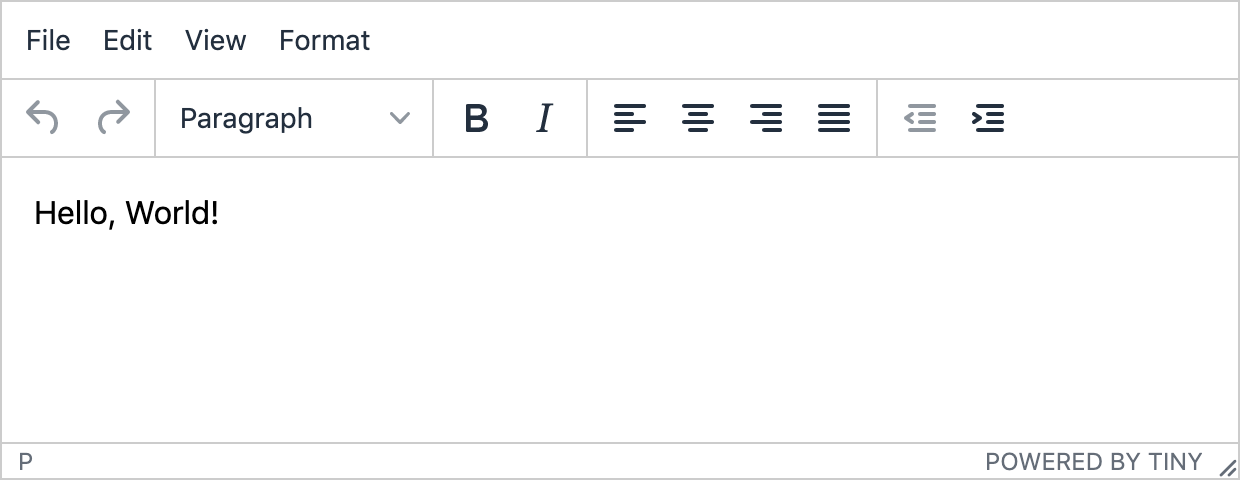
<h1>TinyMCE Quick Start Guide</h1>
<form method="post">
<textarea id="mytextarea">Hello, World!</textarea>
</form>
</body>
</html>Also see our detailed guide specific to integrating TinyMCE into an Express JS application.
Powering up TinyMCE
Regardless of whether you’re running TinyMCE from the cloud or your own self-hosted installation, you might want to take full advantage of the features and support provided by Tiny; for example:
- Provide additional productivity, compliance, or collaboration tools like PowerPaste, Spell Checker Pro, Comments, and other Tiny premium plugins.
- Access additional support, usage, or licensing options, for example, to access our commercial agreement options allowing you to utilize TinyMCE outside of our open source license.
- Apply custom skins and icons to better match the rest of your product.
We have two packages available online - Cloud Essential and Cloud Professional - of increasing value depending on your requirements, plus custom plans available through our sales team. Start with a free 14 day trial. A comprehensive overview of all plans is available on our pricing page.