


One is a freshman, bright-eyed and bushy-tailed, while the other is a tried and true expert who’s been handling assignments for twenty years. Tiptap and TinyMCE are two powerful rich text editors frequently compared to one another and discussed amongst developers across the globe. Which RTE is better, and why? Each one has its own strengths, but does one stand out? We set out to verify that what we believe is true, is true: that TinyMCE is the best RTE option for fast, clean implementation, and easy plugin management.
And if you’re looking to migrate from Tiptap to TinyMCE, we’ve got you covered with a short guide in the second half of this article.
How Tiptap and TinyMCE compare in Vue.js
How long does it really take to get a rich text editor added to a Vue.js app, get it up and running, and make it usable enough for some unit tests? I dove in and installed both Tiptap and TinyMCE from scratch to compare the experiences.
Time to implementation
One of the most important parts of adding any RTE to your application will be the time to implement. With both Tiptap and TinyMCE, this step was relatively easy. If you work in Vue, you already know that it’s quick to start up a new Vue project with a single command:
vue create my-demo-projectAnd you also know that Vue presents you with a nice app out of the box. For this test implementation, I chose Vue 3 and used the default eslint and babel options on install.
Tiptap installation in Vue.js
To install Tiptap:
- Bring in the npm package:
npm install @tiptap/vue-3 @tiptap/pm @tiptap/starter-kit - Create a TiptapEditor.vue component that would hold my editor. In this file, I pasted the suggested Tiptap Vue component code from the Tiptap docs.
- Alter src/App.vue to bring in the Tiptap editor. I pasted the suggested App.vue code from Tiptap’s docs into the file and replaced the rest of the content.
- Run
npm run serveto launch the Vue app locally.
💡 Note: I had to change the suggested name of the file from Tiptap.vue to TiptapEditor.vue because VSCode threw an error when I tried to name a Vue component with a single word.
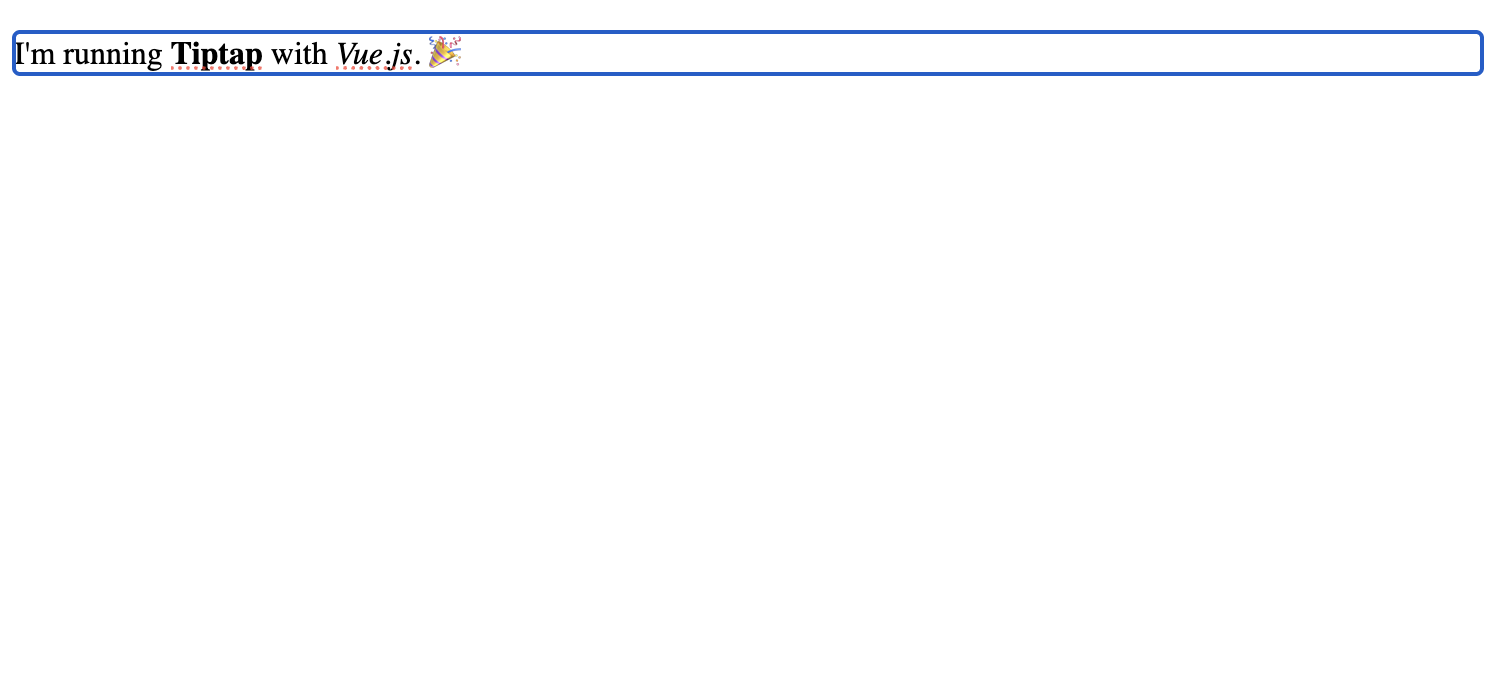
It was a success! Because Tiptap is headless, there wasn’t much to see in the browser yet. But it was a good quick start.
TinyMCE installation in Vue.js
Setting up a Vue textarea with rich text editing integration was quicker with TinyMCE in a standalone Vue app. Tiptap took four steps, and I had to make a new component file. To install TinyMCE, I had to:
-
Run the command to install the package:
npm install "@tinymce/tinymce-vue" --save - Replace all of App.vue with this code from the TinyMCE Vue guide:
<script setup lang="ts"> import Editor from '@tinymce/tinymce-vue' const apiKey = import.meta.env.VITE_TINYMCE_API_KEY // All Vite secret keys must begin with "VITE" </script> <template> <Editor :api-key="apiKey" /> </template> - And create a local .env file to handle my password securely:
VITE_TINYMCE_API_KEY = "no-api-key"; - Run
npm run serveto launch the Vue app locally.
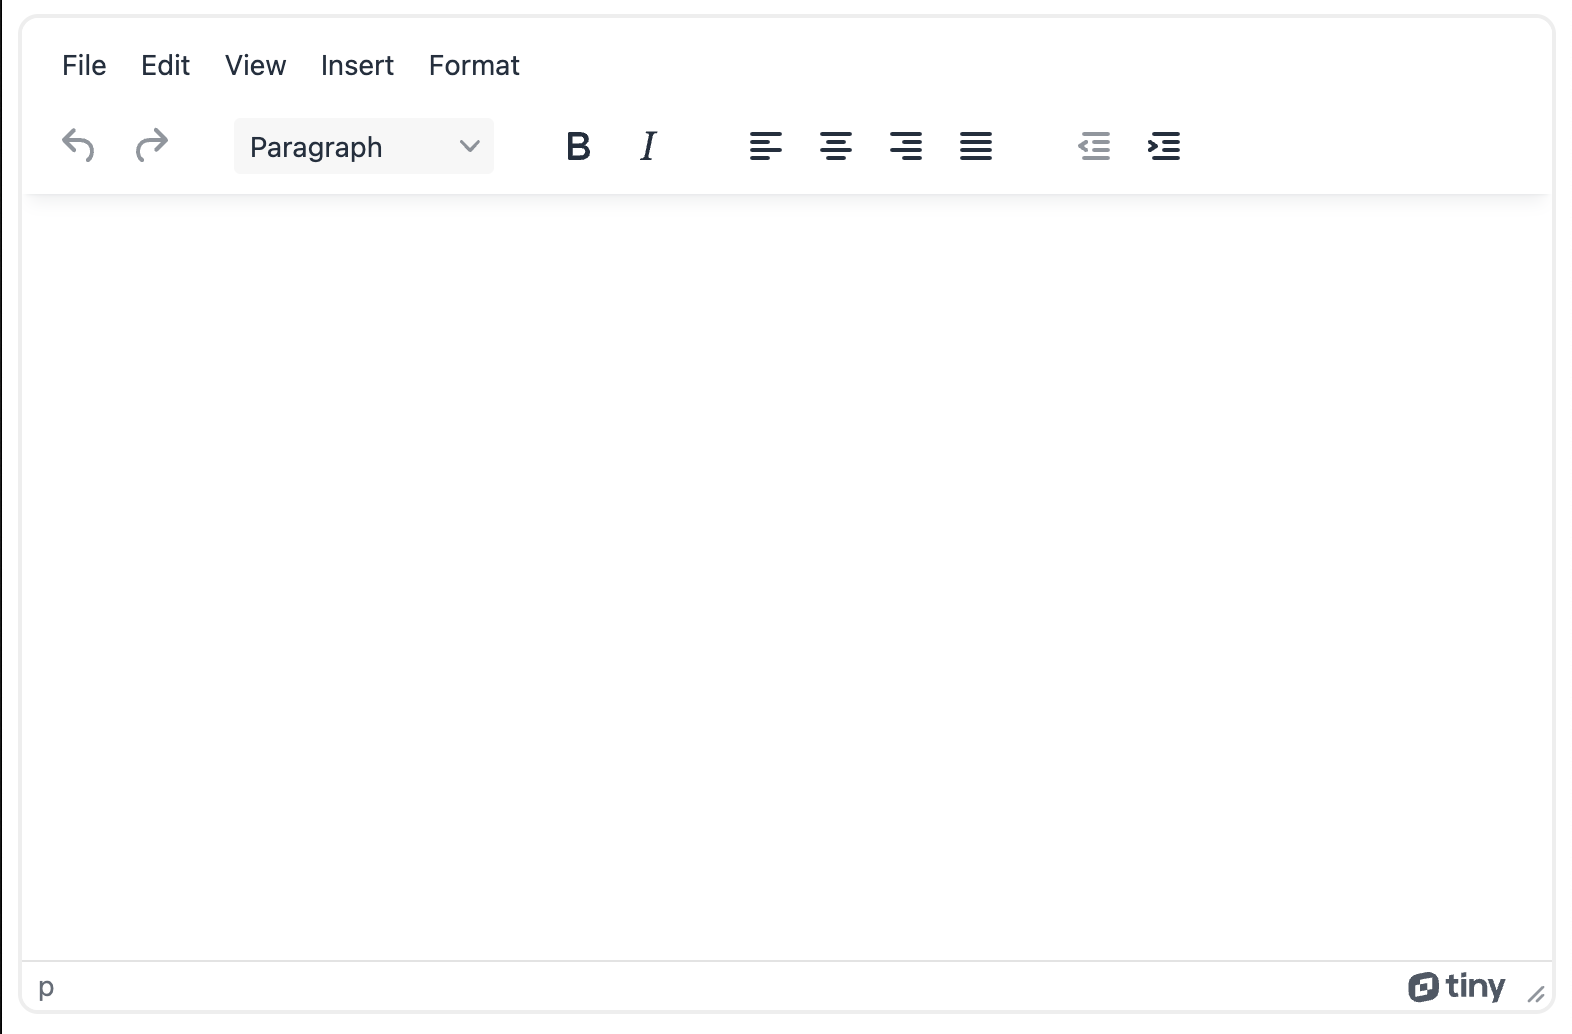
Now I have TinyMCE with its basic UI in the browser:
In the end, both RTEs were fairly easy to initially install at four steps apiece. Voila!
Time to toolbar
Out of the box, TinyMCE already comes with a basic toolbar and some essential RTE plugins to get you up and running fast, and which can be customized later. Tiptap, on the other hand, is customizable from the get-go and makes room for developers to create any kind of RTE they want. However, because Tiptap is headless, it took me significantly longer to get a menu with a UI than it did with TinyMCE.
TinyMCE toolbar in Vue.js
Though TinyMCE comes with a default toolbar and menubar, it’s still possible to customize the TinyMCE toolbar in almost a dozen different ways. You can even create more than one toolbar if you want to use two toolbars separately. Some common settings are:
toolbar: Customizes, configures, and organizes the toolbar buttons.toolbar_mode: If your toolbar is overflowing with buttons, you can choose a mode for handling the overflow: floating, sliding, scrolling, or wrap.toolbar_groups: This setting creates a handy toolbar button that holds all the buttons in the specified group. Only available when toolbar_mode is set to floating.toolbar_location: Choose if the toolbar appears on the top or the bottom of the RTE.
I built a quick toolbar in a matter of minutes that sits at the top of TinyMCE, contains a few extra useful content options, and is in floating mode to handle the overflowing toolbar buttons. In the :init, I used toolbar, toolbar_location, and toolbar_mode to configure the menu:
<Editor
    :api-key="apiKey"
    :init="{
       plugins: 'lists',
        toolbar: 'undo redo | blocks fontsize fontfamily| bold italic strikethrough | numlist bullist | alignleft aligncenter alignright alignjustify | outdent indent | help',
        toolbar_location: 'top',
        toolbar_mode: 'floating'
}" />Which gave me this dynamic toolbar:
All in all, TinyMCE’s toolbar is quick and easy to alter when it comes to the basics. And even then, I threw in a few extra toolbar items because it was so fast to make the toolbar in the first place.
Tiptap toolbar in Vue.js
The Tiptap toolbar was a bit of a beast because not only did I have to style each icon and label, I had to implement every. Single. Button. Individually. That’s just how it works for a headless RTE. Let’s walk through what I did, a lot faster than it actually took me.
The first step to create a toolbar was to add buttons that attached themselves to the functionality I wanted from the button(i.e., to add bold and italics buttons, I had to add them one at a time).
   <div class="control-group">
      <div class="button-group">
        <button @click="editor.chain().focus().toggleBold().run()" :disabled="!editor.can().chain().focus().toggleBold().run()" :class="{ 'is-active': editor.isActive('bold') }">
          Bold
        </button>
        <button @click="editor.chain().focus().toggleItalic().run()" :disabled="!editor.can().chain().focus().toggleItalic().run()" :class="{ 'is-active': editor.isActive('italic') }">
          Italic
        </button>
   	</div>
</div>As you can imagine, this became tedious as I added the entire suggested toolbar from Tiptap’s docs, and then took out the functionalities/buttons I didn’t want. The other issue I had was that I couldn’t group items together in a way that made sense – I had to make sure all of the buttons were close to other buttons that were logical for the users. Eventually, I was able to add several buttons with basic formatting options.
One issue I encountered with the Tiptap docs example code for the button toolbar was the packages I had to install to use Tiptap styles and customization. They were never mentioned in the Tiptap docs. Thankfully, they were small dependencies: the sass-loader, sass, and Tiptap’s extension-color libraries.
After I resolved the errors and installed the libraries, I was finally able to get my Tiptap instance running locally:
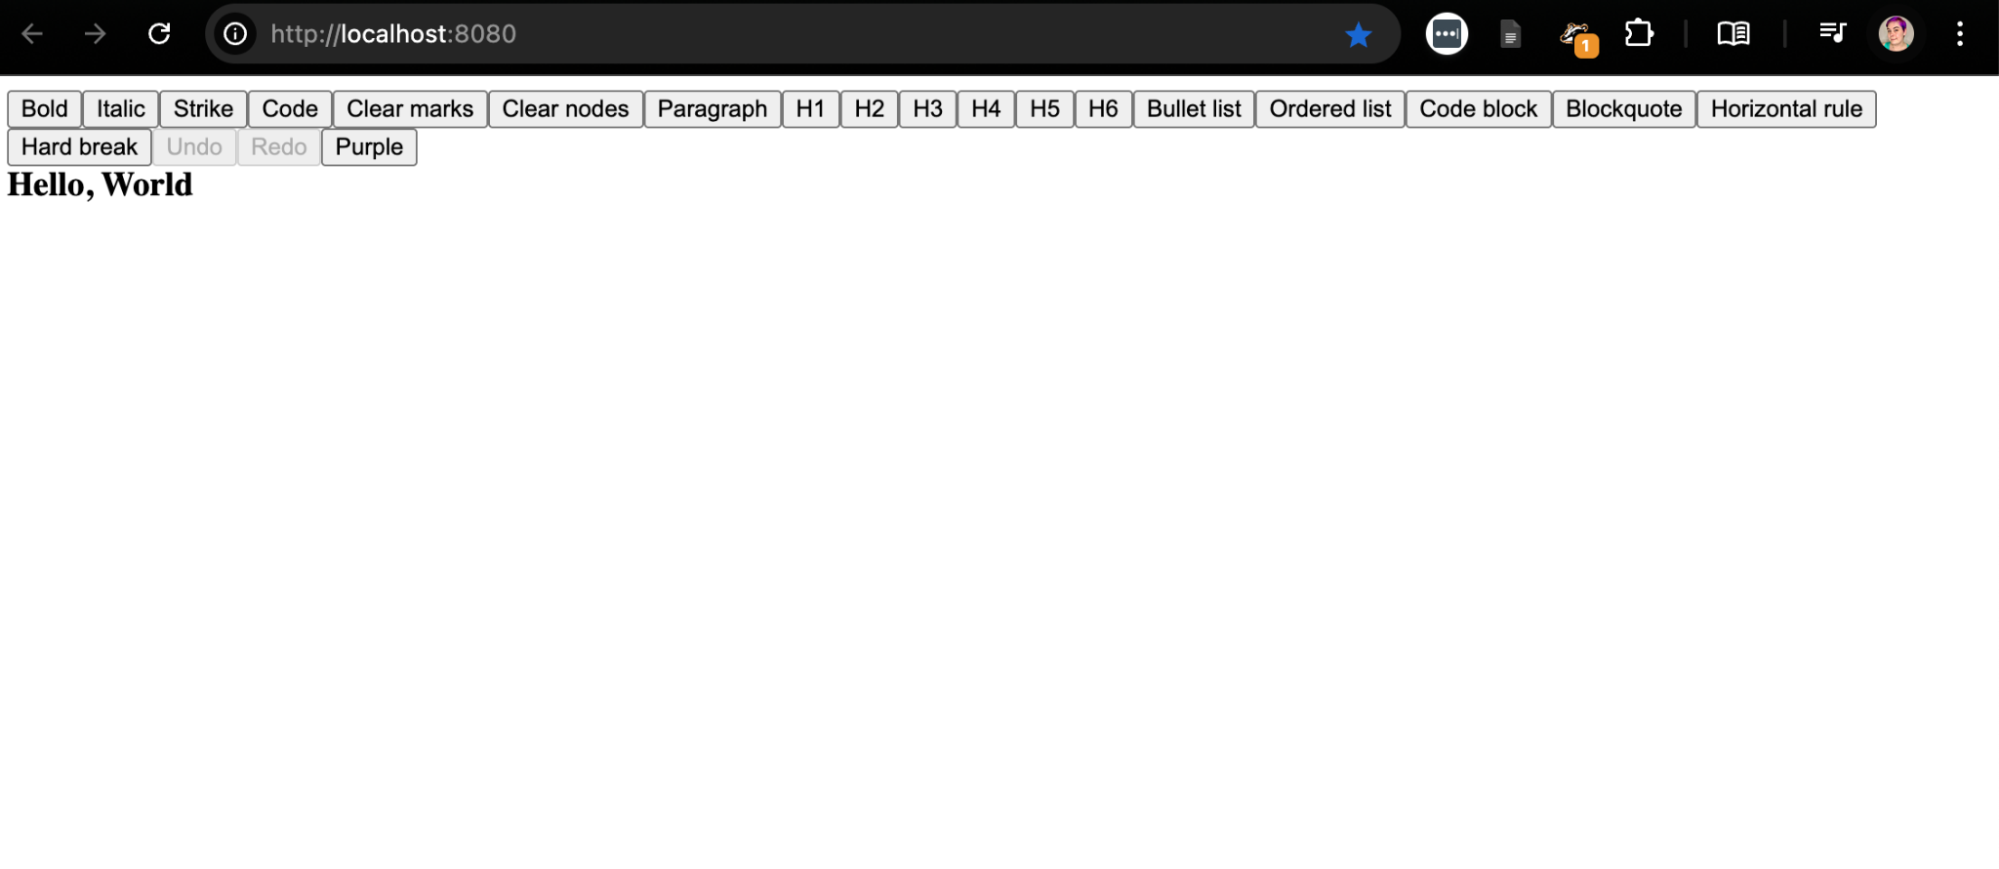
OK, still not exactly what I wanted in terms of customization. So I added a border around the content area for clarity and threw in some spacing for visual ease.
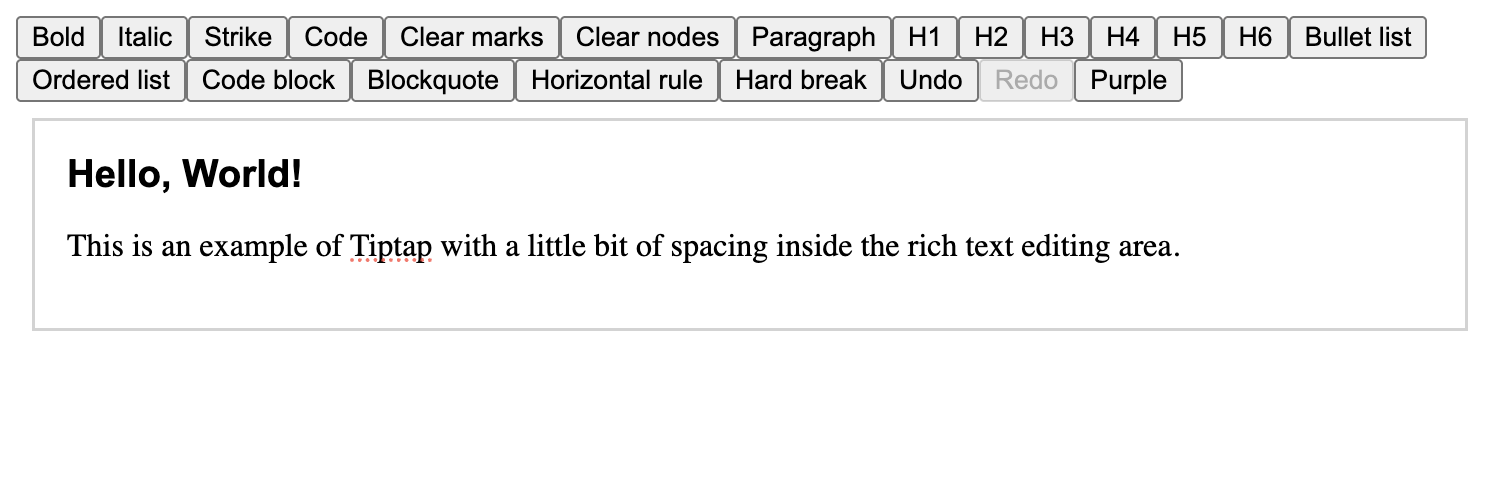
The next step was to create a button class that styled the buttons. For the button class, I had to (you guessed it!) individually add the class to every single button I had in TiptapEditor.vue. I added some spacing and took away the borders and old-school HTML styles with some CSS:
Now that I had that, it was time to make the UI even more like an RTE a user might want to write in. Modern rich text editing UIs contain icons that imply functionality, not buttons that name the extension. So I knew I had to replace the buttons with icons. To do this, Tiptap recommended the Remix open source icons library. This was all well and good, except that once the icon pack was installed, I had to individually:
- Search for the icon on the Remix website
- Grab the code for the icon
- Copy and paste that code into the button’s name to replace the button title
Here’s what the code looks like for the bold button:
<button class="new-button" @click="editor.chain().focus().toggleBold().run()" :disabled="!editor.can().chain().focus().toggleBold().run()" :class="{ 'is-active': editor.isActive('bold') }">
  <i class="ri-bold" style="font-size: 18px; color: black;"></i>
</button>After doing this for every single button, and drinking too many cups of coffee, I finally had a decent looking RTE ready for my users:
As you might expect, a headless editor took a lot more time to customize on a basic level than an editor that comes with a UI out of the box. It took me a significant amount of time to create a basic UI for Tiptap, more than it should to implement a series of basic buttons that everyone has come to expect. It’s curious that Tiptap doesn’t have a better implementation process for their menu when some developers must get up and running quickly to launch an RTE.
If you want to control every pixel and line of code in your RTE, Tiptap is for you. If you want to get up and running quickly and trust a built-in menu that comes with the basics, go with TinyMCE.
Ease of adding plugins/extensions
At this point in my experiment, I had two fairly decent RTEs ready to play with and enhance. I wanted to see how long it would take to implement some common plugins in each editor. I chose to add image embedding, linking, and wordcount to each one.
Adding Tiptap extensions in Vue.js
Since we were just looking at Tiptap, let’s start there. One of the series of extensions I noticed was missing from Tiptap was text alignment. Text alignment is an option that users universally expect to see in their RTE, so I knew I had to add it.
To add text alignment, I walked through Tiptap’s multi-step process to install the extension via NPM and add it to the Tiptap extensions array. And yes, I did, of course, have to individually add the button, find its Remix icon, and add it to the menu so the extension was available to users.
And yes, I did it three times: once for each type of alignment. But no matter, my Tiptap instance was looking pretty:
The other three extensions (Character Count, Link, and Image) were very similar in process. Tiptap’s docs went through the same five steps to install each new extension:
- Add the new button to the menu (we all know what that process looks like)
- Install the Tiptap extension via NPM
- Add it to the extensions array
- Add any new methods or functions to
export default {} - Change or add any CSS styles necessary
After walking through the same lengthy process with all three extensions, I found myself wondering why it was so complicated. It took me half a day just to bring in these three extensions and make sure they worked in my Tiptap instance. It was an arduous task to implement every extension the same way end-to-end.
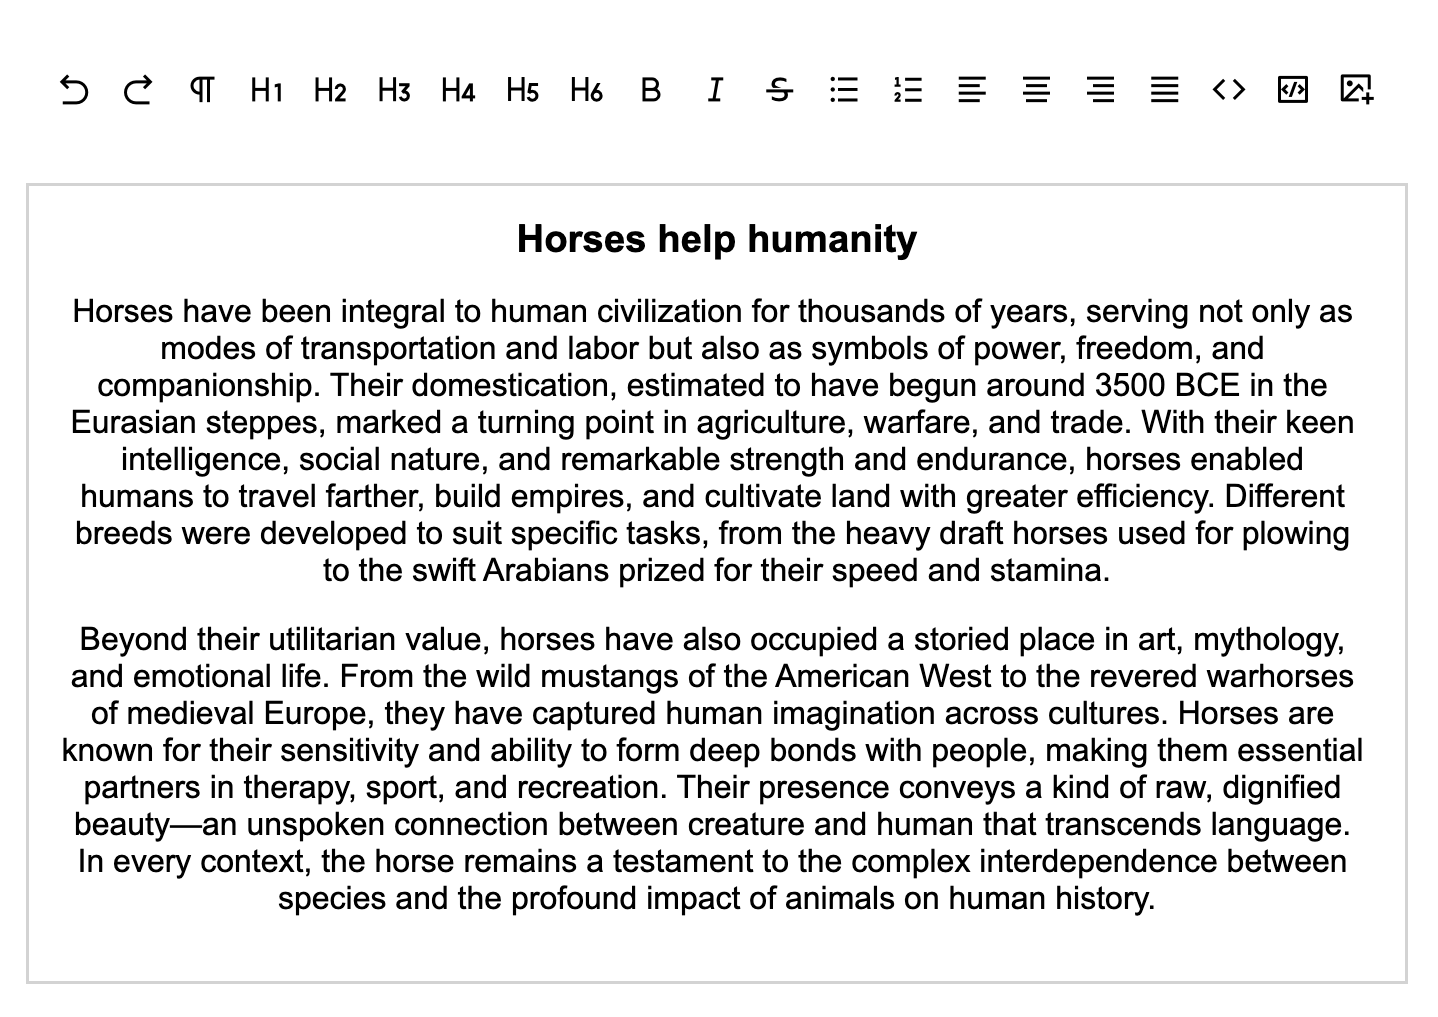
At the end of all my hard work, though, it felt worth it. But even then, the interface wasn’t ideal, and frankly, I could have spent another several days working to make my Tiptap instance look great and contain all of the extensions I wanted to add to make it robust.
This is what my final Tiptap instance looked like for this experiment:
Adding TinyMCE plugins in Vue.js
Since TinyMCE already has text alignment built into the basic editor, I didn’t need to add it. I quickly moved on to implement links, image embedding, and wordcount.
It was easy to do since all I needed was to add each plugin to the toolbar and the plugin's config in the editor.
    <Editor
    :api-key="apiKey"
    :init="{
        plugins: 'link image wordcount autolink lists',
        toolbar: 'undo redo | blocks fontsize fontfamily| bold italic strikethrough | numlist bullist | alignleft aligncenter alignright alignjustify | outdent indent | help',
        toolbar_location: 'top',
        toolbar_mode: 'floating'
}" />I used the example toolbar from our toolbar work earlier, and it took me less than 10 minutes to add the three plugins I wanted.
Migrating from Tiptap to TinyMCE
Depending on how long you’ve been using Tiptap and how complex your configurations are, it can be pretty quick to migrate from Tiptap to TinyMCE in your Vue.js project. I’ll walk through the most basic migration case using the Tiptap project I already have.
Step one: Remove Tiptap from the project
Here’s what I did to uninstall Tiptap:
- Remove the TiptapEditor.vue component, or whatever the Tiptap component is named. This is typically stored under components.
- Remove any references to TiptapEditor in App.vue, so the Vue app still compiles. If the Tiptap editor is referenced anywhere in your project, the reference needs to be removed. Otherwise, the app will throw an error at runtime.
- Run these commands to uninstall Tiptap and its extensions:
npm uninstall @tiptap/vue-3
npm uninstall @tiptap/extension-color
npm uninstall @tiptap/extension-list-item
npm uninstall @tiptap/extension-text-style
npm uninstall @tiptap/starter-kit💡 Note: These are the extensions I used in the earlier RTE installation experiment.
If you’re following our code, at this point you can refresh your Vue app locally to see a blank screen. If you’re removing Tiptap from your own project, serve the app locally and check to see that the RTE is replaced by a blank area in your application.
Step two: Add and configure TinyMCE
The next step is to add TinyMCE as your replacement RTE. Wherever Tiptap was integrated, you’ll replace that code with the TinyMCE configuration. In our example, we’re using App.vue with TinyMCE as the primary focus of the page. No need to create a separate component in this instance. As mentioned earlier in this guide, TinyMCE is added in two steps:
-
Install TinyMCE in the project:
npm install "@tinymce/tinymce-vue" --save - Add the RTE to App.vue (or wherever you want to put it):
<script setup>
import Editor from '@tinymce/tinymce-vue'

const apiKey = import.meta.env.VITE_TINYMCE_API_KEY // All Vite secret keys must begin with "VITE"
</script>

<template>
    <Editor
    :api-key="apiKey"
    :init="{
        plugins: 'link image wordcount autolink',
        toolbar: 'undo redo | blocks | bold italic | alignleft aligncenter alignright alignjustify | outdent indent | link image'
      }"   />
</template>
That’s all it takes to add TinyMCE to your Vue app. From there, add as many plugins as your users need and customize to your heart’s content.
Export your data to TinyMCE from Tiptap
It’s possible to import data from the Tiptap editor to the new TinyMCE editor. There are multiple ways to do this; which you should choose depends on your Tiptap configuration.
If you’re not using an external database and storing data on your own server that’s event-triggered, export the data in JSON or HTML with Tiptap:
const json = editor.getJSON();
const html = editor.getHTML();
If you use events to send your Tiptap content to an external database via the API, you can copy the configuration by using the TinyMCE Events API, and sending the content of the editor in the API request to the database. You can get that content with getContent().
const editorContent = tinymce.activeEditor.getContent();
You can also set the format of the content to get:
const editorContent = tinymce.activeEditor.getContent({ format: "text" });
Which RTE is better for your use case?
At the end of the day, it comes down to what your team needs most. If you want to build a rich text editor experience from the ground up, and want full control over every component, Tiptap might be your match.
But if you’re looking for a polished, flexible rich text editor that’s fast to implement and easy to scale, TinyMCE is the clear winner. Try it for yourself with a 14-day free trial of TinyMCE’s premium features. It’s everything you need to go from the first line to launching your app, faster. Looking to add it to an enterprise application? Contact us, and we’ll help you understand how TinyMCE can simplify and streamline your RTE implementations and maintence.
Don’t use Tiptap for your project? If you’re migrating from another RTE to TinyMCE or even from TinyMCE 7 to TinyMCE 8, check out the TinyMCE migration page for a comprehensive list of our migration guides.


