There’s many reasons why your CSS may not be showing in your HTML For instance, if you’re exporting HTML from a textbox or textarea in your app, or you’ve set up a WYSIWYG of some kind, it’s confusing if the styling is clearly showing in the text editor, but not available in the output.
However, there’s a text editor that overcomes this kind of CSS problem.
It does that by tying together the CSS and HTML content, and making sure inline CSS is associated with the target HTML tags. It’s called the Inline CSS plugin, and it’s built and maintained by TinyMCE.
The TinyMCE rich text editor is trusted for its quality features that speed up app development.Just a few of these features include:
What you’ll find in this article, is a guide on using the Inline CSS plugin – how to tie together CSS used to style HTML content in the text area, and export it with its style intact and working.
What is inline CSS?
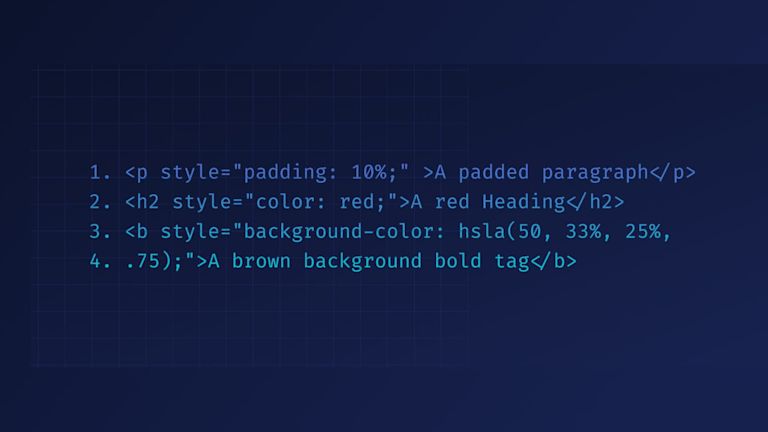
Inline CSS has specific CSS style rules applied directly to HTML tags within a web page or app. You add them to HTML elements using the style attribute. For example:
<p style="padding: 10%;" >A padded paragraph</p>
<h2 style="color: red;">A red Heading</h2>
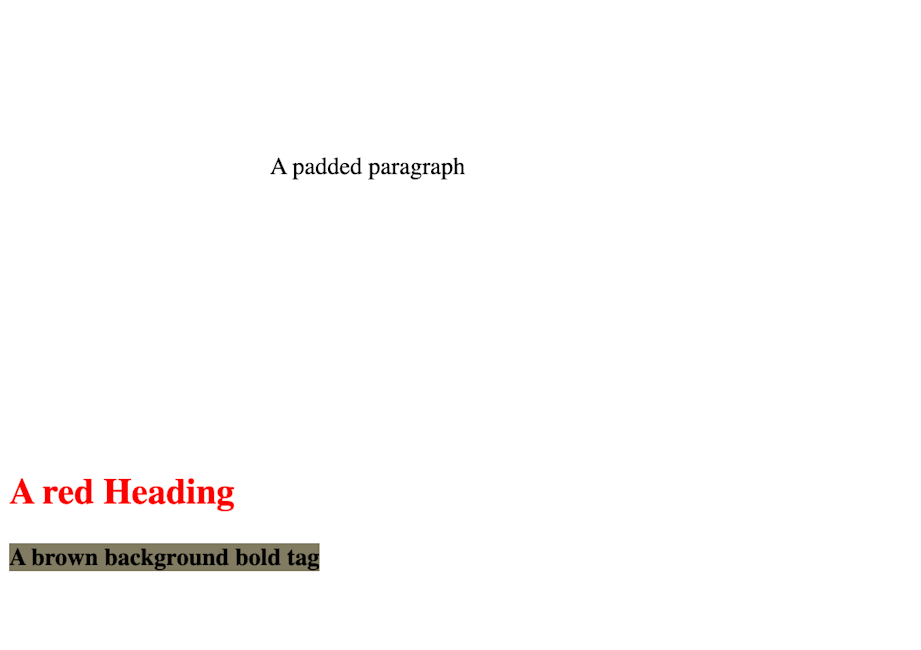
<b style="background-color: hsla(50, 33%, 25%, .75);">A brown background bold tag</b>Which results in the following inline CSS design:

What is external CSS?
External CSS are style rules that affect the appearance of a collection of HTML pages that make up a website. They are designed to create a consistent style across multiple different HTML pages. When done correctly, external CSS gives website visitors a consistent experience when they view different pages.
Inline CSS vs External CSS
The main advantage of inline CSS vs external CSS (apart from the location of the CSS), is loading speed. Because the browser only has to load the HTML file, and not a separate CSS file, it’s slightly faster to use inline CSS.
The disadvantage is that every inline CSS rule is associated with one specific tag. There’s no reusing rules. Without external CSS, you cannot apply one design rule to target all elements of the same tag, id, or class on a web page. There is a third type of CSS - embedded CSS - which is covered in the following paragraphs.
Inline CSS and pseudo classes
Another important limitation to be aware of is pseudo classes. External CSS can run a pseudo class like the :hover attribute. As noted on Stack Overflow by BoltClock: “In documents that make use of CSS, an inline style attribute can only contain property declarations; the same set of statements that appears in each ruleset in a stylesheet.”
What is embedded CSS?
Embedded CSS are style rules placed in a specific HTML document which style only that document’s content. This kind of CSS is not as specific as Inline CSS, nor is it as global as External CSS. When using embedded CSS, you could change the font of all headings in a specific index.html file, but in another .html file, the style rules would not apply. Embedded CSS usually appears within the head section of an HTML document.
How web apps use inline CSS?
Web apps use inline CSS to specify a style that’s required to overweight reused style across the page. Consider that id selectors have more weight compared to other HTML element selectors (that's another thing to check if your CSS might not be working). Any inline CSS has priority and weighting over all other CSS selectors.
In their overview of CSS specificity, Vitaly Friedman writes:
“There are five distinct categories which define the specificity level of a given selector: inline styles, IDs, classes, attributes, and elements.” ~ Vitaly Freidman with Smashing Magazine, 2007.”
How to add inline CSS with a plugin
The inline CSS plugin runs by:
- Collecting CSS content specified in the TinyMCE configuration
- Combining it
- Applying it by iterating over the HTML content, and
- Then finally returning an object that contains the content now with InlineCSS added.
The documentation for the plugin explains more on how this process works.
The following demo sets up a basic TinyMCE rich text editor, and logs the inline css object to the developer console:
First, set up an API key. This key gives you free access to TinyMCE Premium plugins for 14 days.
- Navigate to the Get-tiny sign up page to get your FREE API key.
- Create an index.html file in your development environment
- With your file open, in the head section, add script tags, and include the reference TinyMCE Cloud through a CDN link:
<script
  src="https://cdn.tiny.cloud/1/your-api-key/tinymce/6/tinymce.min.js"
  referrerpolicy="origin"
></script>;
Note: When you use your key, you get access to Premium TinyMCE plugins for 14 days, as well as no warning messages concerning API keys in the text area.
-
Add another pair of script tags, add the following JavaScript. It’s the tinymce.init method, and it’s how you control TinyMCE:
<script>
   tinymce.init({
   selector: '#editor',
   plugins: 'powerpaste casechange searchreplace autolink directionality advcode visualblocks visualchars image link media mediaembed codesample table charmap pagebreak nonbreaking anchor tableofcontents insertdatetime advlist lists checklist wordcount tinymcespellchecker editimage help formatpainter permanentpen charmap linkchecker emoticons advtable export autosave',
   toolbar: 'undo redo print spellcheckdialog formatpainter | blocks fontfamily fontsize | bold italic underline forecolor backcolor | link image | alignleft aligncenter alignright alignjustify lineheight | checklist bullist numlist indent outdent | removeformat',
   height: '700px'
       });
</script>-
Add initial HTML content, and the CSS selector class to some textarea tags. The selector is set as an id with the value “editor” in the TinyMCE init script:
<body>

  <form id="post">

    <textarea id="editor">
            <p>Hello, World!</p>   {" "}
    </textarea>

  </form>
</body>;
-
Test run the index.html file by opening it in your browser, or use a local server command with Python or with the PHP command:

Adding Inline CSS
-
Include the inline CSS plugin in the TinyMCE init script:
plugins: 'powerpaste casechange searchreplace autolink directionality advcode visualblocks visualchars image link media mediaembed codesample table charmap pagebreak nonbreaking anchor tableofcontents insertdatetime advlist lists checklist wordcount tinymcespellchecker editimage help formatpainter permanentpen charmap linkchecker emoticons advtable export autosave inlinecss',-
Add the content style option to the TinyMCE configuration to provide some CSS to tie to the HTML content:
content_style: "p { margin: 10px; border: 5px solid red; padding: 3px; }";
-
Set up a button in the HTML to activate the Inline CSS plugin:
<button id="inline-css-btn" style="margin: 10px">
  Inline CSS
</button>;
-
After the html body section, set up a pair of script tags and add a function that includes the inline CSS API method:
   <script>
        function tieCSS() {
          const pluginAPI = tinymce.get(0).plugins.inlinecss
                pluginAPI.getContent().then((content) => {
                    console.log(content.html);
                });
         }
</script>-
Add an event listener that runs the function when the button is pressed.
   <script>
        function tieCSS() {
          const pluginAPI = tinymce.get(0).plugins.inlinecss
                pluginAPI.getContent().then((content) => {
                    console.log(content.html);
                });
         }

        var buttonLine = document.getElementById('inline-css-btn');
        buttonLine.addEventListener('click', tieCSS, false);
</script>-
Save the changes
-
Open the demo in the browser using Python or with the PHP command to run the demo
-
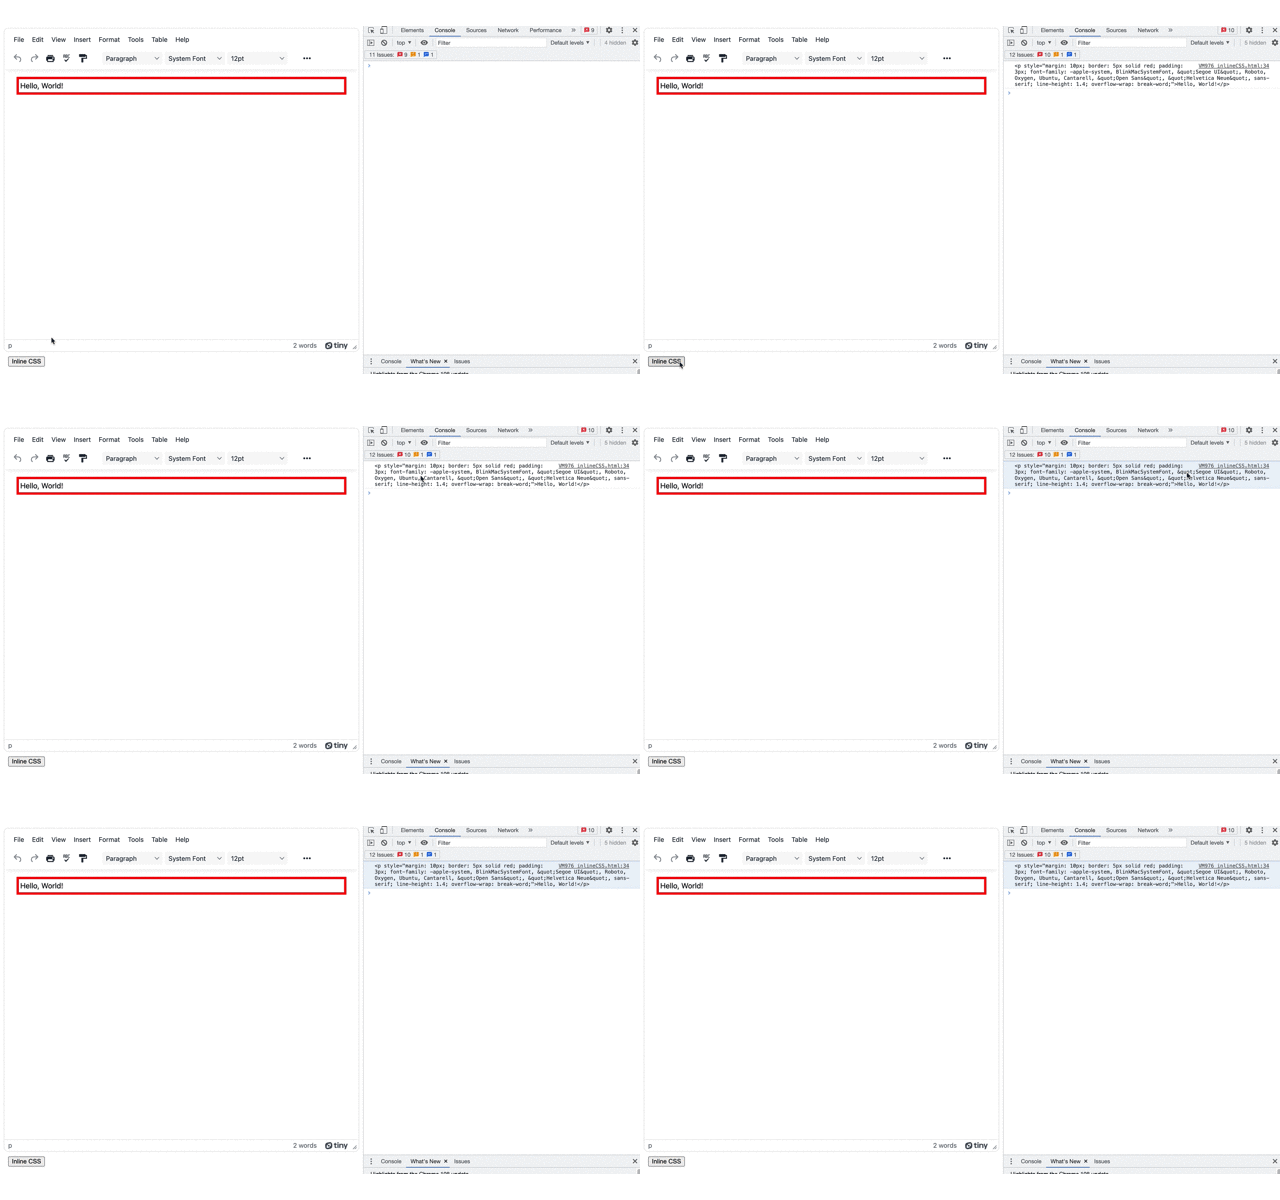
Open the developer tools, and click the button to see the inline CSS added to the text area content and printed in the console:

Inline CSS working with HTML
The Inline CSS plugin can tie together CSS that you’ve set up for content in your text editor, removing any doubt and confusion that you can collect up the inline CSS style and add it to the HTML where it’s needed.
The Inline CSS plugin is a part of the TinyMCE 6.3 release, and you can find out more about what’s available in the TinyMCE 6.3 release update.
To see another, large-scale example of the Inline CSS plugin working, check on the Email use case defined in the TinyMCE email solutions page.
Contact us if you have any questions on the TinyMCE plugins, or about style and CSS in your app.
