


When it comes to building products, it is not just about great functionality, it also comes down to usability. Part of a great experience is relating to the design of the application. Not to simplify what a great product designer does, but in essence, it is about creating a product that supports a user’s needs, whilst ensuring any components used integrates into the design system seamlessly.
Here at Tiny, we actively develop and improve our Skins & Icons Pack which focus on bringing ready-made premium skins and icons that can be integrated directly into your product without burdening your design and development teams. Our product designers are constantly looking at the latest trends, emerging frameworks and delivering new skins and icons which can be easily inserted into your TinyMCE editor, allowing you to easily take advantage of newer trends without doing the heavy tasks of researching, designing and developing yourself.
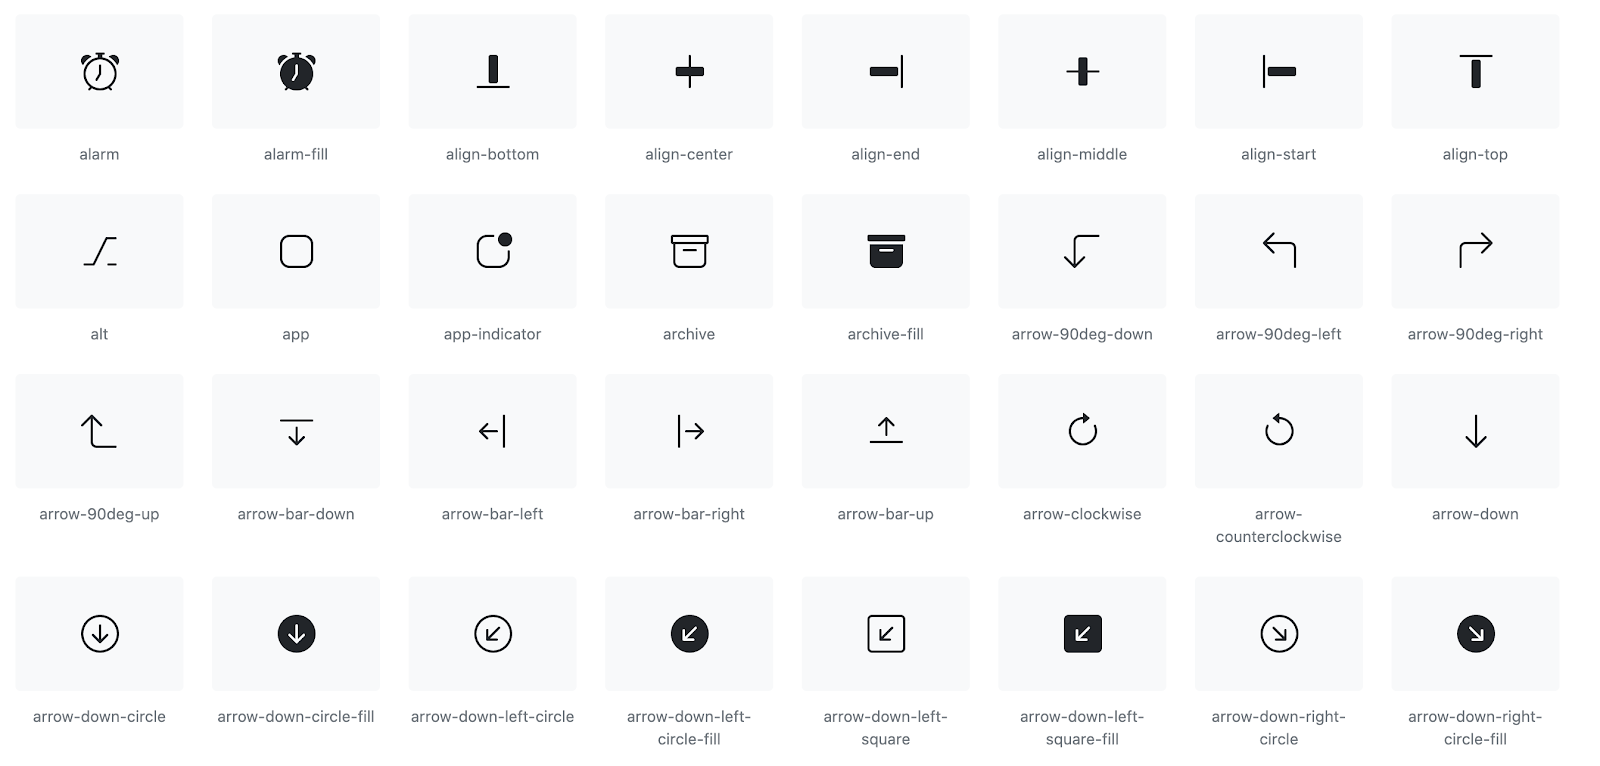
With our 5.7 Release, we’ve brought out our latest new icon set - Bootstrap Icons.
What is Bootstrap?
Bootstrap is one of the most popular web development frameworks and offers an open-source icon library with over 1,300 icons. It is a framework that is coming up more often with an increasing demand for ready-made components that compliment the overall aesthetic of a product. While Bootstrap icons are designed to work with Bootstrap’s components, they can easily be used on their own as part of a wider system.
How do I get the new icons?
The new Bootstrap Icons pack is available with our Skins & Icons Pack. Whilst this is available in our premium accounts , starting at $25 per month, those who sign-up for a new Tiny Account will get a 14 day free trial of all our premium features.
In this article, we will take you through a basic set-up of how to get TinyMCE up and running with the new Bootstrap Icons, matched with our Bootstrap Skin.
Step 1: get the editor running
For the purposes of this example, we will be working with the TinyMCE Fiddle , so you can follow along with our instructions.
Below is the code to get a basic configuration of TinyMCE running, including all of our most popular premium features. This will give you access to some of our more popular premium features such as: PowerPaste, Spell Checker Pro, and Comments.
<!DOCTYPE html>
<html>
<head>
  <script src="https://cdn.tiny.cloud/1/your-api-key/tinymce/5/tinymce.min.js" referrerpolicy="origin"></script>
</head>
<body>
  <textarea>
    Welcome to TinyMCE!
  </textarea>
  <script>
    tinymce.init({
      selector: 'textarea',
      plugins: 'a11ychecker advcode casechange formatpainter linkchecker autolink lists checklist media mediaembed pageembed permanentpen powerpaste table advtable tinycomments tinymcespellchecker',
      toolbar: 'a11ycheck addcomment showcomments casechange checklist code formatpainter pageembed permanentpen table',
      toolbar_mode: 'floating',
      tinycomments_mode: 'embedded',
      tinycomments_author: 'Author name'
    });
  </script>
</body>
</html>Important note: You will need to update your-api-key within the script to the API key provided within your Tiny Account.
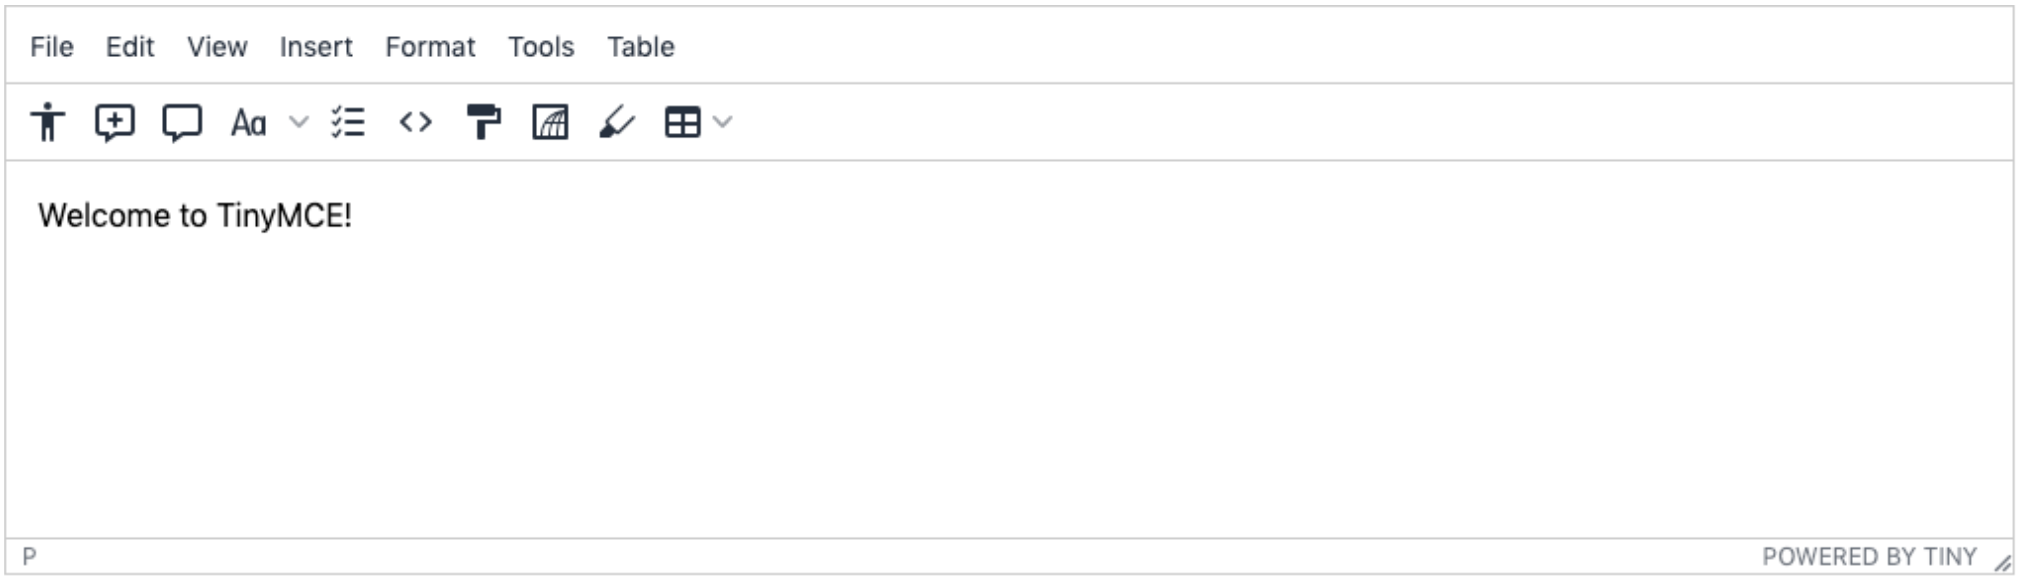
Inserting this into the fiddle and running it will give you our default configuration as seen below.
Step 2: use the Bootstrap Skin & Icons
Changing your configuration to enable both the Bootstrap Skin and Icon is a very simple process. It is as easy as adding in two additional lines of code below the selector: ‘textarea’, line. The two additional lines you need to insert are;
skin: "bootstrap"
icons: "bootstrap"When it is fully inserted into your code, the entire code section should look like the below.
<!DOCTYPE html>
<html>
<head>
  <script src="https://cdn.tiny.cloud/1/your-api-key/tinymce/5/tinymce.min.js" referrerpolicy="origin"></script>
</head>
<body>
  <textarea>
    Welcome to TinyMCE!
  </textarea>
  <script>
    tinymce.init({
      selector: 'textarea',
   skin: "bootstrap",
    icons: "bootstrap",
      plugins: 'a11ychecker advcode casechange formatpainter linkchecker autolink lists checklist media mediaembed pageembed permanentpen powerpaste table advtable tinycomments tinymcespellchecker',
      toolbar: 'a11ycheck addcomment showcomments casechange checklist code formatpainter pageembed permanentpen table',
      toolbar_mode: 'floating',
      tinycomments_mode: 'embedded',
      tinycomments_author: 'Author name'
    });
  </script>
</body>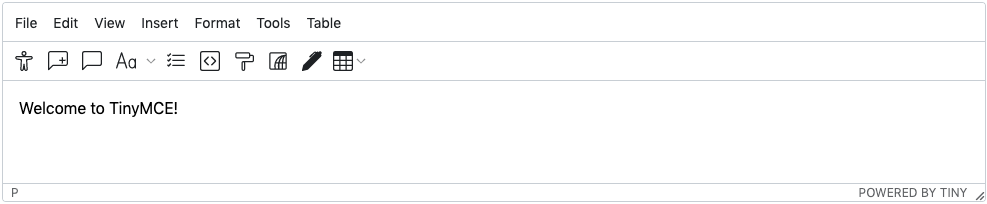
</html>When you hit run within the Fiddle, you will see the Icons and Skins will have changed to now utilize both the Bootstrap Skin and Icon packs.
Optional step: play around with our other skins
Creating a customized look for your TinyMCE editor isn’t a complex process with our Skin & Icons pack. With 10 different out-of-the-box skins, you can play around and find the best fit for your product, some of our most popular skins include:
- Material
- Bootstrap
- Fabric (the Microsoft Word look and feel)
- Jam
- Snow
- Naked
Below is an example of our editor configured with the Bootstrap Icons and our Snow Skin. This creates a much softer look for our editor where you have a much more spacious and fresh-looking editing experience. To update and try out our other skins, the skin: “bootstrap" code to the skin of your choice. You can also check out our documentation to see a full list of skins we provide.

What next?
Being pigeonholed into the one configuration, look and feel of an editor isn’t a limitation of TinyMCE. With a focus on creating a flexible, and scalable editor you are able to customize and configure the editor to suit your exact use-case and design.
If you are interested in learning more about how we can help support your application with more of our premium features please reach out to our sales team.


