


The easiest and fastest way to begin using TinyMCE is to access it through the cloud. TinyMCE is trusted by over 1.5 million developers worldwide and can be quickly configured.
This article explains how to get started using TinyMCE from the cloud. It covers the prerequisites, and essential steps to go from a blank project to getting TinyMCE up and running.
If you’re self-hosting TinyMCE and want to use Advanced features, check out how to self-host TinyMCE and load Advanced features from the cloud.
Looking for more TinyMCE Features?
-
Find out about TinyMCE pricing plans
-
Explore TinyMCE full features
-
Find out about 9 Products you can build with TinyMCE
What you need to get started
Take these steps:
- Navigate to tiny.cloud
- Click on Pricing to view the different pricing plans
- Choose an Essential, Professional, or Enterprise plan, or go with our Free plan which comes with a 14-day FREE trial of Advanced TinyMCE features.
(The 14-day trial contains all the plugins used in most TinyMCE configurations.)
After selecting the best plan for you, log in to the customer portal to retrieve the scripts and API key needed to add TinyMCE to your project.
TinyMCE requires an API key to work properly in your application, and you will use your API key to register your project URL. If your project URL is unregistered, then you’ll receive warning messages concerning the domain registration:
This domain is not registered with Tiny Cloud. Please see the quick start guide or create an accountAdding your project URL to your TinyMCE account and using an API key removes these warnings.
Getting TinyMCE cloud up and running
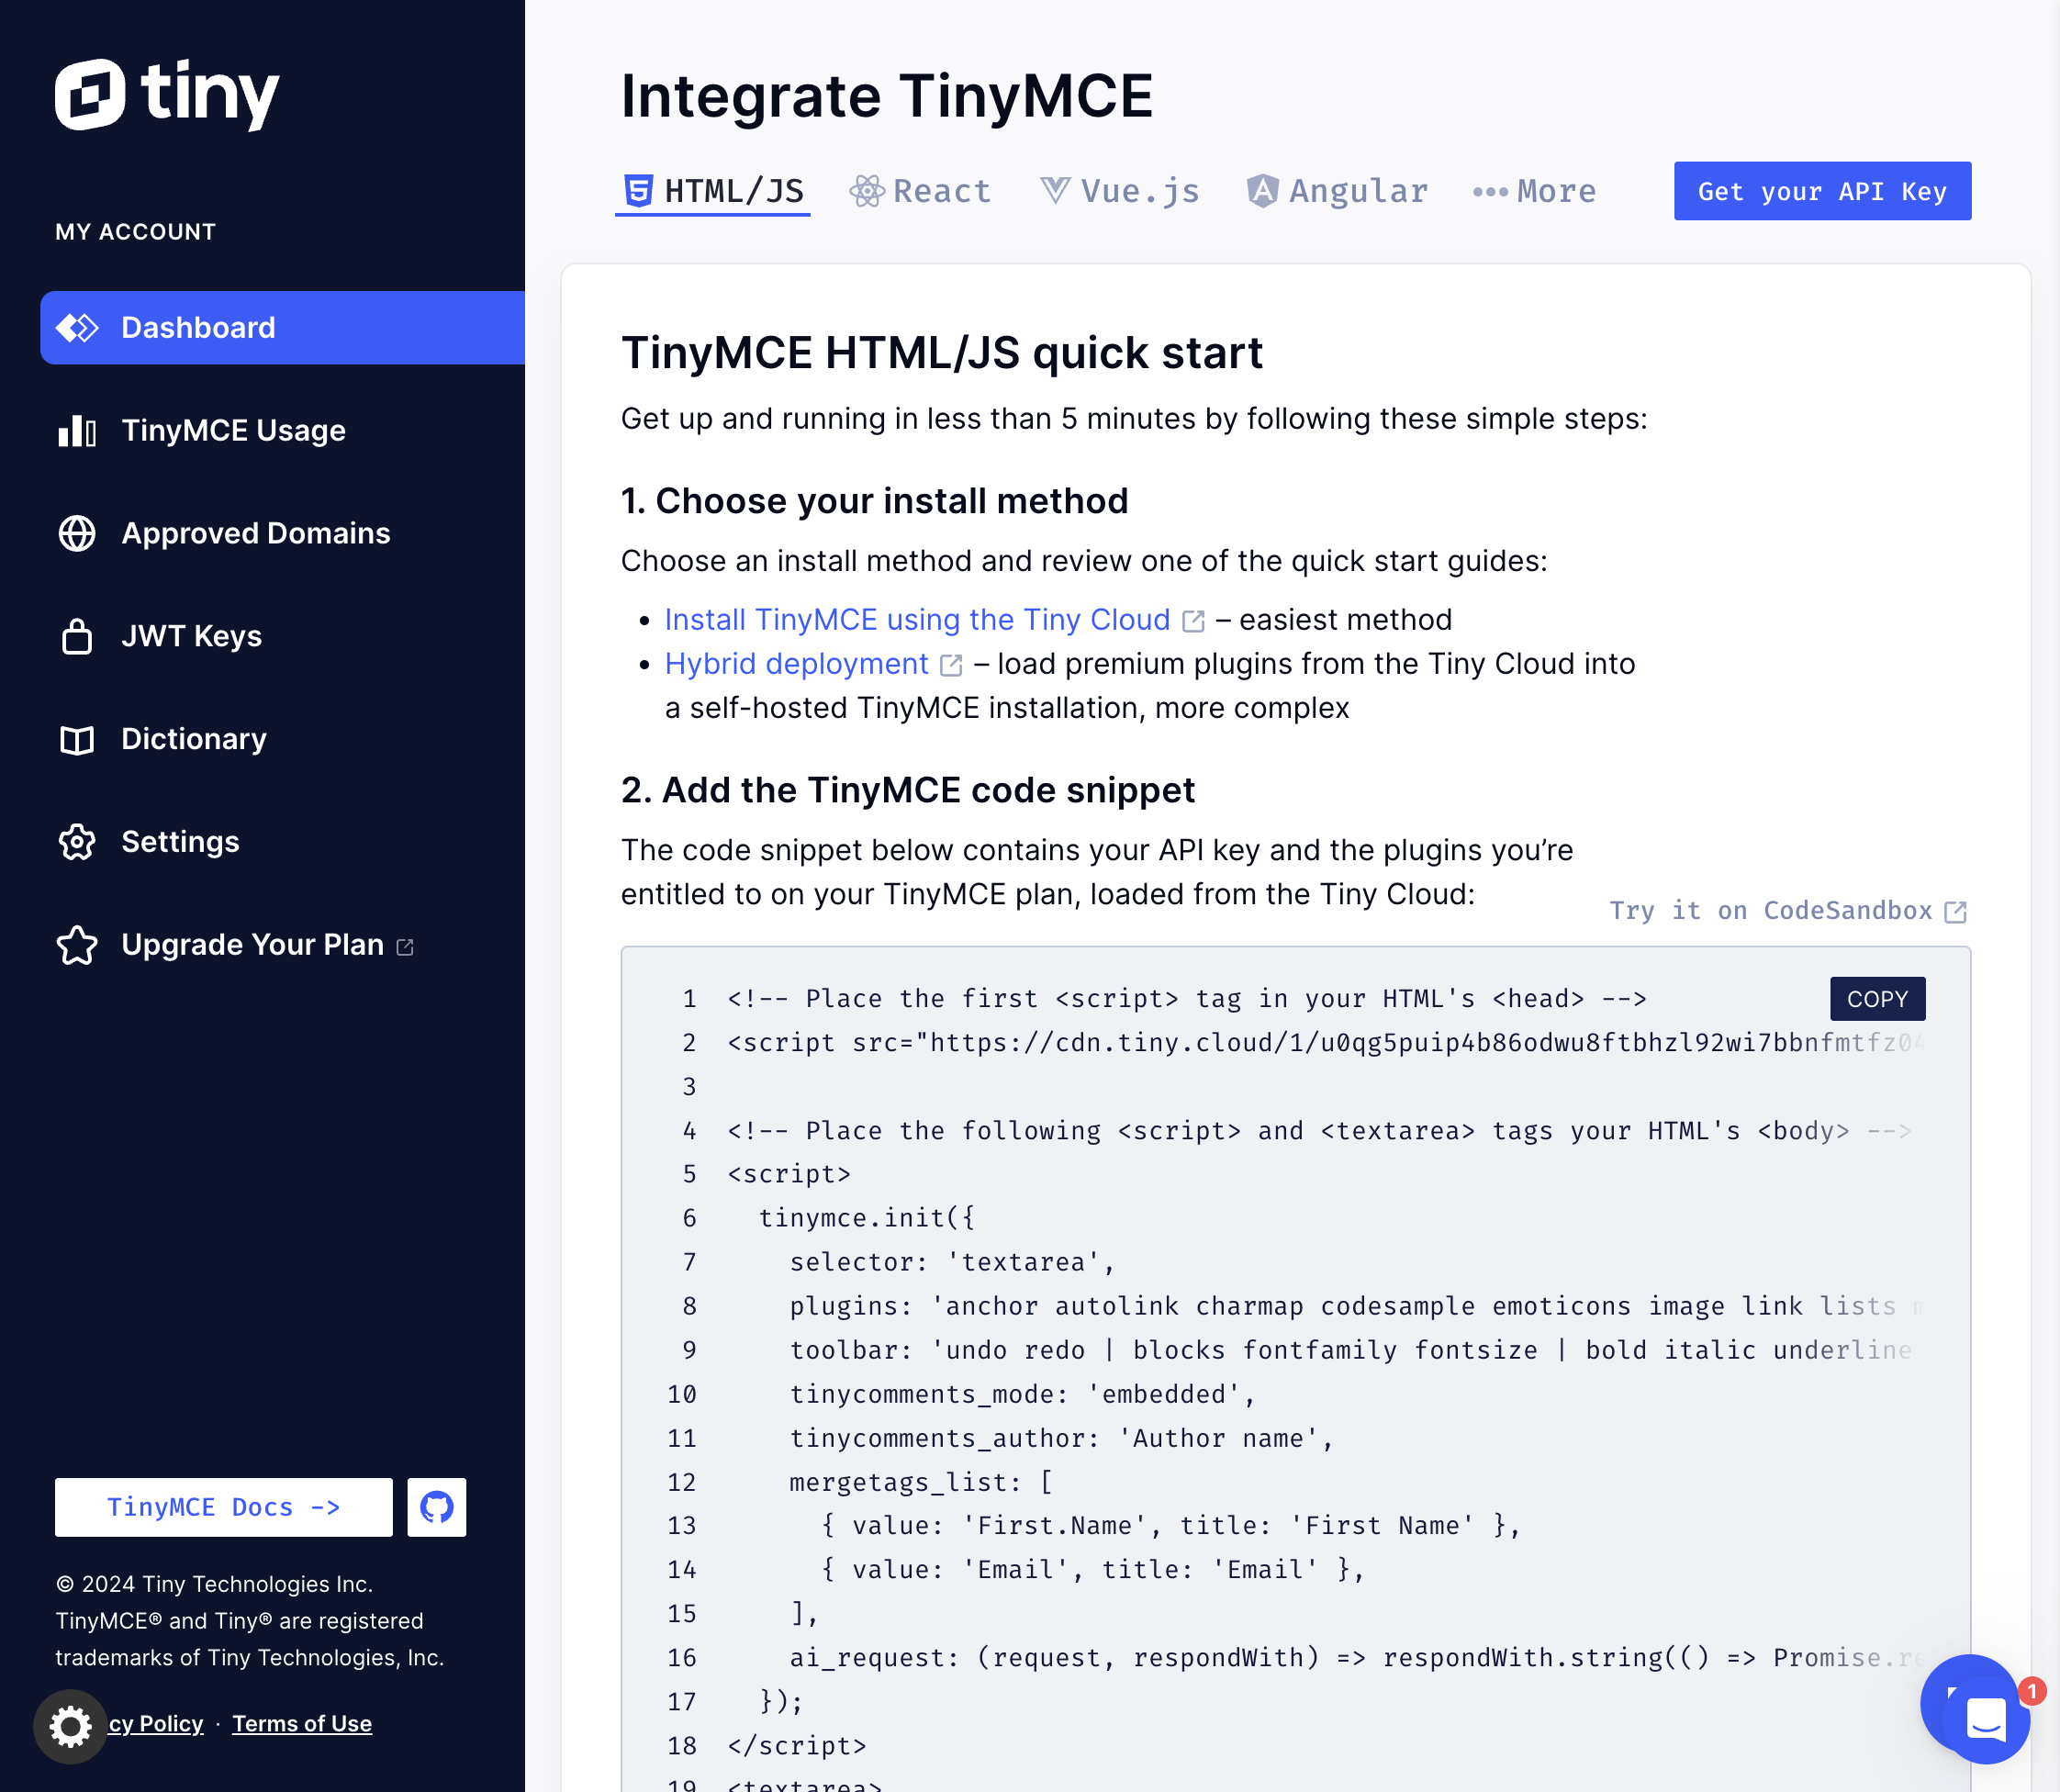
Before logging into your account, you’ll need to verify your email address. Once logged in, on your dashboard you’ll see your TinyMCE API key and sample HTML for adding TinyMCE into an application.
-
Navigate to the TinyMCE log in page, and enter your credentials.
-
At this stage, If you have an application address, register it by clicking on the Approved Domains heading. Paste in your application address under the Domain Name heading.
-
Return to your Dashboard, and scroll down to the TinyMCE Installation heading. Copy the HTML starter code.
-
Paste this content into a new index.html file, or directly into your project HTML. You may need to remove the
<!DOCTYPE html>tags, or other markup, if you already have a project index.html file ready. -
First, adjust the selector value based on your requirements. By default, it references the
textareaelement in your HTML. However, you can change this to any CSS selector, such as atextareawith a specific class or an element with a unique ID. TinyMCE will then be applied to the specified element in the document. The example below demonstrates the default settings:
<script>
tinymce.init({
selector: 'textarea',
plugins: 'anchor autolink charmap codesample emoticons image link lists media searchreplace table visualblocks wordcount linkchecker',
toolbar: 'undo redo | blocks fontfamily fontsize | bold italic underline strikethrough | link image media table | align lineheight | numlist bullist indent outdent | emoticons charmap | removeformat',
});
</script>
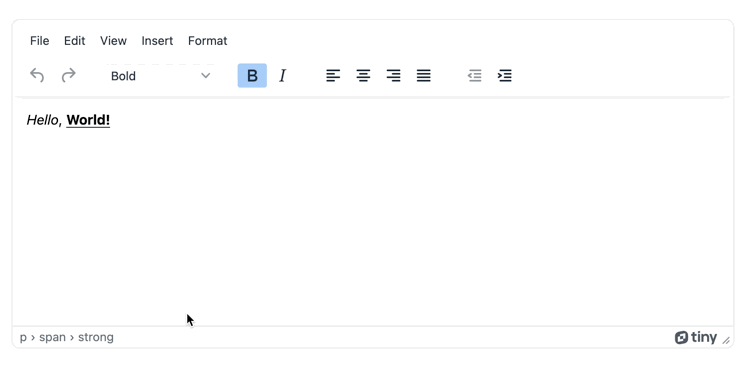
<textarea>
Welcome to TinyMCE!
</textarea>
-
Save your project HTML.
-
Load your project in your browser.
What to do next
You can start adjusting and playing with the configuration in your app. TinyMCE has a broad array of Advanced features available to try. Since accessing these features beyond the 14-day free trial requires a paid subscription, check the pricing plans page.
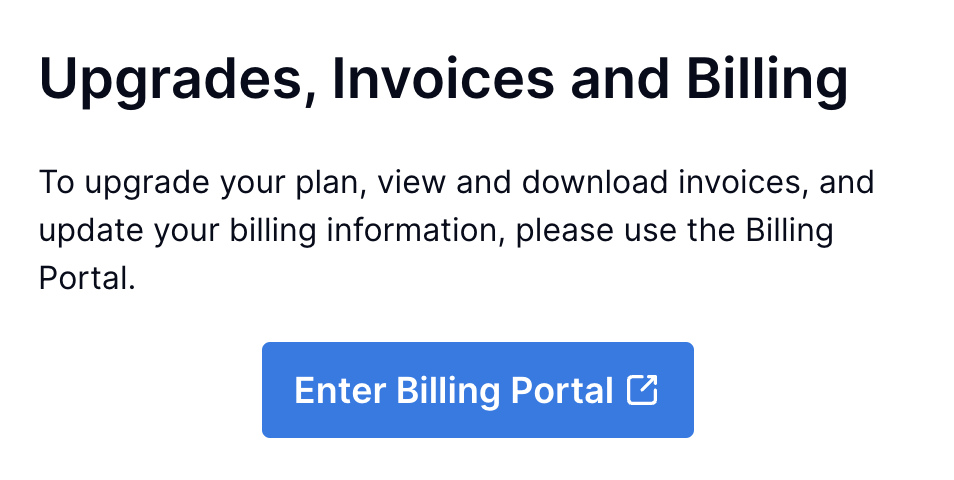
To upgrade your plan, click Upgrade Your Plan in the Customer Portal menu or click Settings in the menu. From the Settings page, click the Enter Billings Portal button.
If you have any questions on our advanced features, reach out to our support team during your trial. You can also post on Stack Overflow with the TinyMCE tag to answer a question from the TinyMCE community. Remember, all plans come with 14 days of FREE advanced features, so you can test and try different plugins and decide what works best for your app.


