


For most use cases in the rich text editor TinyMCE, the default line height, paragraph spacing, and margins are functional and useful. However, there are some types of apps that require special spacing, like document management systems. Customizing the various types of spacing in TinyMCE is easy, and the editor even has some built-in content CSS to quickly customize specific use cases.
This walkthrough will cover how to:
- Set up a basic local TinyMCE instance to experiment with
- Customize the line height
- Manage the margins
- Adjust paragraph spacing
- Configure the Autoresize plugin
Let’s get started!
Set up the TinyMCE demo
Follow these instructions to set up TinyMCE and try out these spacing changes yourself in a locally run demo.
Step one: Set up an index.html file
Copy and paste this basic editor configuration into an index.html file and save it:
<!DOCTYPE html>
<html lang="en">
<head>
  <!-- Replace 'no-api-key' in the link below with your API key -->
  <script src="https://cdn.tiny.cloud/1/no-api-key/tinymce/7/tinymce.min.js"
    referrerpolicy="origin"></script>
</head>
<body>
  <textarea id="editor">Hello, world!</textarea>
  <script>
    tinymce.init({
      selector: '#editor',
      plugins: 'lists link image table code help wordcount',
      toolbar: 'undo redo | blocks | bold italic | alignleft aligncenter alignright alignjustify | outdent indent'
    });
  </script>
</body>
</html>⚠️ Note: Replace “no-api-key” with a real TinyMCE API key. If you don’t have one already, grab an API key for free with a 14-day trial of TinyMCE plus premium features.
Step two: Run the app locally
It’s quickest to use http-server to run TinyMCE locally. You can get http-server by:
- Installing Node.js from nodejs.org
- Installing http-server by running:
npm install -g http-serverTo install the necessary dependencies and run the app in its directory, use these two commands:
npm i
http-serverThis launches the demo app contained in index.html to a localhost URL. Usually it’s http://localhost:8080/. Now that you have a working demo of TinyMCE, you’ll be able to change spacing configuration along with this guide.
Use TinyMCE Autoresize plugin for editor height
Before we get started on spacing, let’s quickly install the Autoresize feature for TinyMCE. We’ll change the RTE’s configuration to include the plugin so it expands and retracts in size depending on the content inside the editor. It’s as easy as just adding it to the plugins array:
tinymce.init({
  selector: "#editor",
  plugins: "lists link image table code help wordcount autoresize",
  toolbar:
    "undo redo | blocks | bold italic | alignleft aligncenter alignright alignjustify | outdent indent",
  content_css: "",
});
Now we’ve got an editor that expands and retracts based on the content.

Why is Autoresize useful for spacing and resizing the content area CSS? You don’t have to worry about user typing actions expanding the editor infinitely inside their apps with Autoresize and its options, since TinyMCE’s height will be limited to the content and your configuration. Four options exist for Autoresize that let developers custom configure the RTE’s padding.
Table of TinyMCE’s Autoresize config options
|
Option |
Behavior |
Type |
Notes |
|
Allows you to specify the size of the padding at the bottom of the editor’s body, set on initialization. |
Number |
As of version 6.3, |
|
|
Allows you to specify the size of the padding at the sides of the editor’s body set on initialization. |
Number |
||
|
Sets the maximum height the editor can automatically shrink to. |
Number |
||
|
Sets the minimum height the editor can automatically shrink to. |
Number |
Default value is |
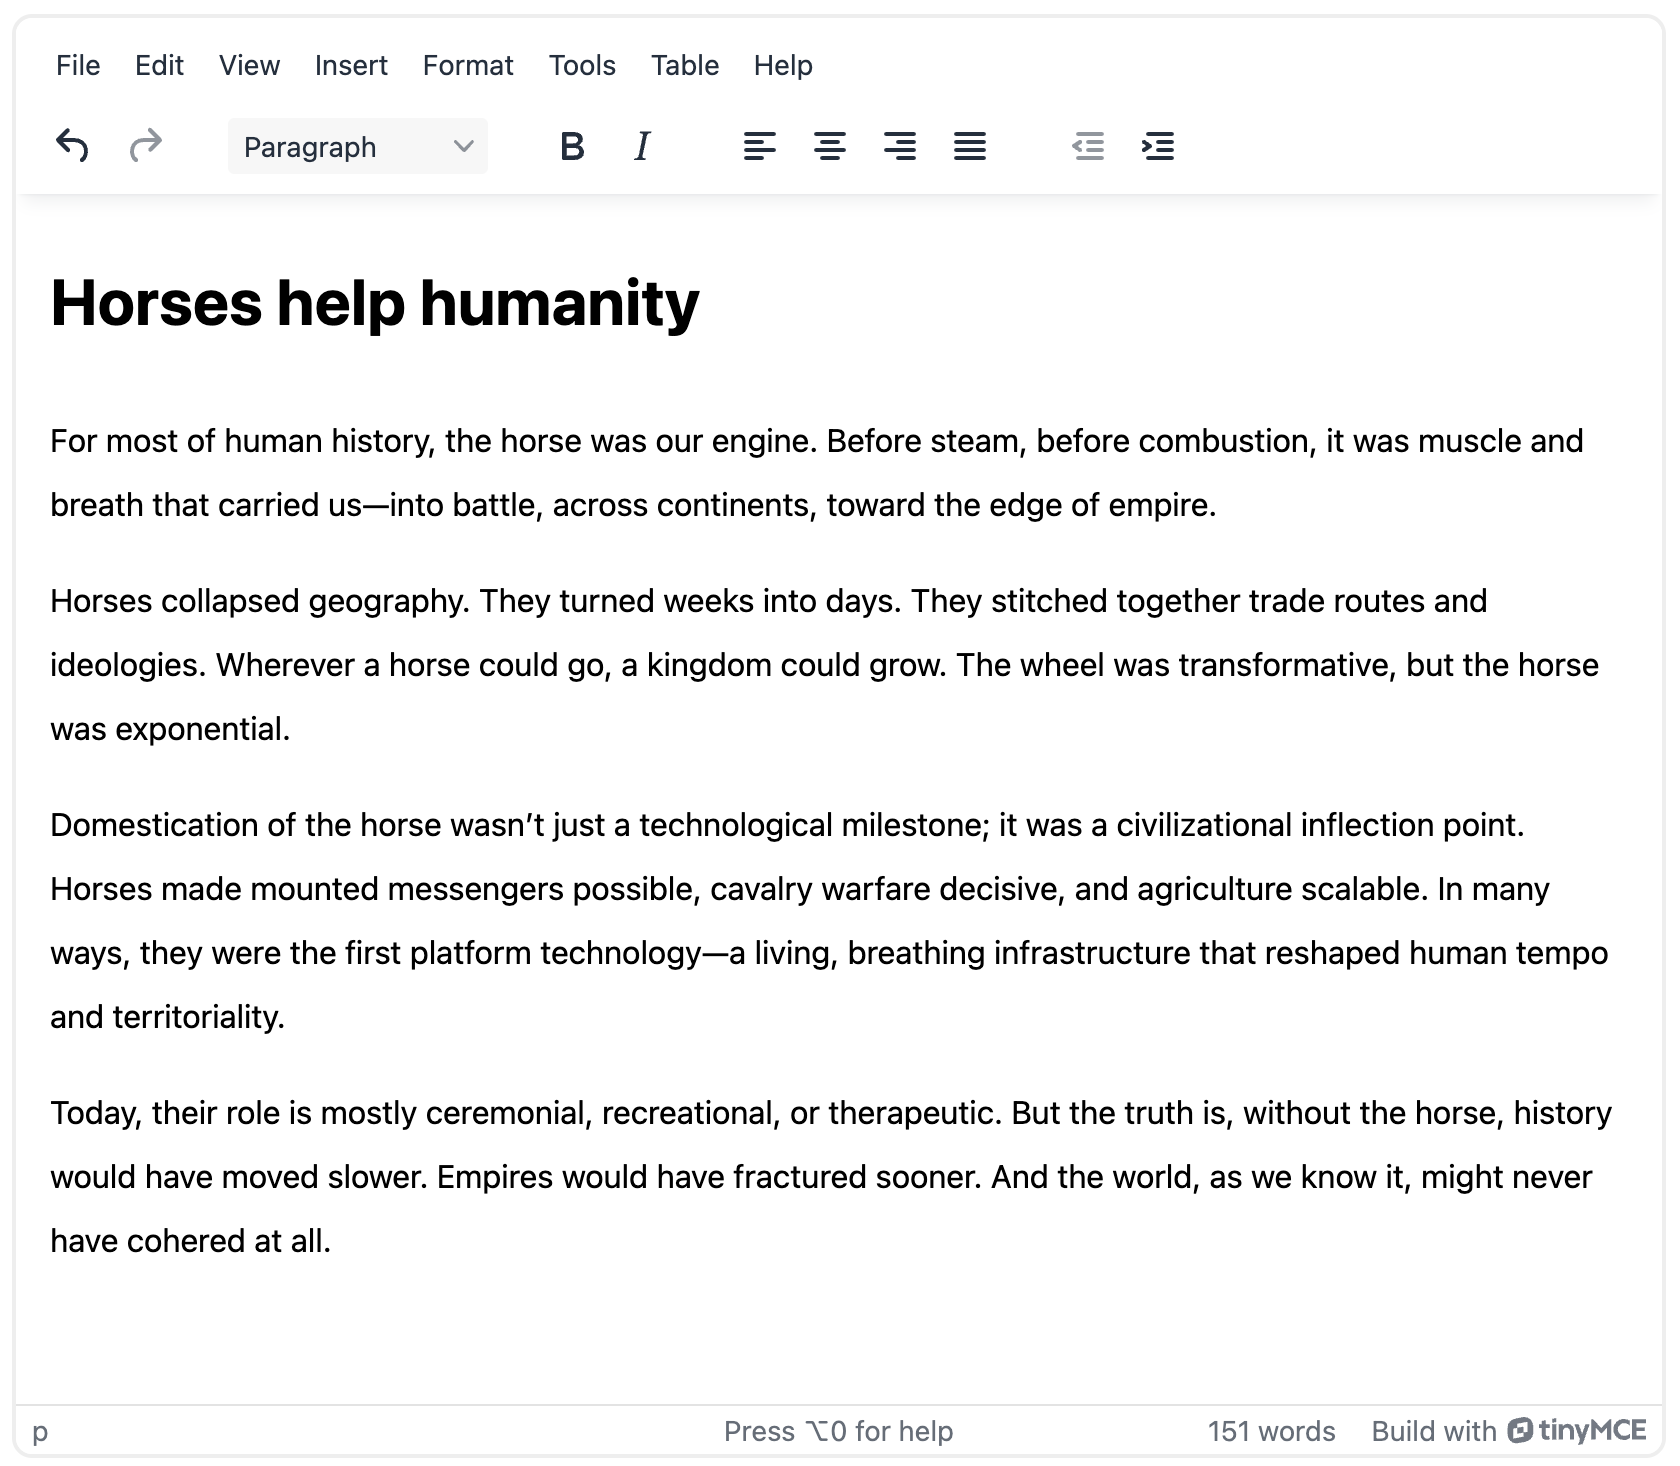
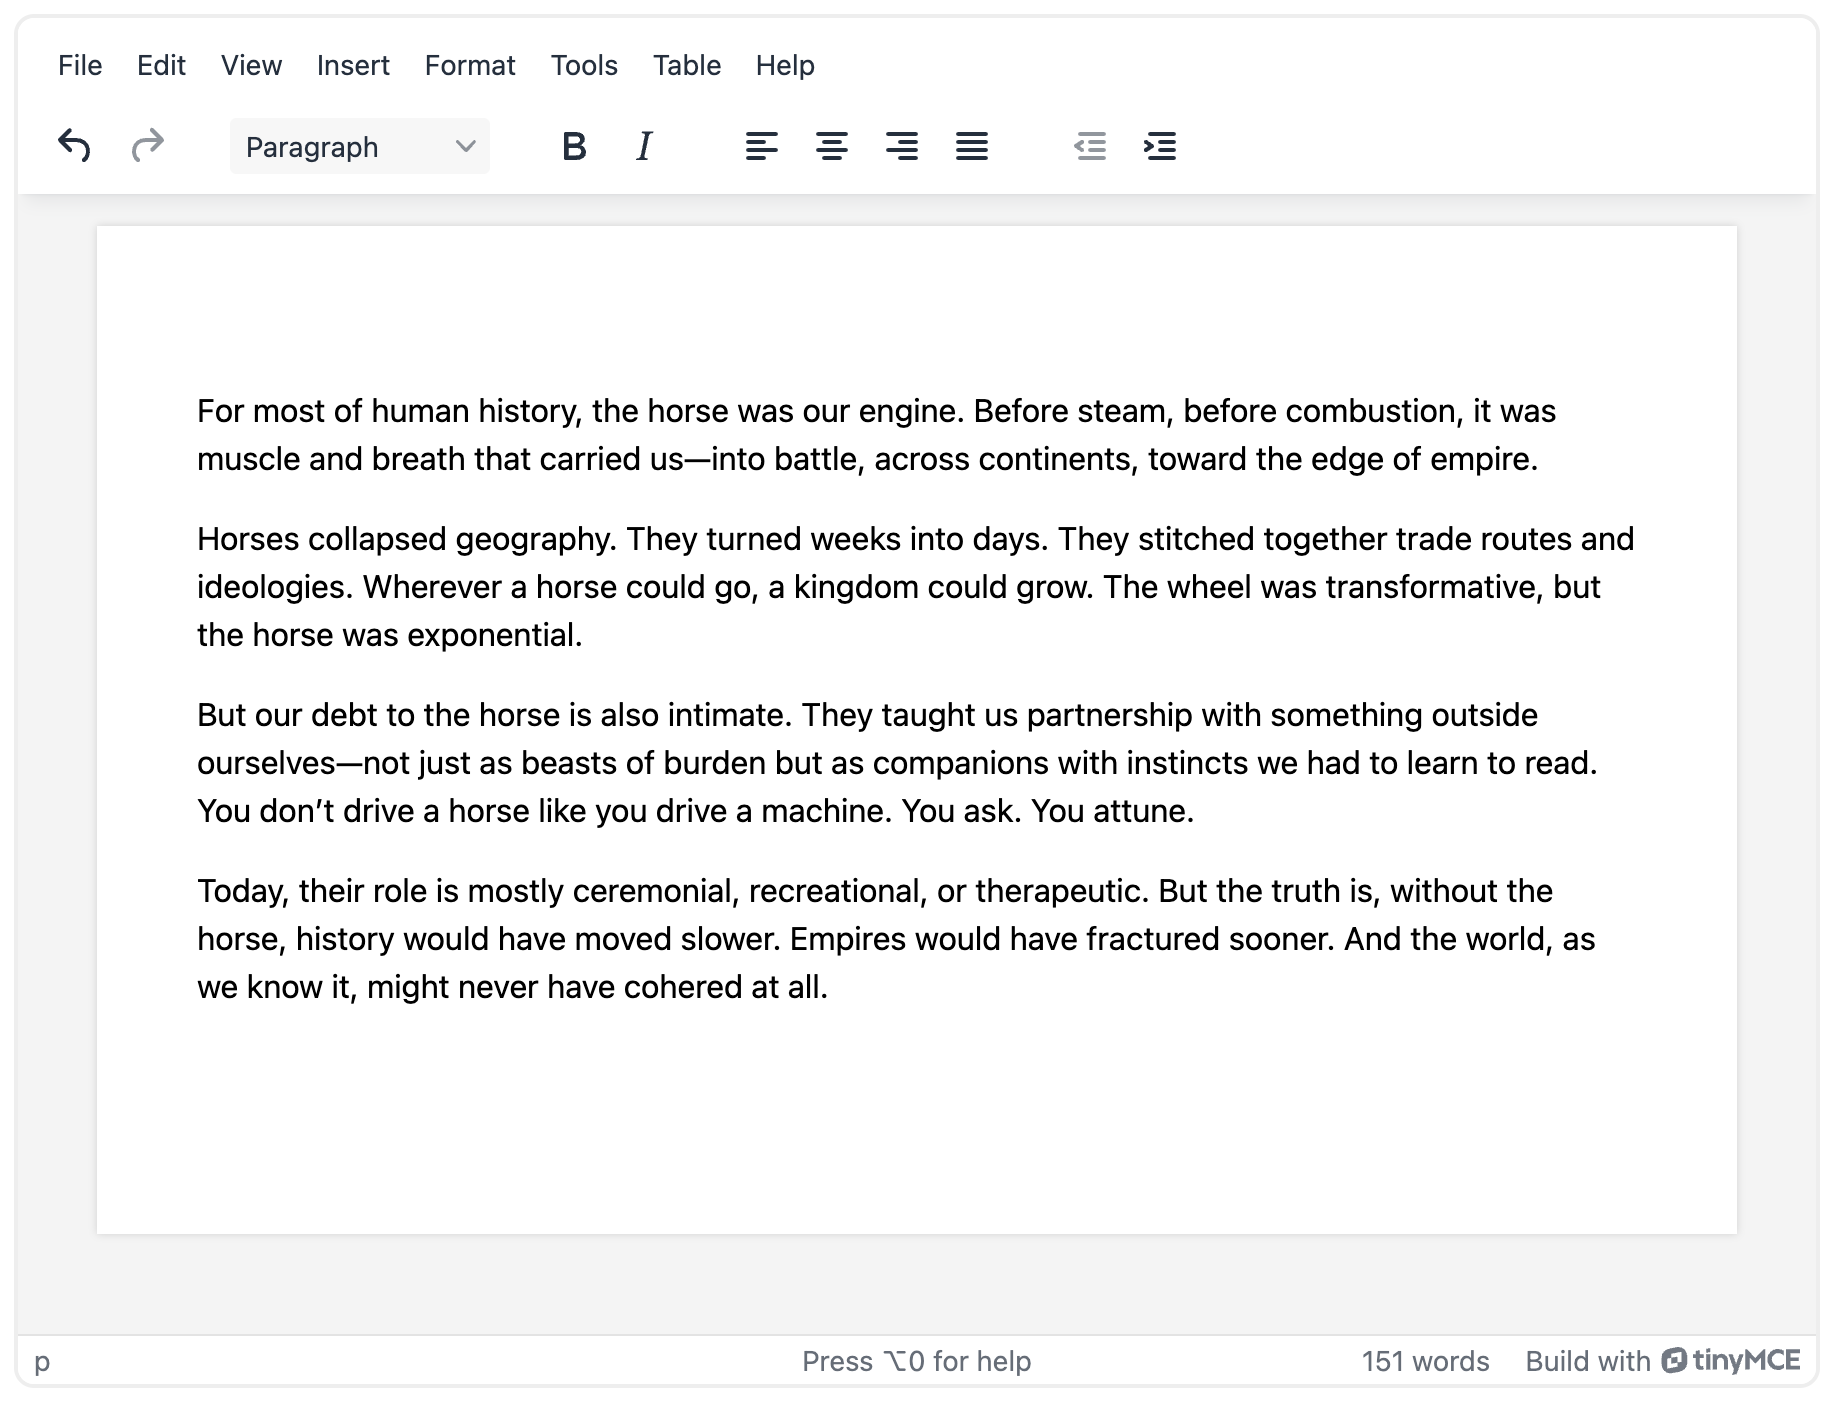
Customize line height in TinyMCE with content_style
By default, TinyMCE’s line height is set to 1.4. It’s easy to override the line height by setting it to whatever works for your use case and users - 1, 1.5, 2, etc. To customize the line height, add the content_style property to the tinymce.init, and use CSS to define line height:
tinymce.init({
  selector: "#editor",
  plugins: "lists link image table code help wordcount autoresize",
  toolbar:
    "undo redo | blocks | bold italic | alignleft aligncenter alignright alignjustify | outdent indent",
  content_style: "body { line-height: 2; }",
});
It’s that easy! Here’s what it looks like in a demo:
Manage margins in TinyMCE with content_css and content_style
TinyMCE’s default margin is 1rem, but this doesn’t work for every use case. Here’s how you can easily change that.
Manage margins with content_css
A DMS, like we discussed earlier, would require wider margins and a background that distinguishes itself from the page that holds the content. TinyMCE makes converting RTE margins for DMS apps quick with two built-in content_css options: document and writer.
|
Option |
Result |
|
document |
Applies wider margins to the top and bottom as well and frames the page on a grey canvas. |
|
writer |
Provides wider margins on the left and right sides of the editable area. |
Applying these margins requires only a single line added to the tinymce.init:
tinymce.init({
  selector: "#editor",
  plugins: "lists link image table code help wordcount autoresize",
  toolbar:
    "undo redo | blocks | bold italic | alignleft aligncenter alignright alignjustify | outdent indent",
  autoresize_overflow_padding: 50,
  content_style: "body { line-height: 1.5; }",
  content_css: "document",
});
And with these small changes, we get a nice, classic look like MS Word or Google Docs.
Manage margins with content_style
If you’d prefer to manage the margins yourself, TinyMCE allows you as much control of the CSS as you want for the content area of the RTE with content_style. To manage margins this way, add CSS to the content_style option:
content_style: 'body { margin: 1rem auto; }',Alternatively, to remove margins, you can set them to 0:
content_style: 'body { margin: 0; }',And that’s how you can control margins in TinyMCE! It’s best practice to adjust your RTE margins to fit your app needs and requirements.
Adjust paragraph spacing in TinyMCE with content_style
Paragraph spacing in TinyMCE defaults to the browser default. In most cases, this is a 16-point spacing between paragraphs. If you want a consistent WSYIWYG experience in your app, it’s recommended to style your RTE to look as much like your app’s front end as possible so that users have a realistic idea of what their content will look like once it’s published or printed out.
Adjusting paragraph spacing is similar to changing the margins using content_style. To remove the default paragraph spacing, set p to margin: 0 in content_style :
content_style: "p { margin: 0; }",To enforce specific spacing, change the CSS for the paragraph margins to the required value:
content_style: "p { margin: 16px 0; }",Take CSS customization further in TinyMCE
At this point, you’ve likely noticed that all we’re really doing, code-wise, is inserting CSS into content_style and referencing built-in stylesheets with content_css. You can reference specific skins with a path or a name, whether they’re premium TinyMCE skins or custom skins, and get quick results like we did earlier when we changed the demo's CSS to “document.”
content_css
content_css takes the name of a built-in option as a string, the path to a CSS sheet as a string, or an array with custom CSS rules. The four stylesheets that are built-in to TinyMCE are:
defaultdarkdocumentwriter
Custom CSS rules are implemented, as we saw earlier in this guide, and so are the built-in stylesheets. The path to the CSS sheet might look like this:
...
     content_css: './style.css',
    });
...It’s important to note that any relative path to a CSS file in content_css will be resolved in relation to the URL of the webpage in which TinyMCE is rendered.
content_style
content_style takes any custom CSS styles as a string. By default and in inline mode, the styles are injected into the head of the page holding the RTE. In TinyMCE’s classic mode, the CSS is injected into the head of TinyMCE’s iframe.
This is a great option for either small rules or quick universal rules that can be condensed into a few lines of code inside the TinyMCE configuration. Here’s an example of two different CSS rules included in content_style:
content_style: "div { margin: 10px; border: 5px solid red; padding: 3px; } " +
  ".blue { color: blue; } .red { color: red; }";
💡 Note: It’s not recommended to bloat the editor setup with a lot of CSS. If you need a lot of styling done, it’s best to use content_css.
What’s next?
Customizing the content area is just the beginning of styling TinyMCE to match your app’s look and feel. It’s best for your users to experience their content the same way, both unpublished and published. This ensures consistency in any DMS, content management system, or even a learning management system where students want to see what their homework looks like to the professor. A true WYSIWYG experience makes all the difference.
To learn more about how to customize TinyMCE and its content styling, check out our other guides:


