


It’s WYSIWYG, but it’s not psychic 🔮
TinyMCE is a WYSIWYG editor, which means that “What You See” in the editor “Is What You Get” in your published content. However, we don’t know exactly “what you want”, so we bundle TinyMCE with some default content styles to get you started, and provide you with everything you need to customize it further from there.
You can keep working with the default styles; however, to provide your users with the full WYSIWYG experience, you might prefer to customize the styles of the content within the editor to better match your published content.
In this article, we provide an overview of how to configure and customize TinyMCE CSS, covering:
- The default TinyMCE CSS
- Predefined stylesheets for TinyMCE
- How to use your own custom styles within the editor
- How to customize styles when using TinyMCE in inline mode (because that scenario requires you to do things a little differently)
We’re assuming you’ve already got an instance of TinyMCE up and running and you already know how to configure the editor by modifying the initialization script.
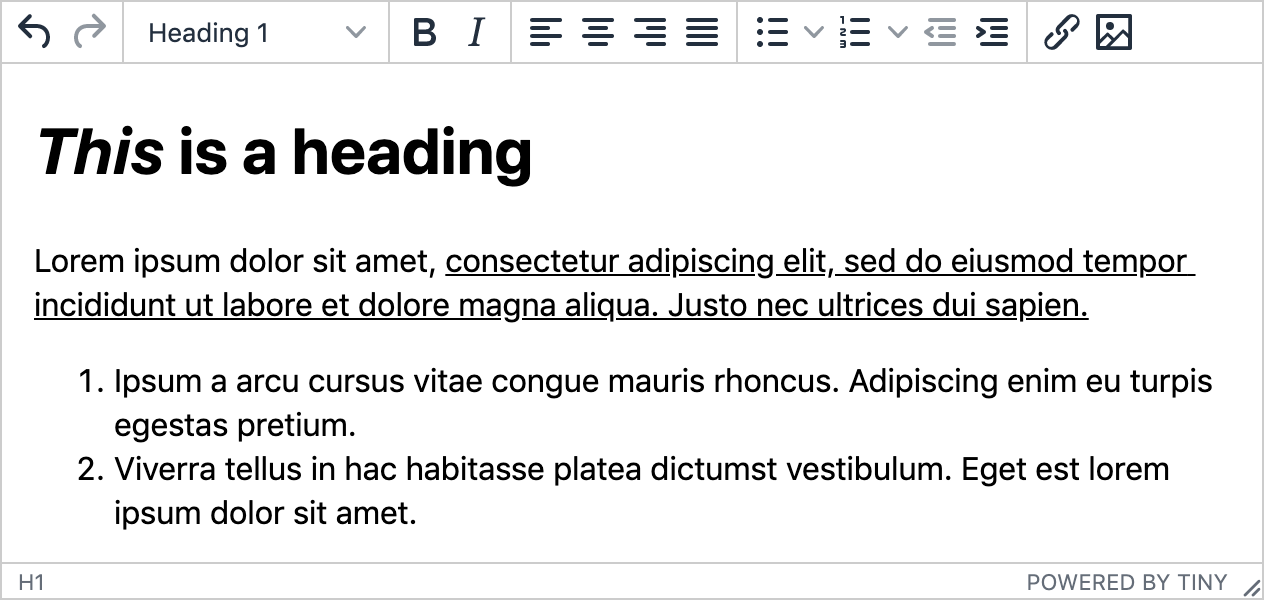
Default TinyMCE CSS
TinyMCE is shipped with a default stylesheet that determines what the font and everything else looks like in the editable area itself.
View the default TinyMCE CSS.
Predefined TinyMCE stylesheets
There are four stylesheets provided with TinyMCE out of the box:
- default - the default CSS applied when no style is explicitly configured (mentioned above)
- dark - used in conjunction with a dark skin to provide a dark mode
- writer - providing wider margins on the left and right sides of the editable area
- document - applying wider margins on all sides (including top and bottom) and frames the page on a grey canvas for an experience more like Word and Google Docs
You can apply any of the provided stylesheets using the content_css config option; for example:
tinymce.init({
  /* ... */ content_css: "document",
});
Customizing TinyMCE CSS
However, for even more control over the styles used in the editor, you can provide your own styles. For example, you might want to customize the styles so they more closely match that of your published content - for the full WYSIWYG experience.
There are two config options you can use to customize the styles of the content that appears in the editor (discussed in more detail in the sections below):
Custom styles with content_css
In addition to loading predefined stylesheets, the content_css option can also be used to load one or more specific stylesheets; for example:
tinymce.init({
  /* ... */ content_css: "/mycontent.css",
});
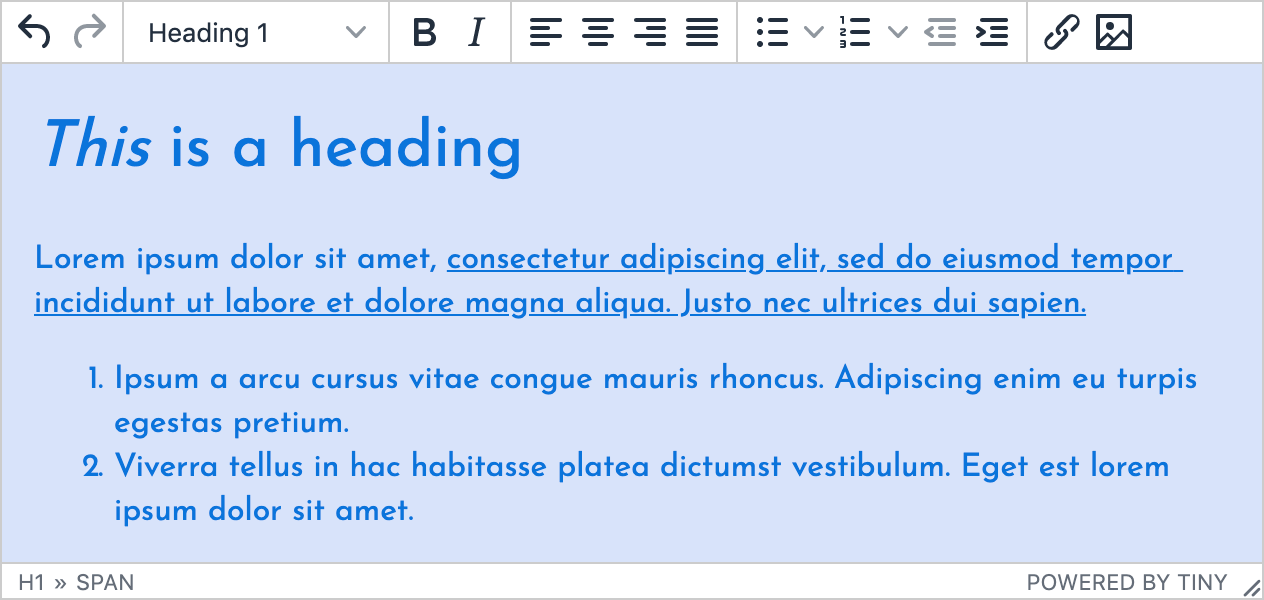
If mycontent.css were to contain the following CSS...
@import url('https://fonts.googleapis.com/css2?family=Josefin+Sans&display=swap');

body {
  color: #0C74DB;
  background-color: #d8e3fa;
  font-family: 'Josefin Sans', sans-serif;
  line-height: 1.4;
}...the editor would then be initialized as follows:
Before we move on, it’s also useful to know that content_css can take multiple stylesheets as an array; for example:
tinymce.init({
  /* ... */
  content_css: [
    "/mycontent.css",
    "https://fonts.googleapis.com/css2?family=Josefin+Sans&display=swap",
  ],
});
Custom styles with content_style
Regardless of whether you’re using the default CSS or you’ve specified one or more of your own stylesheets with content_css, the content_style option can be used to tweak (or override) these styles. Personally, I find this really useful for setting up simple examples for demos and testing.
For example:
tinymce.init({
  /* ... */ content_style: "body { color: red; }",
});
Applying styles to your published content
Regardless of the approach taken, remember these styles are for the content as it appears in the editor only. If you want the same styles to be applied to the content where it appears for consumption, you’ll need to apply them there too.
It can be a good idea to base the editor CSS on your site/app CSS for the full WYSIWYG experience. You could possibly refer to the one CSS file for both the editor and your application to avoid duplication (and potential inconsistencies).
Styling TinyMCE in inline mode
When using TinyMCE in inline mode, we recommend you DO NOT use either of the options above.
When running TinyMCE in inline mode, it works a little differently - it takes on the CSS applied to the page it’s on. If you customize the CSS using either of the options above, you risk it interfering with and overriding the page styles.
Instead, if you want to customize the content within the editable area, we recommend adding a class to the div the editor is initialized on, and styling that class, as demonstrated here:
Check out our related articles:
Customizing skins
It’s only natural when you’re thinking about customizing the editor content, that you might also be interested in customizing the overall appearance of the editor itself.
Check out our article on how to customize TinyMCE skins and icons. You can also create your own skins using the TinyMCE skin tool.
Not yet using TinyMCE on the cloud? When you’re on the cloud, you’ll always be up to date with the latest build and newest features. Get started with a free API key - you’ll also get a 14-day trial of our premium plugins!


