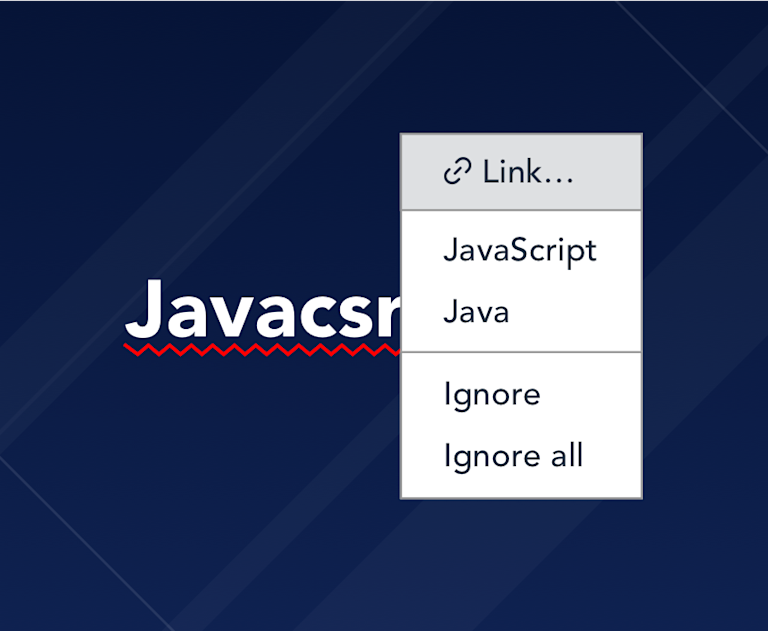
When you’re thinking about adding spell checking into your applications, you have many options. For example, you could add browser-based HTML spell checking or client-side JavaScript checking.
But when you’re building enterprise-grade products, designed to delight end users and empower businesses, also consider the benefits of using a robust and trusted WYSIWYG editor with server-side, multilingual spell checking, like TinyMCE and its Spell Checker Pro plugin.
The benefit of using a premium solution like Spell Checker Pro in your products is that you’re able to guarantee globally consistent spelling - organizations using your product can ensure consistency across all of their content and content authors. Plus, they’ll be able to check multiple languages all in the one document.

Try Spell Checker Pro in your JavaScript application
1. Get an API key
The easiest way to get started is to sign up for a 14 day free trial of our Cloud Professional plan.
You will get an API key to access the editor, plus compliance features like Spell Checker Pro, Accessibility Checker, and Link Checker, and 9 additional plugins designed for increased productivity.
2. Initialize TinyMCE with Spell Checker Pro
Once you’ve got your API key, it’s simply a matter of initializing the editor within your application where you would previously have had a text entry element. Let’s start with a simple example.
Create an HTML file with the following code, replacing no-api-key with your own API key (found on your account dashboard).
<!DOCTYPE html>
<html lang="en">
  <head>
    <meta charset="utf-8">
    <meta name="viewport" content="width=device-width, initial-scale=1">
    <script src="https://cdn.tiny.cloud/1/no-api-key/tinymce/6/tinymce.min.js" referrerpolicy="origin"></script>
    <script>
      tinymce.init({
        selector: "#mytextarea",
        plugins: [
          "advlist autolink lists link image charmap print preview anchor",
          "searchreplace visualblocks code fullscreen",
          "insertdatetime media table paste tinymcespellchecker"
        ],
        toolbar: "insertfile undo redo | styleselect | bold italic | alignleft aligncenter alignright alignjustify | spellchecker | bullist numlist outdent indent | link image"
      });
    </script>
  </head>
  <body>
  <h1>TinyMCE Simple Config with Spell Checker Pro</h1>
    <form method="post">
      <textarea id="mytextarea"><p>Hello, Vorld!</p><p>Right-click on mispelled words to correct.</p></textarea>
    </form>
  </body>
</html>TinyMCE is extremely flexible and can be customized with plugins, menus and toolbar options to suit almost any UI/UX. In this example, we have configured it with a menu, a selection of standard toolbar options, and included tinymcespellchecker in the list of plugins to enable the spell checker plugin.
Open the HTML file, and you’ll see that the WYSIWYG component is initialized on the textarea specified by the selector option.
NOTE: If, at this point, you see a warning message, make sure you have registered your domain as an approved domain in your account, and that you have replaced no-api-key with your own API Key in the above code. The message will remain if you’re opening the file locally.
Here’s the example running on CodePen:
Using TinyMCE with popular JavaScript frameworks
It’s easy to integrate TinyMCE with any of your favorite frameworks. Here are some guides to get started with the most popular ones:
- Enhance Bootstrap forms with WYSIWYG editing
- How to add TinyMCE 5 to a simple React project
- Create an Angular reactive form with a rich text editor
- Add a rich text editor to a simple Vue project
What next?
See the Tiny documentation for a live demo and more information about configuring Spell Checker Pro, including the multilingual service.
If you’re not yet ready to try our premium plugins, but you’re still interested in our WYSIWYG editor, check out the Community plan. Our free WYSIWYG editor suits many use cases straight out of the box.
For more information about customizing TinyMCE to suit your specific UI/UX, we recommend starting with our guide on customizing the TinyMCE toolbar.

