

Imagine you’re seated at a desk. There are objects on the desk. But the one thing you need, isn’t there. What do you do to find it?
You look for it..
There’s a purpose to this overly simplistic explanation..
When a computer engineer writes a program, he breaks down tasks into simple actions. And while it feels laborious and tiresome, it’s what computers need.
So, taking the above example and thinking like a computer, if the file you need isn’t on the top of the desk (ie. the “desktop”), what do you do to find it?
You look in storage, or to use the accepted wording, you “browse”.
File browsers are easy to overlook.
Nevertheless, using a file browser, and configuring them for any software project that goes looking for items that aren’t obviously available, shouldn’t be laborious and tiresome. Especially if the intent is for users to browse files from a text editor.
Enter the TinyMCE rich text editor.
TinyMCE comes with this functionality built in, and this article explains how to set up a custom file browsing experience.
What is a file browser?
A file browser is an additional bit of software code that’s added to the upload file or upload image dialog window.
When you click on a button marked “browse”, the file browser functionality starts, and then opens a new dialog window where you can browse through the file directories, and select a specific file.
MS Windows has included a custom file browser for their operating system since the 1990s.
Custom file browser with TinyMCE prerequisites
For this guide, there are a few things you need to get started:
- An API key (which you can get for free)
- A demo index.html file to test out the custom file browser
It’s optional, but running the demon through localhost using a command with Python, or PHP mimics some of the production environment experience.
TinyMCE API key and a demo
- Head to the Get-TinyMCE page
- Sign up for an account
- Once logged in, scroll down to the heading named “TinyMCE Installation”.
- Copy the html content in the code snippet window
- Create an index.html file in your workstation in a new directory, and paste the code snippet into it
- Open the index.html file in your browser to see TinyMCE running
If you’re using Python or PHP, you can run the localhost command in the terminal, and then navigate to the localhost:port address to see TinyMCE running in your browser.
| One reason to use an API key |
| Adding your API key to your app or project, removes these warning messages: This domain is not registered with Tiny Cloud. Please see the quick start guide or create an account |
Signing up for a FREE API key grants you free access to TinyMCE’s premium plugins for 14 days after you start using your API key.
Custom file browser configuration steps
TinyMCE has custom file browser functionality through one specific configuration option called file_picker_callback.
Note: This option replaced the older option called file_browser_callback.
Once you’ve configured the file picker, a custom file browser option becomes available when choosing and uploading an Image, Media, or a Link in TinyMCE.
Here’s how to set it up.
With TinyMCE running, make some modifications to it for a custom file browser:
-
Add
file_picker_callbackto the tinymce.init script, along with some plugins:
  <script>
    tinymce.init({
      selector: 'textarea',
      plugins: 'advlist autolink lists link image mediaembed editimage charmap preview anchor pagebreak',
      toolbar_mode: 'floating',
      file_picker_callback: function (cb, value, meta) {

      },
    });
</script>-
Configure the
Document.createElement()web API to handle inputs (in this case, the files browsed, and files uploaded are the input):
file_picker_callback: function (cb, value, meta) {
        const input = document.createElement('input');
input.setAttribute('type', 'file');-
Add event listeners to detect changes and loads to the input (the process of picking out and loading up files):
file_picker_callback: function (cb, value, meta) {
        const input = document.createElement('input');
        input.setAttribute('type', 'file');
        //event listeners
        input.addEventListener('change', (e) => {
         const file = e.target.files[0];

         const reader = new FileReader();
reader.addEventListener('load', () => {-
Set up functionality to handle a blob of data within TinyMCE. This processes the data blog – an important step to help the browser figure out what to do with the file:
file_picker_callback: function (cb, value, meta) {
        const input = document.createElement('input');
        input.setAttribute('type', 'file');
        //event listeners
        input.addEventListener('change', (e) => {
         const file = e.target.files[0];

         const reader = new FileReader();
         reader.addEventListener('load', () => {
         //handle data processing with a blob
          const id = 'blobid' + (new Date()).getTime();
          const blobCache =  tinymce.activeEditor.editorUpload.blobCache;
          const base64 = reader.result.split(',')[1];
          const blobInfo = blobCache.create(id, file, base64);
blobCache.add(blobInfo);-
Put in a callback to complete the file upload processing:
 //Add a callback and get the file name
          cb(blobInfo.blobUri(), { title: file.name });
             });
          reader.readAsDataURL(file);
           });
          input.click();
},-
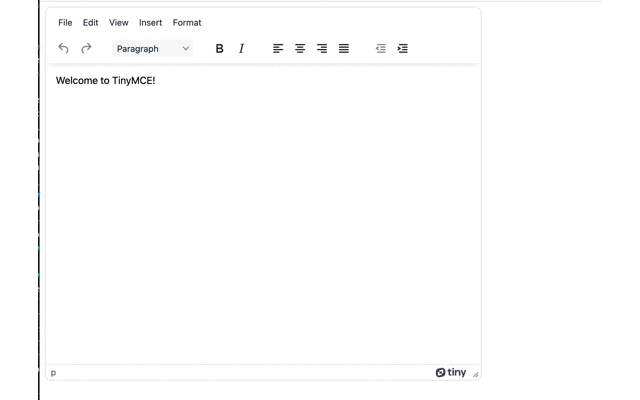
Save the changes, and then load the demo app in your browser. Test out the custom file browser by selecting and uploading an image file:
Next steps for custom file browsers
There are other details you can adjust to suit your custom file browser:
- Include credentials
- Activate or deactivate automatic image uploads
- Reuse upload file names
Discover more about these further customizations in the TinyMCE documentation on image and file handling options.
These customizations can have an effect on the Enhanced Image Editing plugin, which is one of TinyMCE’s premium plugins.
If you need some direct support for these configuration steps, contact us for more information.


