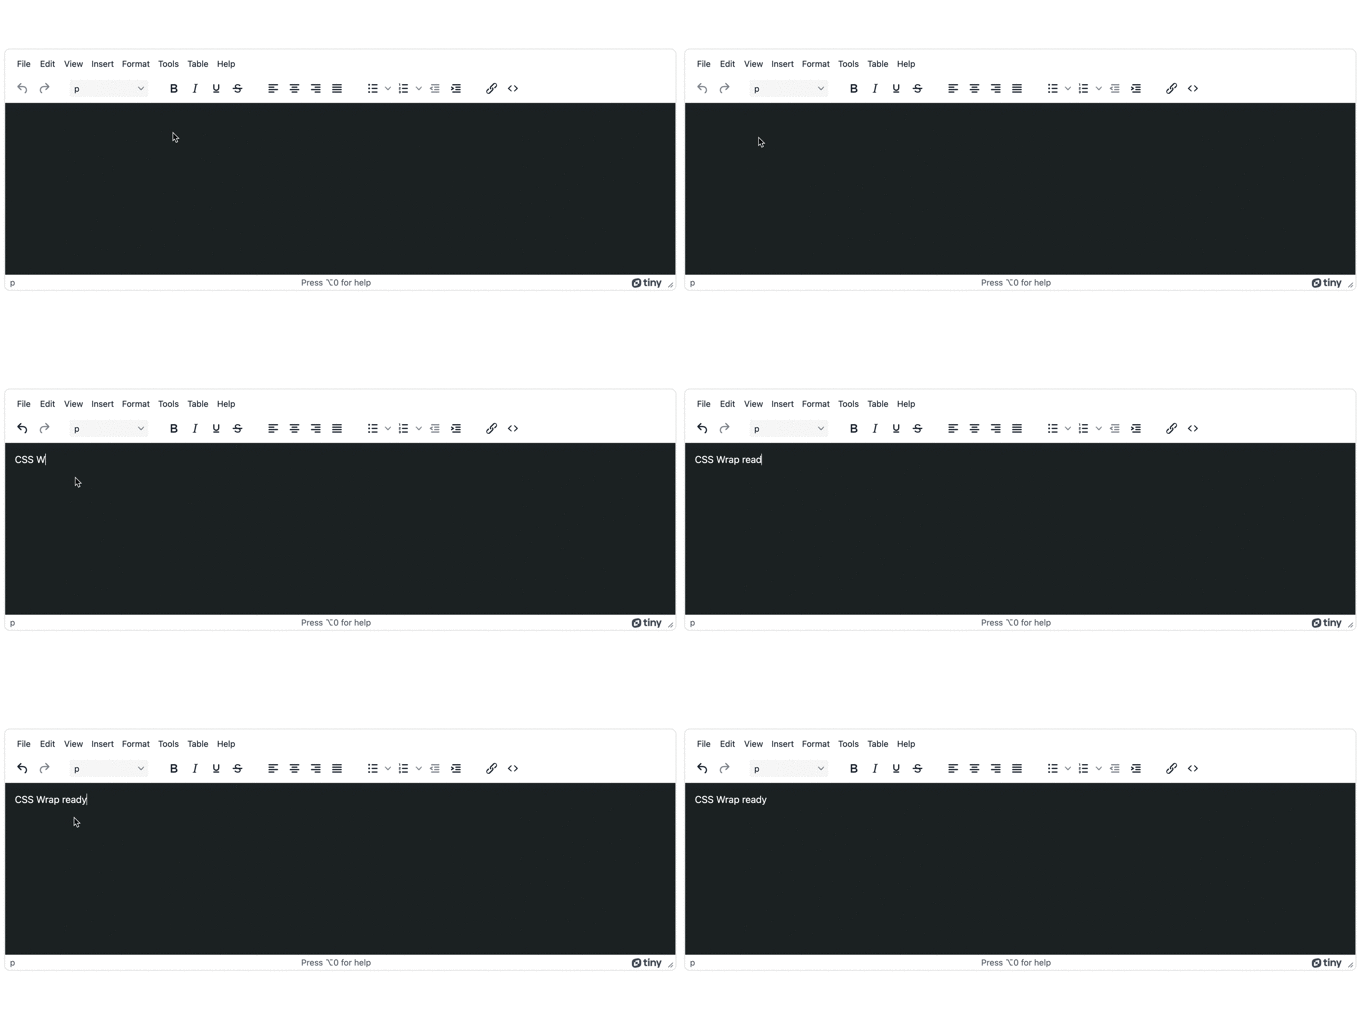
Good design takes time and focus. And that’s why front end web designers work on making sure the CSS that supports their design is effective. But finding the time to manage and compose effective CSS represents a challenge. The good news is that CSS management doesn’t need to be a productivity drain – not if you have the right components.
For content creation, there’s no better or more flexible editor than TinyMCE. It’s a rich text editor that provides a familiar UI to speed up interaction and increase productivity. Using TinyMCE’s options, you can easily manage CSS and design more efficiently.
This article explains how to manage CSS content wrapping. It also contains a demo showing how to set up a css wrapper in TinyMCE.
What is CSS content wrapping?
CSS content wrapping is the careful application of CSS properties to ensure content or text is wrapped according to the size of the container or block-level element on a web page. Correctly CSS wrapped content includes appropriate line breaks that ensure readable and clear content blocks. CSS wrappers make use of different properties such as overflow-wrap, break-word, or anywhere.
The role of the CSS wrapper
CSS content wrapping plays an important role in grouping elements into semantic and visually alike spaces on the page. This makes the content easier to understand. Importantly, it also keeps content written wrapped inside the boundaries of the designated container, preventing text from messily breaking the web designer’s HTML.
Implementing text wrap in TinyMCE
An essential CSS property to know for your CSS wrapper is the overflow-wrap property. This property instructs the browser to prevent content from breaking out of a given block-level element boundary:
div {
    overflow-wrap: normal; /*anywhere;  break-word;
}The break-word property is useful for your CSS wrapper as it breaks text to stop it exceeding the boundary of the parent block element.
Using TinyMCE, it’s possible to configure a CSS wrapper, and then create a custom style option. You can select, in the TinyMCE interface, to apply the CSS wrapper without having to edit any HTML or CSS. The Style Format option is what makes CSS content wrapping possible. The following demo explains how to set it up:
-
Create a new index.html file in your development environment.
-
Copy the following into the file to get the demo started:
<!DOCTYPE html>
<html lang="en">
<head>
    <meta charset="UTF-8">
    <meta name="viewport" content="width=device-width, initial-scale=1.0">
    <title>TinyMCE CSS Wrapping</title>
    <script src="https://cdn.tiny.cloud/1/no-api-key/tinymce/6-dev/tinymce.min.js" referrerpolicy="origin"></script>
    <script>
      tinymce.init({
        selector: "textarea",
        plugins: [
          "advlist", "advcode", "anchor", "autolink", "charmap", "code", "fullscreen",
          "help", "image", "insertdatetime", "link", "lists", "media",
          "preview", "searchreplace", "table", "visualblocks",
        ],
        toolbar: "undo redo | styles | bold italic underline strikethrough | alignleft aligncenter alignright alignjustify | bullist numlist outdent indent | link code",
	    style_formats: [
         { title: 'Headers', items: [
            { title: 'h1', block: 'h1' },
            { title: 'h2', block: 'h2' },
            { title: 'h3', block: 'h3' },
            { title: 'h4', block: 'h4' },
            { title: 'h5', block: 'h5' },
          ] },
        { title: 'Blocks', items: [
            { title: 'p', block: 'p' },
            { title: 'div', block: 'div', classes: 'wrapper', wrapper: true },
            { title: 'pre', block: 'pre' },
            { title: 'css-wrap', block: 'div', classes: ['container0a'] }
         ] },
	    ],
        content_style:
     `
        body {
            background-color: #242B2E;
            color: white;
        }

        .container0a {
            margin: 30px;
            height: 100px;
            width: 100px;
            background-color: #FF6666;
            overflow-wrap: break-word;
        }

        .p {
            color: white;
            margin: 5px;
            padding: 10px;
        }
     `,
});
    </script>
</head>
<body>
    <textarea></textarea>
</body>
</html>-
In the HTML head section, you’ll find the following string, which is a link to TinyMCE through the CDN:
<script src="https://cdn.tiny.cloud/1/no-api-key/tinymce/6-dev/tinymce.min.js" referrerpolicy="origin"></script>
Change the “your-api-key” string to your TinyMCE API key. This prevents any domain name errors appearing in the TinyMCE text area. If you don’t have an API key, you can sign up for one using your Google or GitHub accounts. The key is free, and comes with a 14-day FREE trial of TinyMCE’s premium plugins, like Advanced Code, and Advanced Templates.
-
Save the changes, and open the file in your browser, or make use of a localhost command for testing purposes.

Testing CSS wrapping in TinyMCE
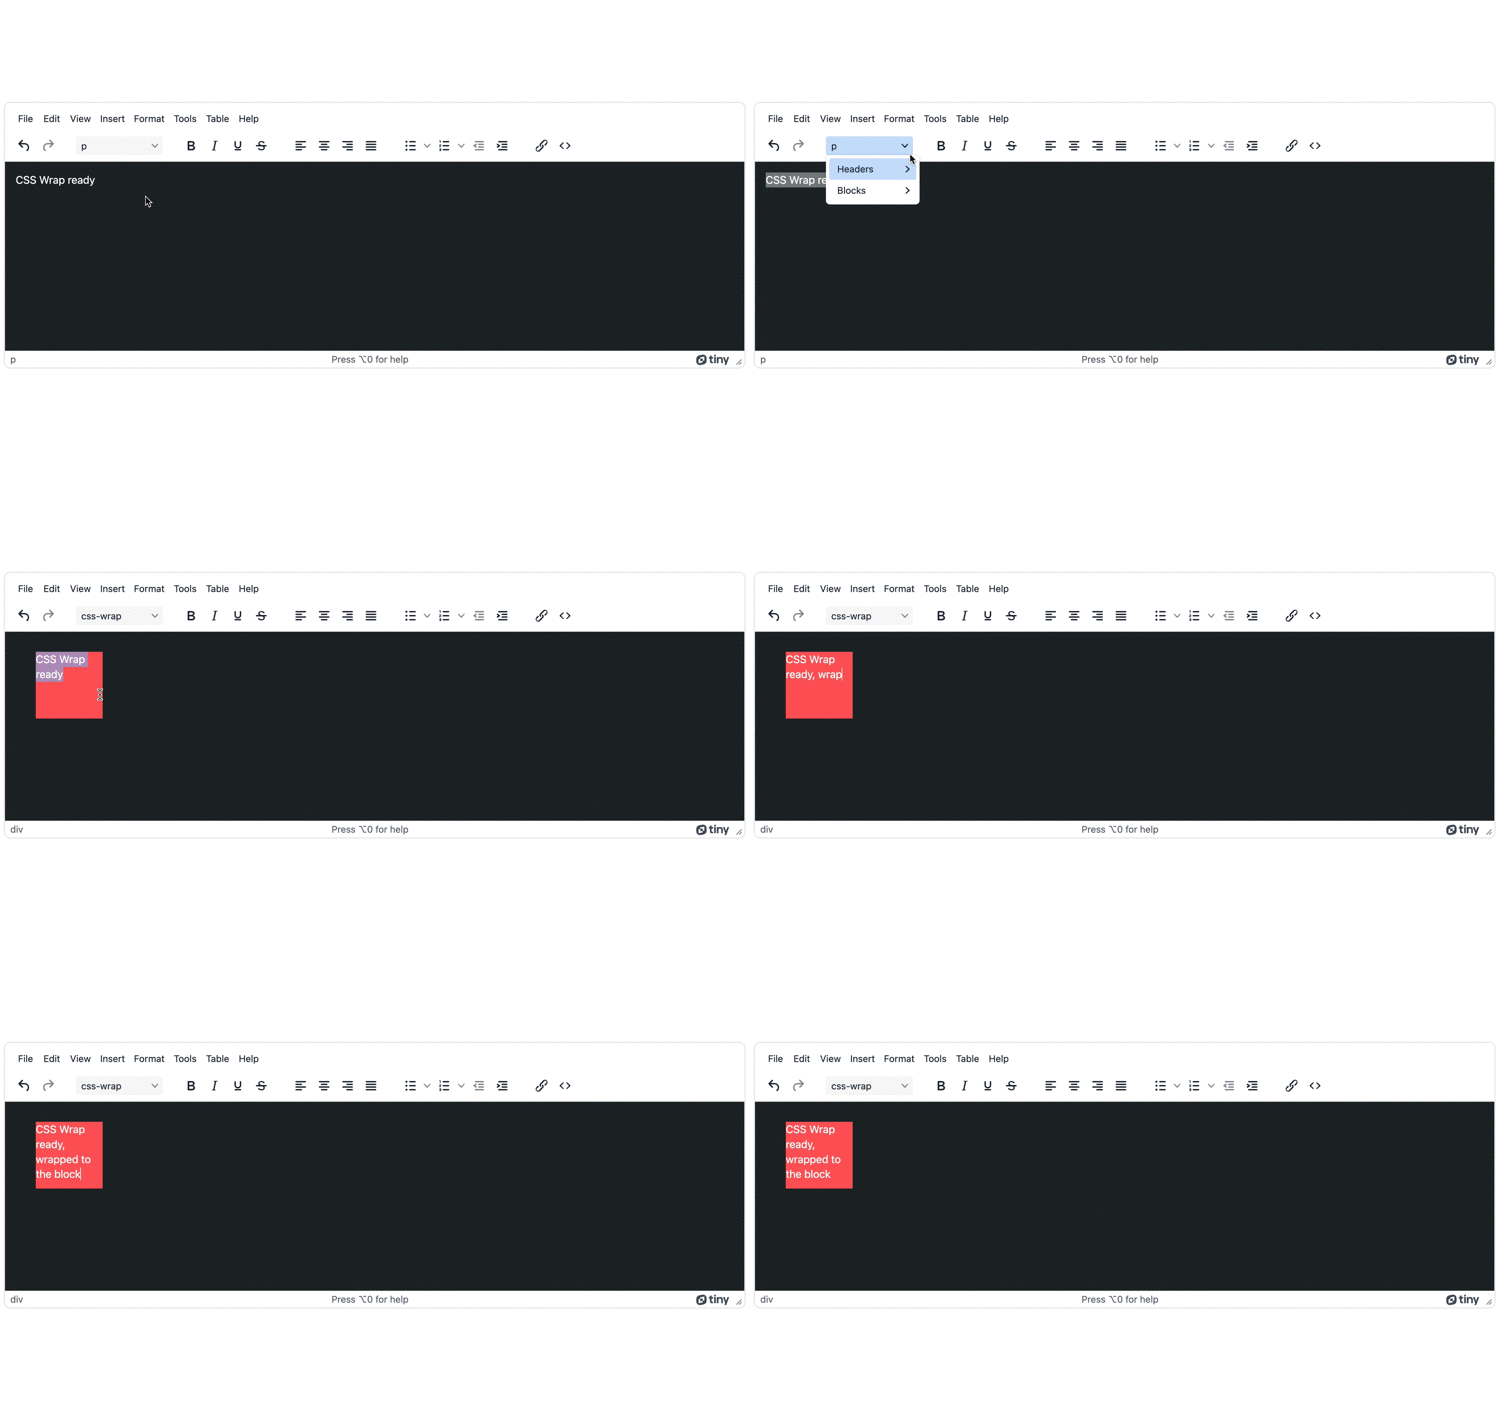
Now that the demo is ready, you can try out the CSS wrapper:
- Enter some content into the TinyMCE text area
- Select or highlight all the content
- In the TinyMCE toolbar, select the formats drop down menu
- Select “css-wrap”

The CSS wrapper class configured in the demo contains a class that has the required overflow-wrap: break-word; property. Setting up a custom format in TinyMCE means you can unlock more productivity since the CSS wrapper is applied automatically from the TinyMCE toolbar.
Content wrapper best practices in TinyMCE
There are a few best practices to be aware of when managing CSS wrappers in TinyMCE.
1. Line breaks and content wrapping
Line breaks can create issues with CSS wrapping. TinyMCE is designed to handle line breaks through key presses, and it’s important to be aware of what the results of common key presses are in TinyMCE:
- The Enter or Return key moves the cursor to a new line
- Shift+Enter adds a break element (< br >)
For more information, check out the guide on TinyMCE and line breaks.
2. The tab key and nonbreaking space
TinyMCE has a customizable option called nonbreaking_force_tab that is a part of the Nonbreaking Space plugin. This specific option changes the behavior of the tab key when typing content in TinyMCE. Be careful when using the non-breaking space plugin with the TinyMCE Table or List plugins, as these plugins both use the tab key for navigating and formatting.
3. Other methods for adding classes
TinyMCE has an extensive set of APIs available for interacting with the text editor. One group of these is designed for accessing the contents of the editor, and the DOM created therein.
Using the addClass API method for example, you can set up a function to automatically add a specific class to a selected element within the TinyMCE textarea. This is useful for more granular control of where CSS content wrapping is applied.
CSS wrapping and other design choices
TinyMCE offers everything you need to set up and style content beyond a CSS wrapper. For example, there are a range of custom text and skin options you can access:
- Creating scrolling text effect animation
- Customized, seasonal skins for the editor itself
- Text effects for different color palettes and layouts
Contact us if you have questions on how TinyMCE plugins and options can provide you with more productivity options in your app.
