


Rich text editors (RTE) are important for many types of systems. They’re used in content management systems (CMS), e-commerce platforms, and any app that lets its users format text, upload images, and edit other components on the page without having to know any code.
TinyMCE is an RTE that helps you deliver a great content creation experience. It’s easy to use, can be embedded in any type of website, and provides basic features like adding tables and lists, as well as more complex features like localization and spell-check.
Additionally, TinyMCE makes it easy for you to add functionalities into the editor by creating a plug-in or using open source or premium plug-ins.
When you create a plug-in, you can customize TinyMCE’s interface, and add custom functionalities that are specific to your use case..
In this tutorial, you’ll learn more about TinyMCE’s plug-ins and why you’d want to create one. Then you’ll learn how to set up TinyMCE in your website and add a plug-in with custom functionalities to the editor.
What are TinyMCE plug-ins?
Out-of-the box, TinyMCE comes packed with features for general use cases, but sometimes, you might need your editor to provide other options or functionalities that are more specific to your use case. To provide these other options, you can choose one of the open source or premium plug-ins available, or you can create one of your own.
When you create a plug-in, you can register it in your TinyMCE editor – then you can add buttons to your editor’s toolbar, access the editor instance and interact with its content, or change the style of your editor.
For example, you can create a plug-in that allows users to directly insert the current time and date into the editor’s content. Or you can create a plug-in that lets users share the content of the editor directly into their social media platforms or change the style of the editor to support dark mode.
How to implement your TinyMCE plug-in
In this section, you’ll learn how to create and register a custom plug-in to a TinyMCE editor on your website. The plug-in will transform the content from HTML into Markdown when the user clicks on the plug-ins button on the toolbar.
You can find the full code for the tutorial in this GitHub repository.
Download TinyMCE
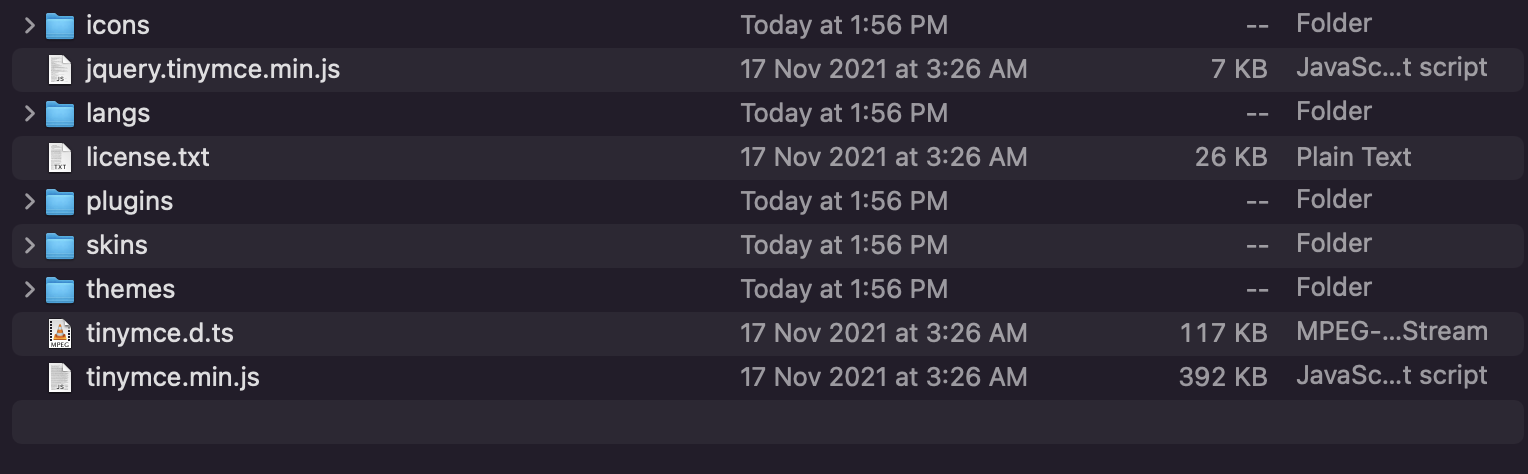
Before you start the implementation of the plug-in, you need to download TinyMCE and create a new directory that will hold your website and extract the ZIP into the directory.
Here’s the content of the js/tinymce directory unzipped file:
Set up the website
In the directory you just created for the website, create the file index.html with the following content:
<!DOCTYPE html>
<html lang="en">
<head>
  <meta charset="UTF-8">
  <meta http-equiv="X-UA-Compatible" content="IE=edge">
  <meta name="viewport" content="width=device-width, initial-scale=1.0">
  <title>WYSIWYG to Markdown</title>
  <script src="tinymce/js/tinymce/tinymce.min.js"></script>
  <script>
    tinymce.init({
      selector: '#wysiwyg',
    });
  </script>
</head>
<body>
  <h1>Convert WYSIWYG to Markdown</h1>
  <textarea id="wysiwyg"></textarea>
</body>
</html>Here, you create a simple HTML page that links to the TinyMCE script located at tinymce/js/tinymce/tinymce.min.js. This is the path to the file after you extracted the ZIP in the website’s root directory.
Then you initialize TinyMCE by specifying the selector #wysiwyg, which is a textarea element that TinyMCE will use to create the text editor.
If you open the website now, you should see a TinyMCE editor with default functionalities. These include undo and redo, text styling, and text alignment.

Create a plug-in
To create a TinyMCE plug-in, you can use TinyMCE’s Yeoman generator. This generator will create a basic plug-in for you with all the configurations and files you need to start implementing your custom plug-in.
-
Start by installing the generator globally:
npm install --global yo generator-tinymce
-
Then change to the directory tinymce/js:
cd tinymce/js
-
Create a new directory that will hold the source code for the plug-in and change to that directory:
mkdir to-markdown && cd to-markdown
-
Generate the plug-in using the Yeoman generator:
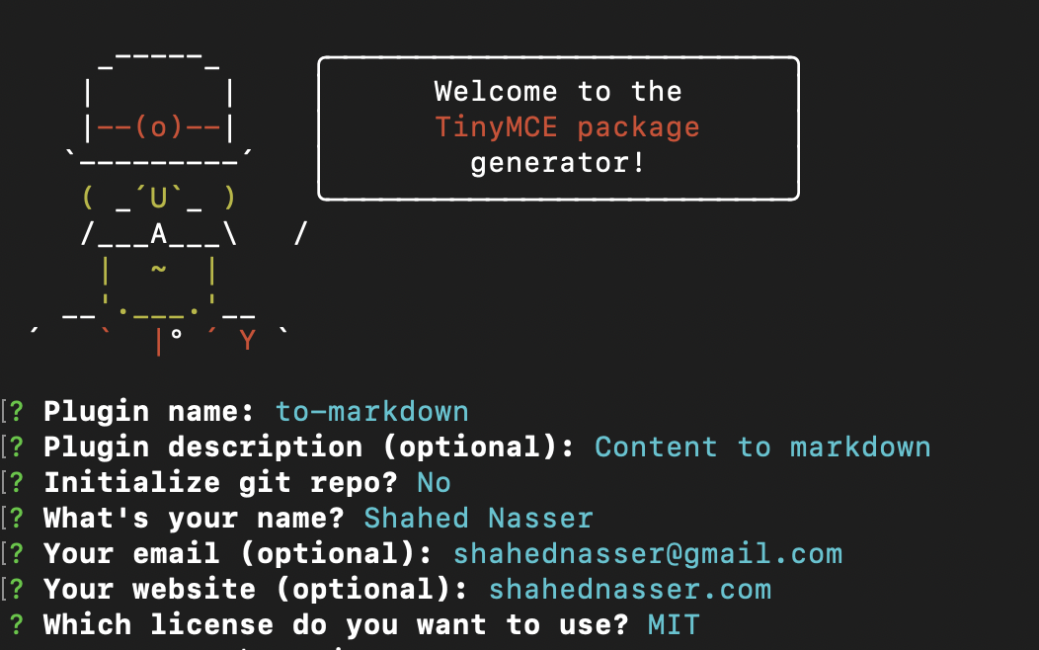
yo tinymce
You should now be prompted to answer a few questions, like the name of the plug-in, your name, and the plug-in’s license. After you answer the questions, the generator will then prepare your files and everything you need to start developing your plug-in.
Once it’s done, you’ll have a src directory in the to-markdown directory. This is where most of your development work will be. If you open the file src/main/ts/Plugin.ts, in the code, you’ll find the following line:
tinymce.PluginManager.add("to-markdown", setup);
The first parameter is the ID of the plug-in. This will be used to add the plug-in to your TinyMCE editor.
The second parameter is a function that you can use to add the custom functionality of your plug-in into the editor. By default, the setup function adds a new button with the text to-markdown button. When the button is clicked, some text will be added to the content of the editor. This is the default functionality of a plug-in created by the Yeoman generator.
Add the plug-in to the editor
Now you need to add the plug-in you just created,into the editor. The first thing you need to do is install all the dependencies needed for the plug-in:
npm install
Then you need to run the build command. By default, the build command builds the plug-in’s source code and outputs a file in a new dist/to-markdown directory. This plugin.min.js file is where you’ll ultimately add your custom plug-in.
You can find plugin.min.js in tinymce/js/tinymce/plugins/to-markdown, where to-markdown is the ID of the custom plug-in. After you run the build command, manually copy this file there, or you can make changes to the build script in tinymce/js/to-markdown/package.json to the following:
"build": "grunt && rm -rf ../tinymce/plugins/to-markdown && cp -r dist/to-markdown ../tinymce/plugins/to-markdown",
This performs the original build command, which is grunt. Then it removes the tinymce/js/tinymce/plugins/to-markdown if it already exists. Finally, it copies the files in the generated dist directory to tinymce/js/tinymce/plugins/to-markdown.
Now in your terminal, build the code:
npm run build
After this command finishes executing, you should be able to find the directory tinymce/js/tinymce/plugins/to-markdown, which holds the plugin.min.js file.
To add the plug-in into the editor, change the init method in index.html to the following:
tinymce.init({
  selector: '#wysiwyg',
  plugins: 'to-markdown',
  toolbar: 'to-markdown',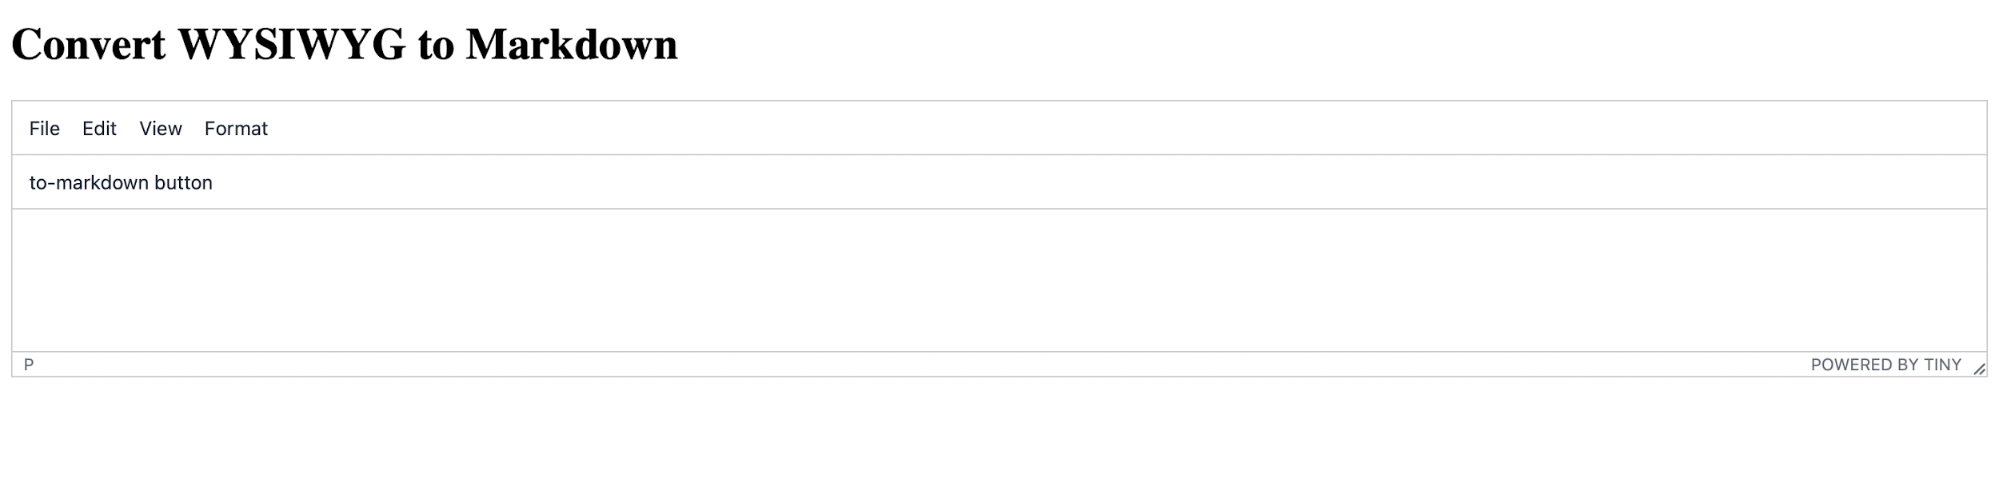
});The plugins option lets you specify a list of space-separated plug-in IDs. The toolbar option lets you add a list of buttons to your toolbar. To show the button you added in your plug-in, you need to include it in the toolbar option.
If you now open your website, you should see that the previous buttons in the toolbar are all gone and your new button is added.
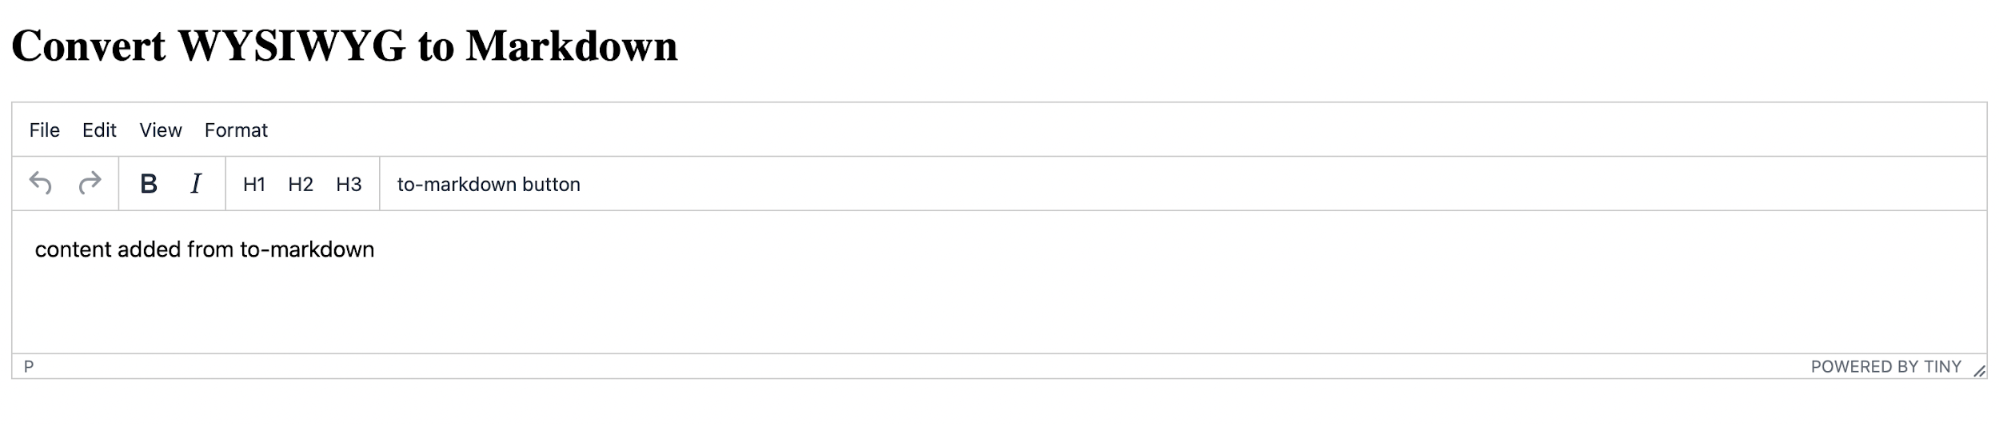
You can add the previous buttons or any other buttons from TinyMCE’s wide selection of toolbar buttons by passing them to the toolbar option like this:
tinymce.init({
  selector: '#wysiwyg',
  plugins: 'to-markdown',
  toolbar: 'undo redo | bold italic | h1 h2 h3 | to-markdown'
});Notice that you can use | to add a separator between the items in the toolbar.
If you reopen your website, you should see more buttons in the toolbar. If you click on the plug-in’s button, some text should be added to the editor. This is the basic functionality of a generated plug-in.
Add more functionality
Now let’s add some custom functionality to your plug-in. As explained earlier, this plug-in will transform the editor’s content to Markdown. The converted Markdown will be displayed in an alert.
To do that, you can use the library turndown, which accepts HTML strings and transforms them to Markdown.
-
Make sure that in your terminal, you’re in the directory
tinymce/js/to-markdown. Then install the library:
npm install turndown
-
Open
src/main/ts/Plugin.tsand importturndownat the beginning of the file:
import TurndownService from "turndown";
-
Change the
setupfunction to the following:
const setup = (editor: Editor, url: string): void => {
  editor.ui.registry.addButton("to-markdown", {
    tooltip: "Convert to Markdown",
    icon: "sourcecode",
    onAction: () => {
      const turndownService = new TurndownService({
        headingStyle: "atx",
      });
      const markdown = turndownService.turndown(editor.getContent());

      alert(markdown);
    },
  });
};
To start, in the addButton method, which registers the button in the TinyMCE editor, pass the name of the button as the first parameter, which you used earlier when you added the button in the toolbar.
The second parameter is an object for your button’s options. A button should have either the text option or the icon option. The text option shows text in the button, whereas the icon option shows an icon. You can either pick from TinyMCE’s icons or add your own custom icon. The tooltip option will be the text to show when the user places their mouse over the button. The tooltip option can be used with both icon and text.
Then in the onAction option of the second parameter, you’ll find the code that will be executed when the button is clicked. Here, you initialize turndown and convert the editor’s content to Markdown using turndownService.turndown(editor.getContent()). Finally, you show the content in an alert.
Now, you need to build the plug-in for the changes to be visible on the website. Run the following command:
npm run build
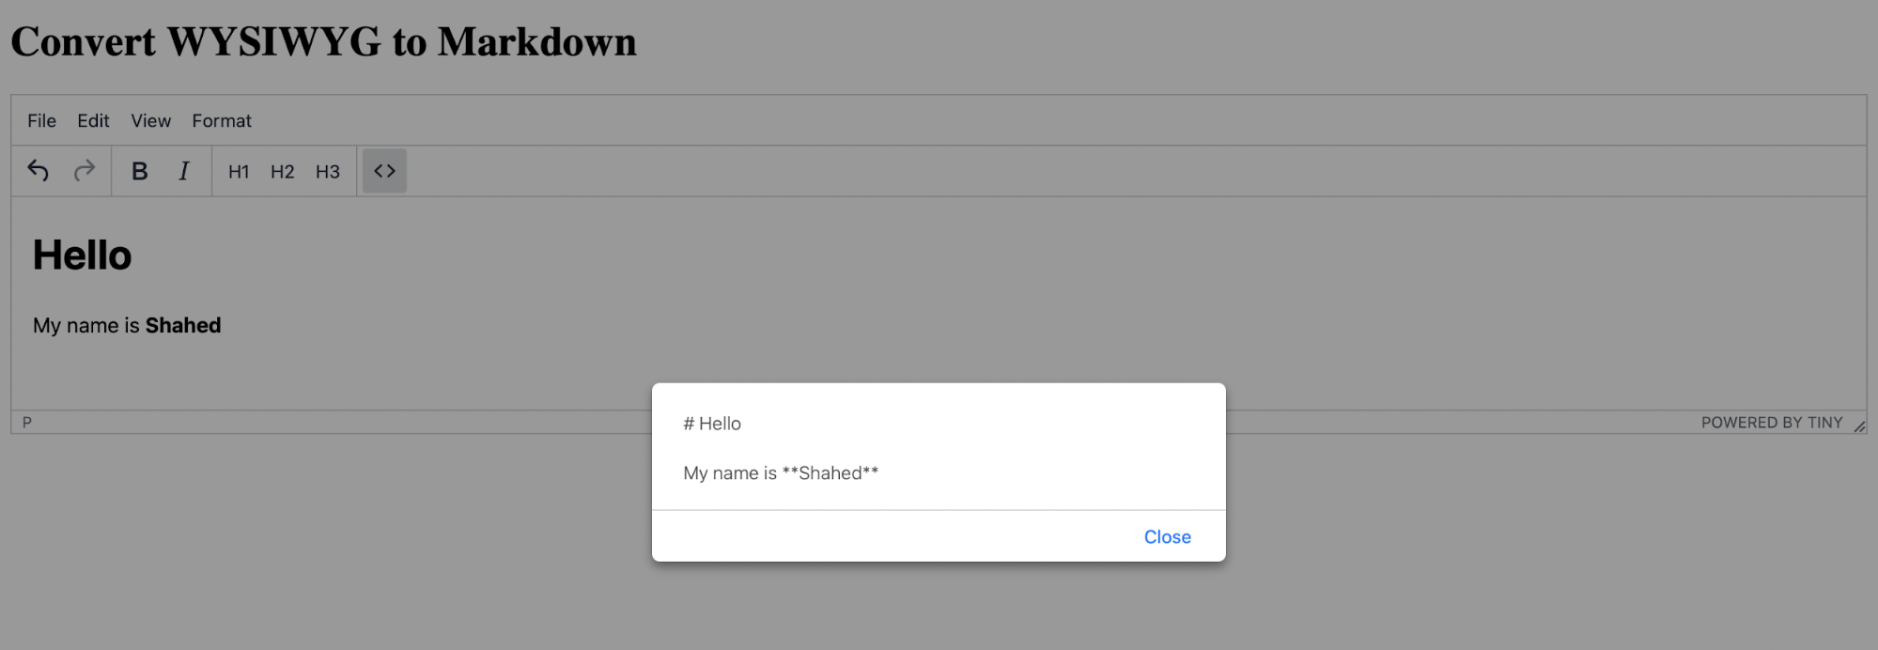
If you now open the website, you’ll see a new button with a sourcecode icon at the end of the toolbar. If you type something into the editor and add some formatting or styling to it and click the button, the content will be converted to Markdown and displayed in an alert.
Creating an external plug-in
Alternatively, you might:
- Choose a plug-in provided by other developers
- Host your plug-in somewhere else on the internet
- Or for some reason, need to provide a URL to your plug-in rather than host it in the
pluginsdirectory of your TinyMCE installation.
To do that, you need to pass the external_plugins option to the init function:
tinymce.init({
  selector: "#wysiwyg",
  external_plugins: {
    pluginId: "https://example.com/to-markdown/plugin.min.js",
  },
});
The next step – sharing your plugin
With your plugin complete, you could head to the TinyMCE discussion page on GitHub and share your plugin. The discussion space allows for sharing more topics beyond issues and bug reports. For instance, the show and tell section offers a place to talk about the work you have done in creating your plugin.
By talking about why you wanted to create a plugin, it can help other developers and contributors understand why your plugin offers people an advantage when they’re writing content with TinyMCE. It may even inspire others to get started on their own plugin projects.


