TinyMCE is used as the text entry component in over 100M+ products worldwide. It’s trusted by millions of developers who are creating the next generation of productivity and collaboration applications - check out examples of 9 products you can build with TinyMCE.
Among the many possibilities, TinyMCE can be used to build online note taking apps like Evernote or Notion. And with real-time collaboration already built-in, your applications will empower users to work together more effectively and save businesses a lot of time and money as a result.
In this article, we’re going to take a step by step look at how to configure TinyMCE for note taking applications.
Start with the default config
If this is your first time using TinyMCE, let’s just take a moment to set up a simple project so you can follow along. If you’re already familiar with TinyMCE, you can jump ahead to the next section.
Create an HTML file using the following code from the TinyMCE quickstart guide, replacing no-api-key with your own Tiny API key. If you haven’t yet got an API key, you can get a free API key now.
<!DOCTYPE html>
<html lang="en">
 <head>
   <meta charset="utf-8">
   <meta name="viewport" content="width=device-width, initial-scale=1">
    <script src="https://cdn.tiny.cloud/1/no-api-key/tinymce/6/tinymce.min.js" referrerpolicy="origin"></script>
   <script>
     tinymce.init({
       selector: "#mytextarea"
     });
   </script>
 </head>
 <body>
 <h1>TinyMCE Example</h1>
   <form method="post">
     <textarea id="mytextarea"></textarea>
   </form>
 </body>
</html>Open the HTML file in a browser and the default TinyMCE editor will be displayed, initialized on the element with the same id as that specified by the selector option.
NOTE: You will be presented with a warning notification - This domain is not registered with Tiny Cloud - if you are running TinyMCE on your local machine outside of a web server, or if the domain on which you’re running TinyMCE is not registered against your account. To remove the notification, open it on localhost (which is already an approved domain by default), or register your domain as an approved domain in your account.
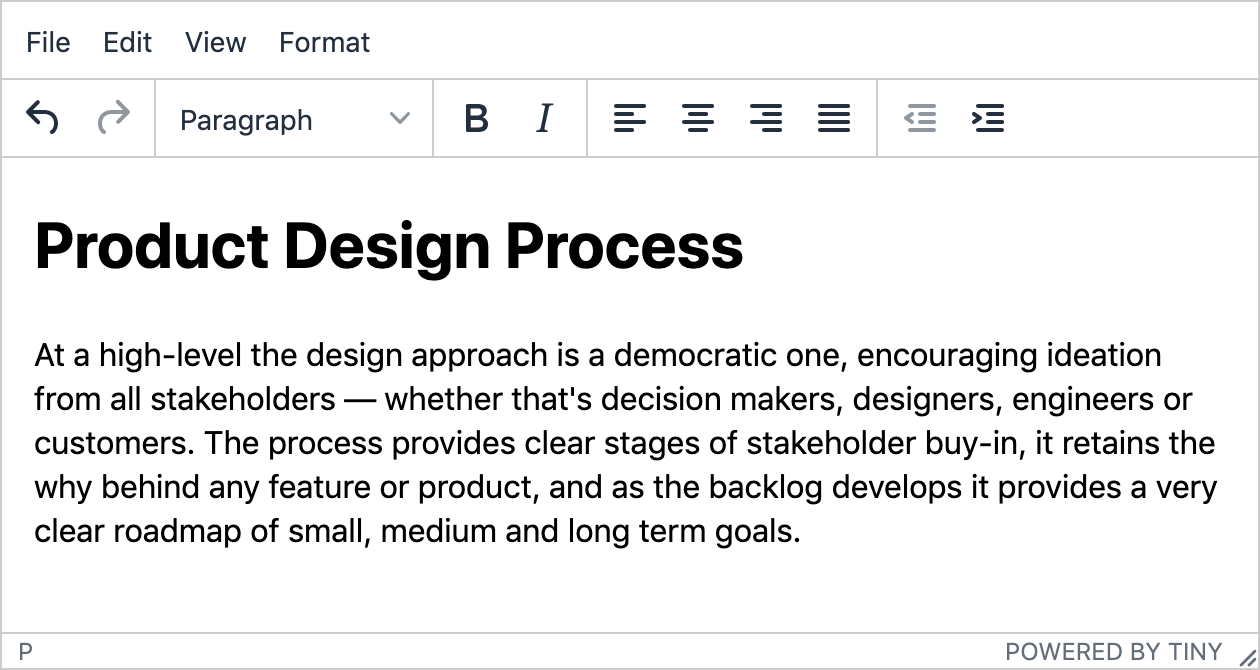
Remove the menu bar
TinyMCE comes with a menu bar by default; however, many modern collaboration tools do away with menus and, instead, provide a subset of the most commonly used options on a toolbar.
To remove the TinyMCE menu bar, add menubar: false to the init script in your code:
tinymce.init({
  selector: "#mytextarea",
  menubar: false,
  statusbar: false,
});
We’ve also removed the status bar to simplify the editor window further.
Refer to our Tiny docs for more information about the menubar or statusbar options.
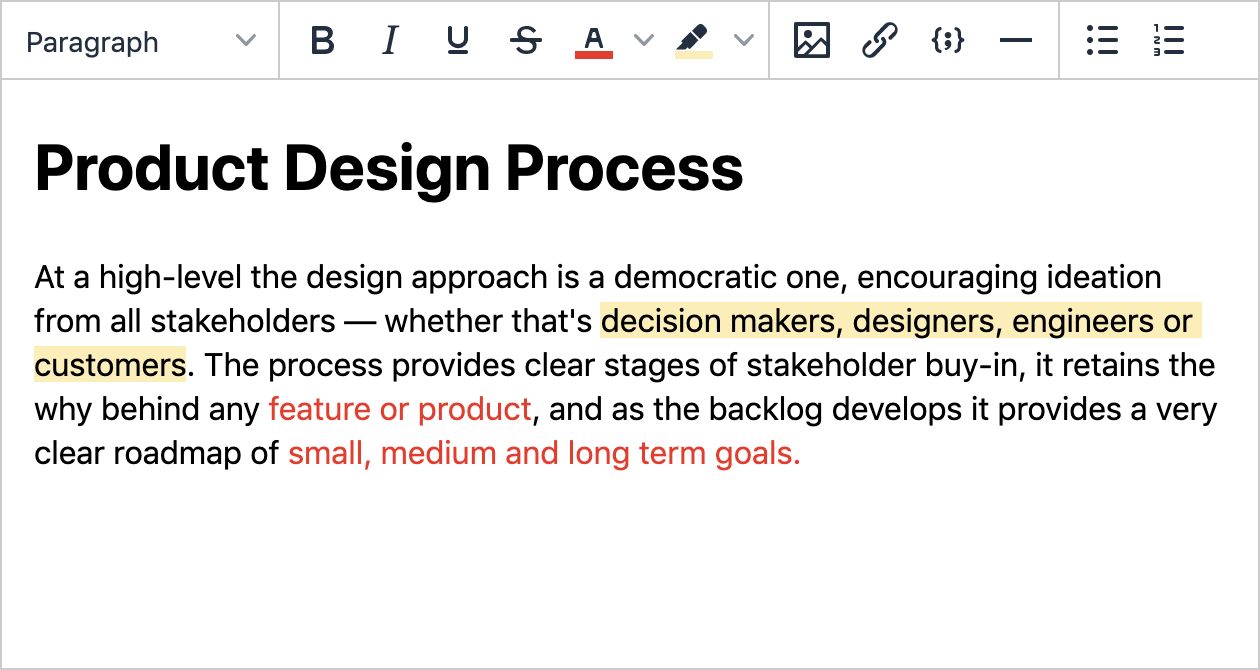
Customize the toolbar
TinyMCE is built to be flexible and to fit all kinds of use cases. We provide a default set of toolbar options to get you started, but you can configure it to suit just about any UX.
For example, in your collaboration workspace, you might want to provide a simple set of formatting options plus the ability to insert images, links, code snippets, and lists.
The default toolbar options can be overridden using the toolbar option, listing each toolbar control you want to display to users. For example:
tinymce.init({
  selector: "#mytextarea",
  menubar: false,
  statusbar: false,
  plugins: "codesample hr image link lists",
  toolbar:
    "styleselect | bold italic underline strikethrough forecolor backcolor | image link codesample hr | bullist numlist",
});
Some toolbar options depend on particular plugins, in which case, you’ll need to load the corresponding plugins too. For example, here we need to load the codesample, hr, image, link, and lists plugins. See the full table of toolbar buttons; “core” toolbar buttons are part of the core functionality, which means no additional plugin needs to be loaded for them to work.
Further reading:
- Read our article about customizing TinyMCE toolbar options.
- Also check out our blog post about how to emulate the Medium editor, taking advantage of additional UI features such as context toolbars and placeholder text.
- For more information and configuration options, check out the “toolbar” sections in our Tiny documentation under user interface options.
Adjust the editor size and position
In many cases, you’ll want the height of the editor to fill the space it’s in. You can do this by setting the height to 100%:
tinymce.init({
  /* ... */ height: "100%",
});
For more control over the positioning and margins of the editor, you can style it accordingly. For example, you might have an <aside> element for a sidebar, and a <main> element in which the editor is running, as demonstrated by the CodePen example.
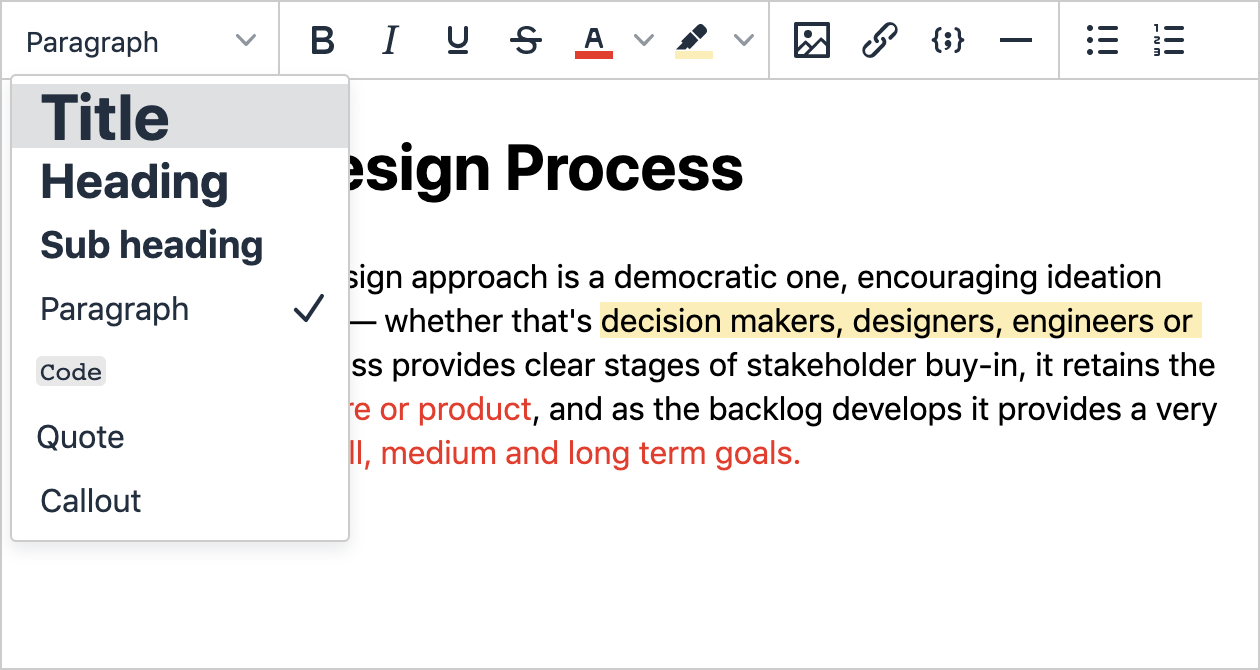
Simplify the available formats
By default, the formats button on the toolbar comes configured with four submenus of 21 options altogether. However, for a cleaner and simpler UX, you may want to provide users with a smaller set containing the most popular options.
You can do this using the style_formats option. For example:
tinymce.init({
  /* ... */
  style_formats: [
    { title: "Title", block: "h1" },
    { title: "Heading", block: "h2" },
    { title: "Sub heading", block: "h3" },
    { title: "Paragraph", block: "p" },
    { title: "Code", inline: "code" },
    { title: "Quote", block: "blockquote" },
    { title: "Callout", block: "div", classes: "call-out" },
  ],
});
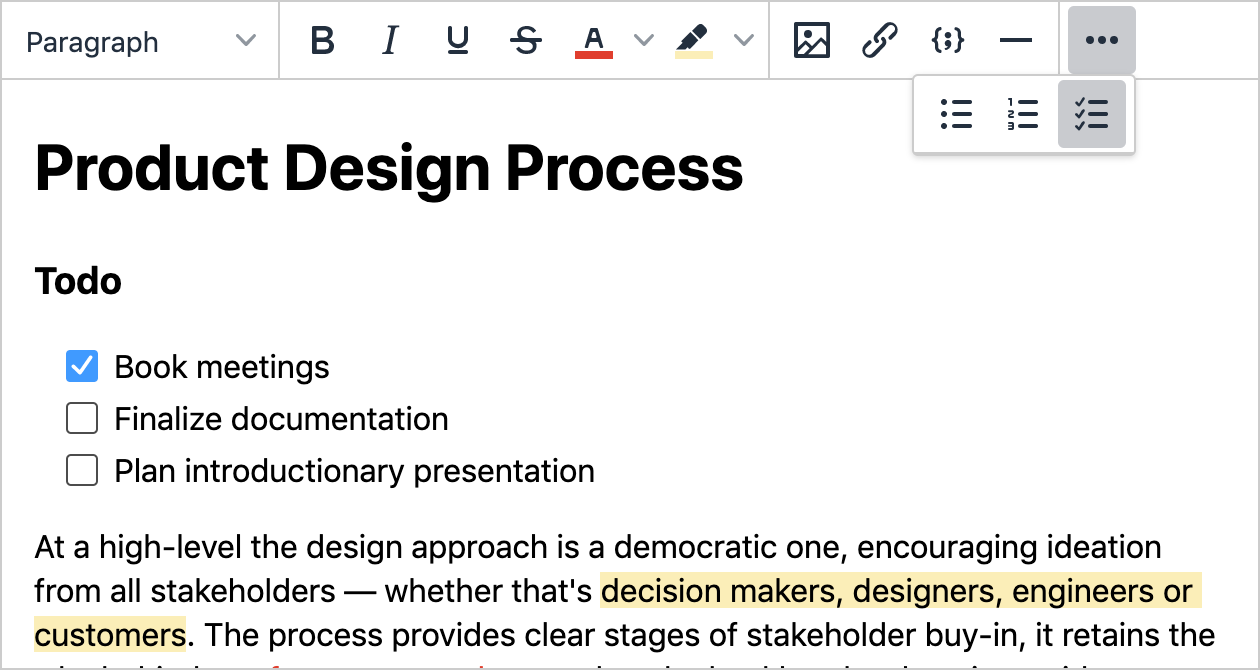
Tiny Checklist
In addition to our core plugins, Tiny provides a set of premium plugins for increased productivity, compliance, and collaboration. These come with our cloud plans - start a free 14 day trial now.
For example, checklists are often used in note taking applications to help people organize critical tasks and increase productivity.
Once you have access to the premium Checklist plugin, you can add it to your configuration simply by adding it as a plugin and adding it to the toolbar:
tinymce.init({
  /* ... */ plugins: "codesample hr image link lists checklist",
  toolbar:
    "styleselect | bold italic underline strikethrough forecolor backcolor | image link codesample hr | bullist numlist checklist",
});
Customize the skin and icons
Tiny’s Premium Skins and Icon Packs have been designed to give you loads of options when it comes to styling the editor to match your desired UI/UX. These are included with Tiny’s new Cloud Essential plan.
For instance, we can apply the snow skin and matching thin icons with the skin and icons config options:
tinymce.init({
  /* ... */ skin: "snow",
  icons: "thin",
});
The snow skin was designed to provide a spacious and fresh editing experience, especially with the thin icon pack - designed to work together to make a stunningly beautiful note taking experience. The snow skin also removes the outside border, allowing you to seamlessly incorporate it into your web app.
See the whole range of our premium skins and icon packs. Or create your own custom skins with our online skin tool.

snow skin and thin icons.Complete example
Check out the complete example on CodePen. Edit on CodePen to see it running in a larger window.
What next?
Now you know how to get started building your own online word processor; however, there really are so many possibilities to take it further from here.
For example, if you’re looking for a way to emulate an experience similar to Notion or Confluence where users can select a template from a blank page, check out our advanced placeholders demo. This demo shows how to implement an empty page placeholder UI containing complex HTML and buttons to insert templates.

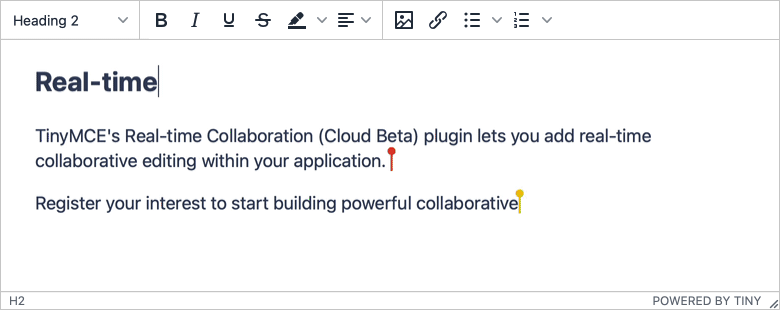
Also, Tiny’s real-time collaboration technology is now in closed beta, and we’re keen to get our latest innovation into the hands of developers, businesses, and their employees. Read more about Tiny’s real-time collaboration and how to get involved.
Tag us on Twitter @joinTiny with a screenshot of your TinyMCE configuration. Or contact us for more information about how to integrate and configure TinyMCE for your particular applications. We’re here to help 😎