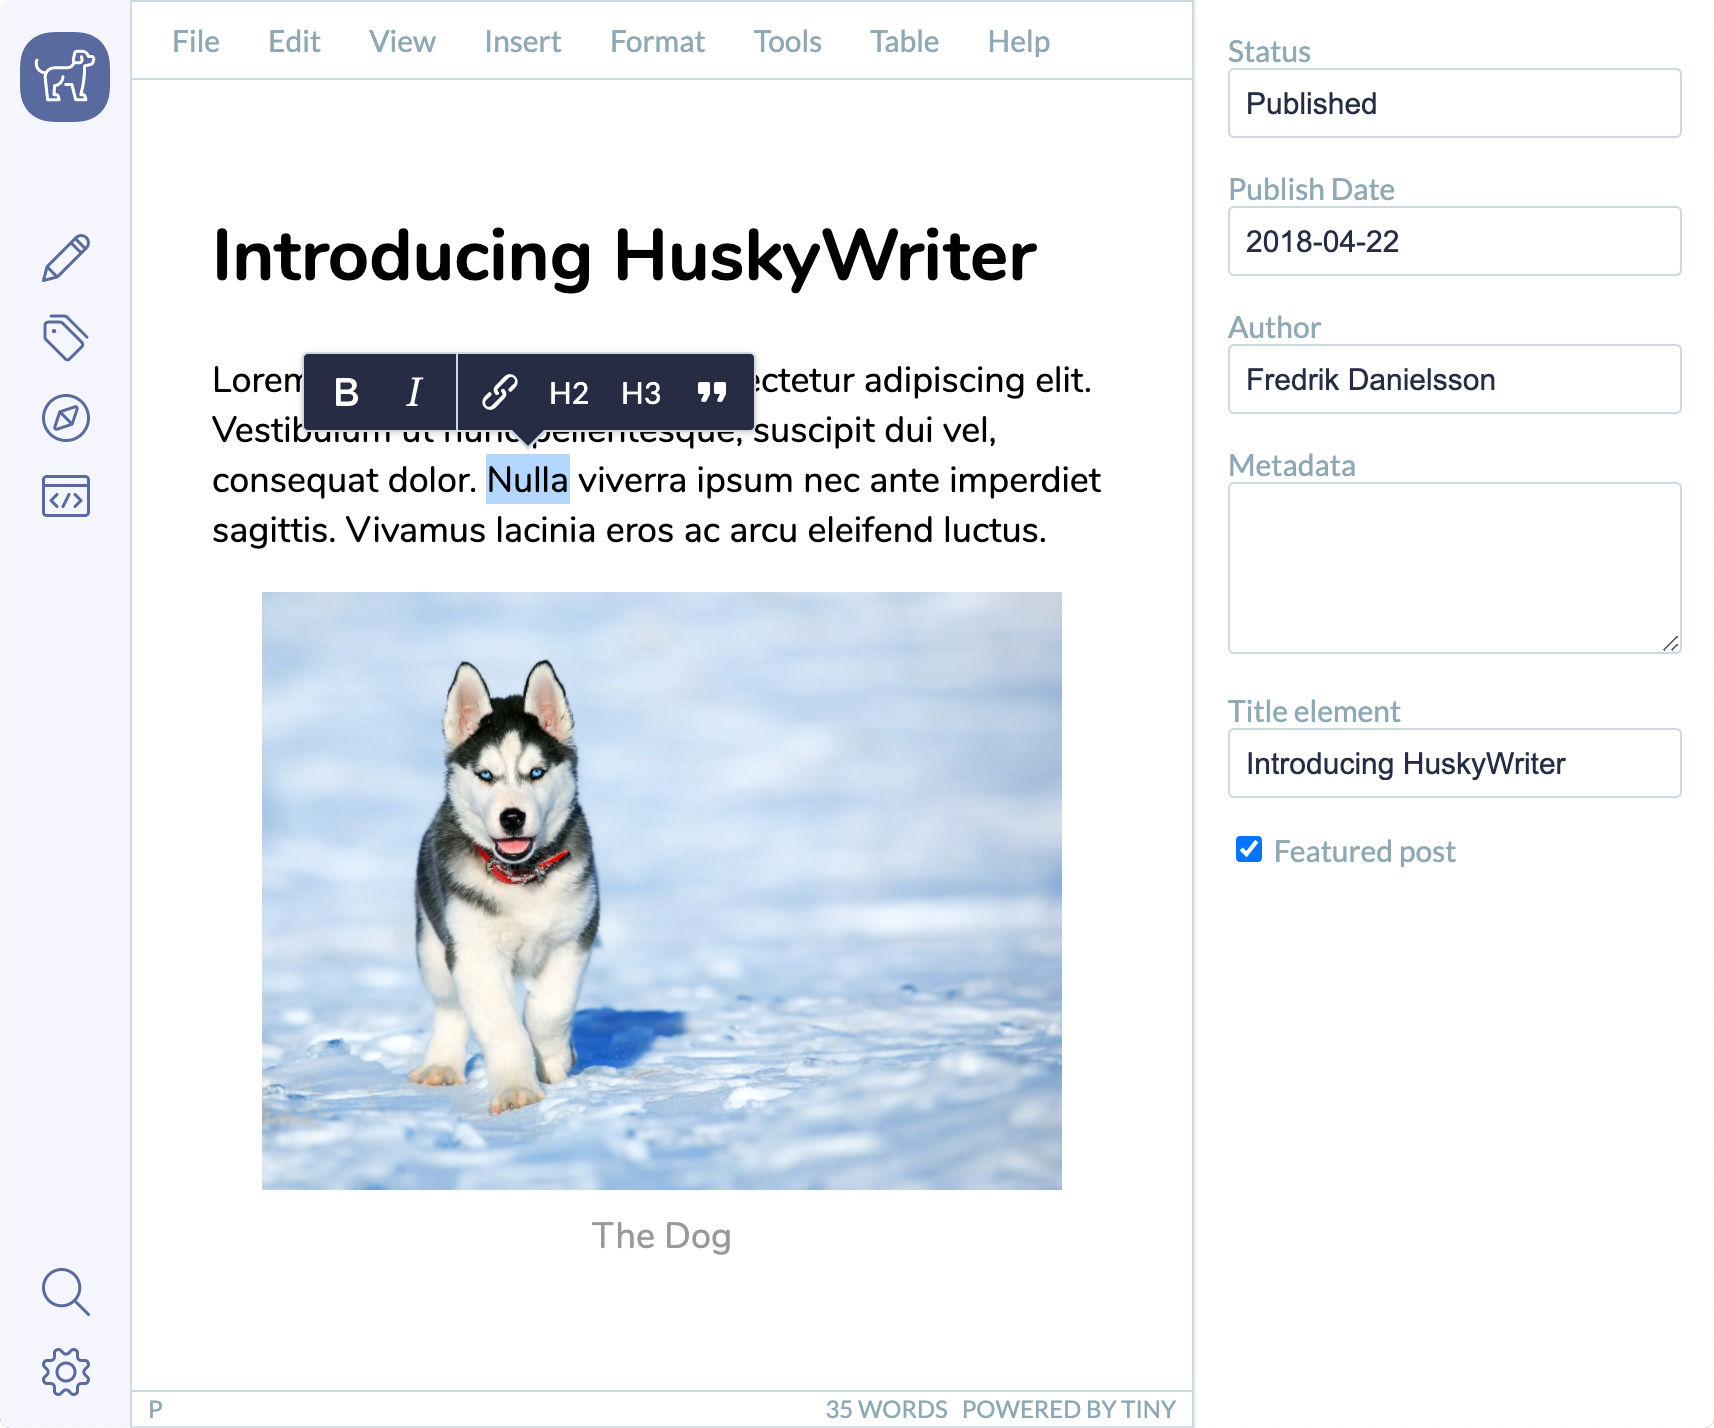
We are excited to announce version 4 of the tinymce-vue package, built to support Vue.js 3.x.
Vue.js 3.0 (otherwise known as “One Piece”) was officially released on 19 September this year, providing improved performance, smaller bundle sizes, better TypeScript integration, new APIs for handling large scale applications, and a solid foundation for future iterations of the framework. Read more about the Vue.js 3.0 release here.
With over 1.3 million users worldwide, Vue is being used in a diverse range of emerging applications, with many requiring a quality textual input component like a WYSIWYG editor; for example, see 9 products you can build with TinyMCE.
Tiny has done a brilliant job of creating an integration for Vue and making it very straight forward (and insanely flexible).
In this article, we demonstrate how to get an instance of TinyMCE up and running quickly within the Vue 3 framework using our official TinyMCE Vue.js component (tinymce-vue).
NOTE: Version 4 of tinymce-vue does not support Vue.js 2.x. For Vue.js 2.x applications, use tinymce-vue version 3.
A more comprehensive overview of our Vue WYSIWYG editor integration, including instructions for self-hosted installations, is available in our Tiny documentation.
Start with a simple Vue 3 project
The Vue CLI (command line interface) provides the ability to scaffold new projects and prototype new ideas. We’ll use it to set up a basic project to which we’ll then add TinyMCE.
Install the Vue CLI by running the following command (assumes Node.js is already installed).
npm install -g @vue/cliUse vue create to scaffold a new project. Here we’re calling our project tinymce-vue-demo:
vue create tinymce-vue-demoWhen prompted, select the Vue 3 preset, and your preferred package manager if asked. (We’re using npm.)
Run the project from within the newly created directory:
cd tinymce-vue-demo
npm run serveOpen http://localhost:8080/ in your browser:
Add TinyMCE to your Vue 3 project
Now that you’ve got a simple Vue project running, it’s time to add our WYSIWYG HTML editor.
The official TinyMCE Vue package provides a thin wrapper around TinyMCE to make it easier to add the editor to your Vue applications.
Install the package and save it to your package.json:
npm install --save "@tinymce/tinymce-vue@^4"From within your project directory, open the src/App.vue file. By default, it makes use of a HelloWorld component:
<template>
  <img alt="Vue logo" src="./assets/logo.png">
  <HelloWorld msg="Welcome to Your Vue.js App"/>
</template>

<script>
import HelloWorld from './components/HelloWorld.vue'

export default {
  name: 'App',
  components: {
    HelloWorld
  }
}
</script>Instead of importing and declaring the HelloWorld component within the <script> tags, import and declare the Editor component; and replace the HelloWorld component within the <template> tags with the editor instance:
<template>
  <img alt="Vue logo" src="./assets/logo.png">
  <editor
    api-key="no-api-key"
  />
</template>

<script>
import Editor from '@tinymce/tinymce-vue'

export default {
  name: 'App',
  components: {
    'editor': Editor
  }
}
</script>To run TinyMCE from the cloud, replace no-api-key with your own API key from the Tiny account dashboard. If you don’t yet have one, you can get a free API key now. For self-hosted installations, check out our TinyMCE Vue integration docs for more information.
Run the project from within the project directory (if it’s not still running from earlier):
cd tinymce-vue-demo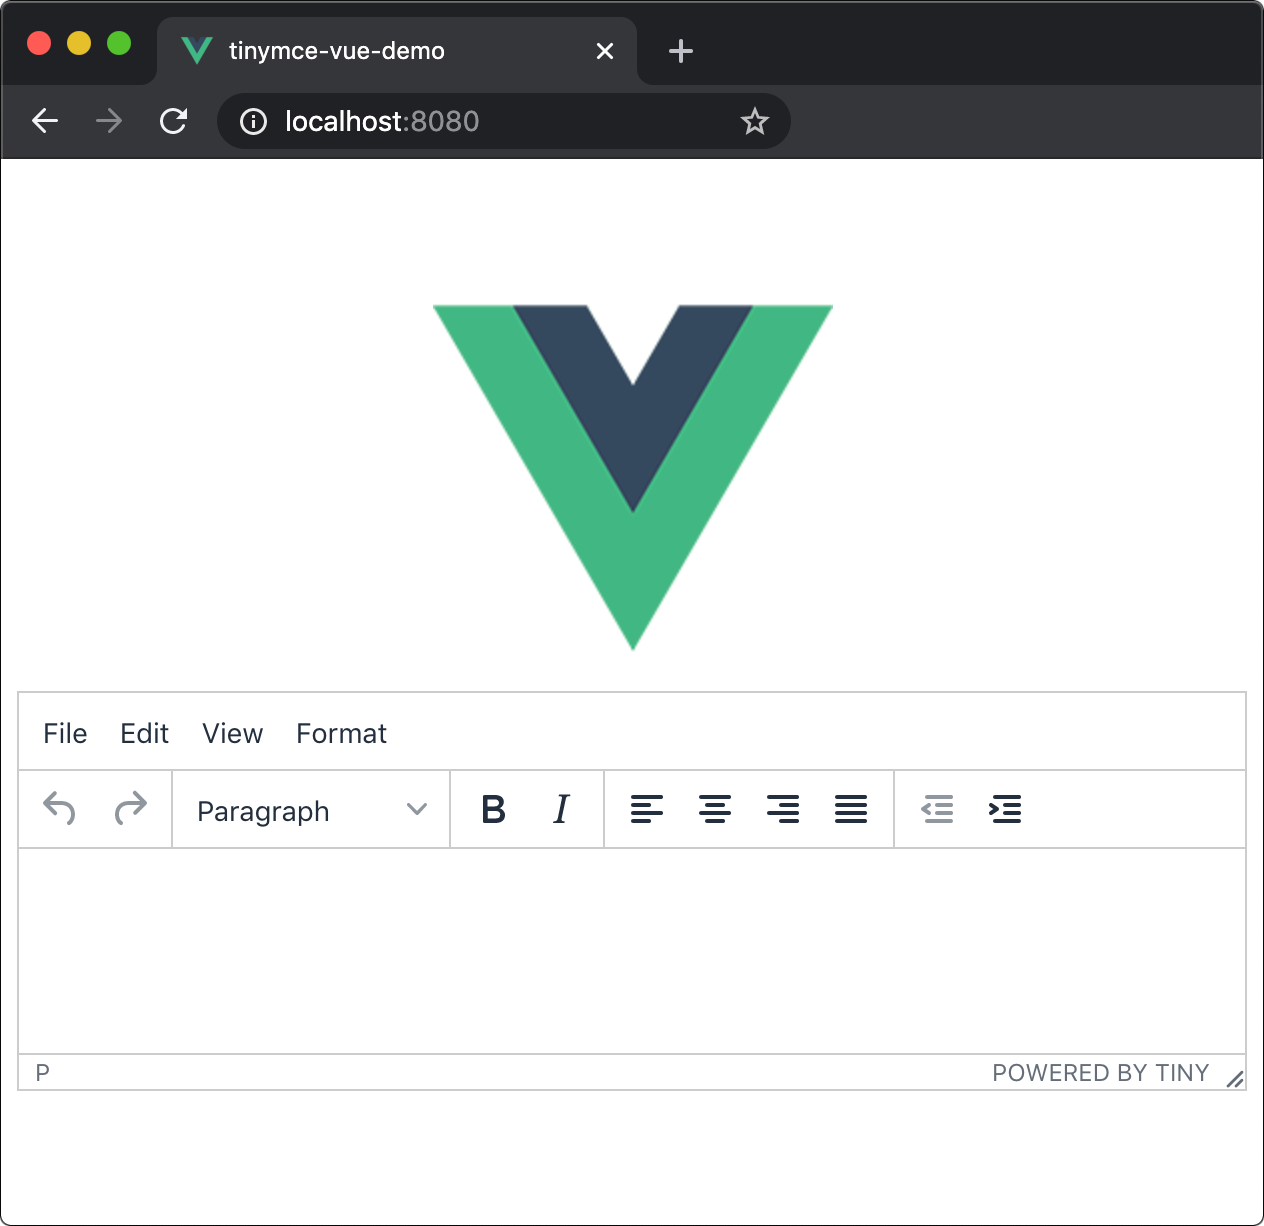
npm run serveOpen or refresh http://localhost:8080/ in your browser:
Customizing TinyMCE
By default, TinyMCE comes with a menu and some basic formatting options on the toolbar. However, TinyMCE is highly flexible and can be configured to create any UI/UX - check out 9 products you can build with TinyMCE.
The editor configuration is provided by the init attribute. So, continuing with our example, you could remove the menu bar using the menubar option:
<template>
  <img alt="Vue logo" src="./assets/logo.png">
  <editor
    api-key="no-api-key"
    :init="{
      menubar: false
    }"
  />
</template>Or you could start customizing it further with the plugins and toolbar options:
<template>
<img alt="Vue logo" src="./assets/logo.png">
<editor
api-key="no-api-key"
:init="{
menubar: false,
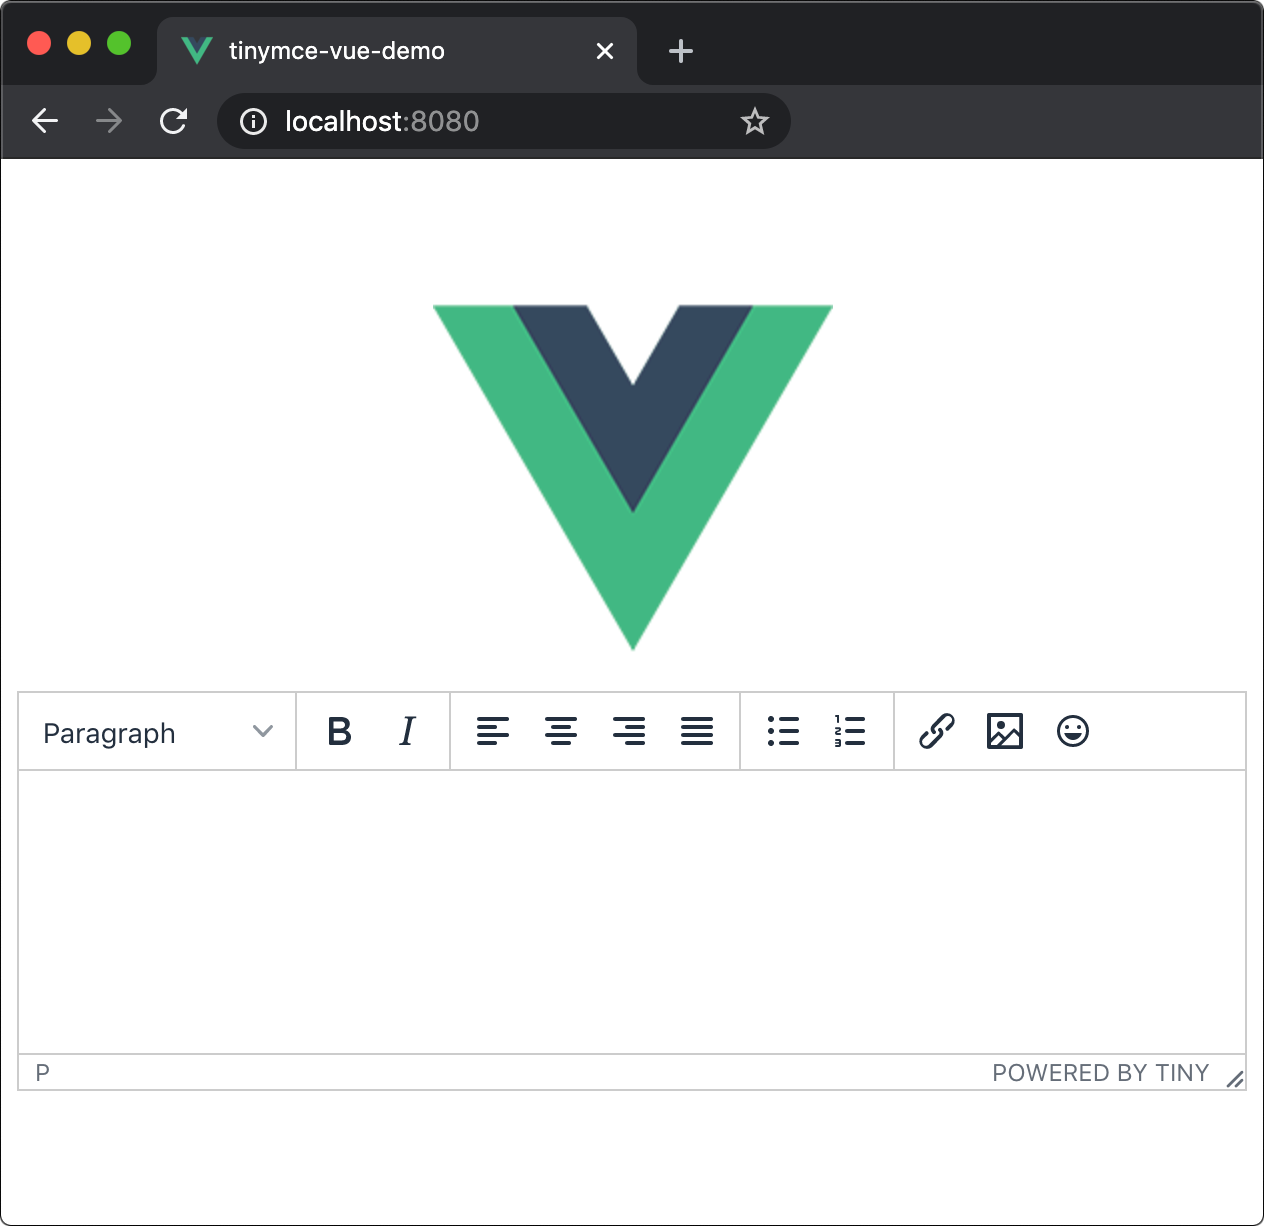
plugins: 'lists link image emoticons',
toolbar: 'styleselect | bold italic | alignleft aligncenter alignright alignjustify | bullist numlist | link image emoticons'
}"
/>
</template>Open or refresh http://localhost:8080/ in your browser:
Using Vue 2?
If you’re using Vue 2, when adding TinyMCE to your project, instead of installing the version 4 package of tinymce-vue, install version 3 as follows:
npm install --save "@tinymce/tinymce-vue@^3"What next?
This is just the tip of the iceberg when it comes to customizing TinyMCE to suit your specific project and user requirements. If it’s imaginable, it’s possible with TinyMCE - check out 9 products you can build with TinyMCE.
For more information about customizing TinyMCE, read our articles:
For more information about using the official TinyMCE Vue.js component, refer to our Tiny documentation about the Vue integration, tutorial about adding TinyMCE to Vue textarea. Or contact us to talk more about the requirements of your project and how TinyMCE can help you make the most of your user experience.