


You've narrowed it down to two rich text editors: CKEditor and TinyMCE. Both are established, widely used, and capable of handling collaboration at scale. But now comes the harder question: which one fits your team's workflow, timeline, and technical requirements?
On the surface, they might look similar. Both offer comments, mentions, version history, and track changes. But the devil's in the details: in implementation and maintenance complexity. This guide compares CKEditor and TinyMCE head-to-head on collaboration features. It breaks down what it takes to implement each feature, and where the editors diverge.
If you liked this comparison, check out the rest of the series:
- Part one: Collaboration Features in Rich Text Editors - Comparison Guide
- Part two: Comparing Implementing Collaboration Features: TinyMCE and Tiptap
- Part three: Comparing Implementing Collaboration: TinyMCE & Froala
This TinyMCE Collaboration guide explores advanced collaboration capabilities and examines how easy it is to integrate each feature in both CKEditor and TinyMCE. The guide uses T-shirt sizing (Small, Medium, Large, and Extra Large) to estimate implementation effort. For reference, here's what those sizes mean for a three-developer team:
- S - Small (~1 week or half sprint)
- M - Medium (~2 weeks or one sprint)
- L - Large (~4 weeks or two sprints)
- XL - Extra Large (~6–8 weeks or three to four sprints)
These estimates cover development, QA, documentation, integrations, and delivering production-ready code. Your actual timeline will vary depending on your team size, experience, and workload. Now let's dive into the details.
Comparison table for collaboration features in TinyMCE and CKEditor
Here's what's available in TinyMCE and CKEditor for collaboration features:
|
TinyMCE collaboration feature |
Comparable CKEditor extension(s) |
|
AI Assistant |
|
|
Revision History |
|
|
Mentions |
|
|
Comments |
|
|
Track Changes |
|
|
N/A |
Real-time editing |
Suggested Edits and Track Changes
A track changes feature records edits to text, images, tables, formatting, and styles, allowing users to accept or reject changes individually or in bulk. Users can see what changed without altering the original text. It's essential for any collaboration-focused app. This feature is called Suggested Edits in TinyMCE and Track Changes in CKEditor.
Time to implement CKEditor’s Track Changes
There is one quick prerequisite to installing CKEditor’s collaboration features: You’ll need to install the CKEditor premium features package via NPM (@ckeditor/ckeditor5-premium-features) before you can use any of the RTE’s collaboration features.
Track Changes installation
To install Track Changes in CKEditor, you’ll need to:
- Import the
TrackChangesplugin from the CKEditor Premium Features package. - Add
TrackChangesto the plugins array. - Add '
trackChanges' to the toolbar array. - Provide a current user configuration to the editor so it knows who’s making the changes on the current version.
- You could also use the CKEditor Users API to fetch your user profiles and metadata, or create a custom
UsersIntegrationplugin that extends the Plugin feature of CKEditor. But you’ll need to fetch your users.
- You could also use the CKEditor Users API to fetch your user profiles and metadata, or create a custom
- Map your users list to a user list for
trackChangesinside theinitEditorfunction. - Configure the Track Changes panel and other UI elements (i.e., in vanilla JS it would be to an index.html file).
You can add options like TrackChangesData and TrackChangesPreview if you need to do more with the plugin as well. It’s also worth noting that Track Changes in CKEditor can be used for annotations, as well.
CKEditor’s Track Changes will still need UI configuration, since CKEditor doesn’t come prestyled. CKEditor offers two default CSS styles that can be imported if you want to use their styling, but you’ll still need to import the CKEditor CSS.
⚠️ Note: CKEditor’s Track Changes is dependent on the CKEditor Comments plugin. The editor won’t load because of a console error referring to the Comments dependency.
Level of effort: Medium.
Time to implement TinyMCE’s Suggested Edits
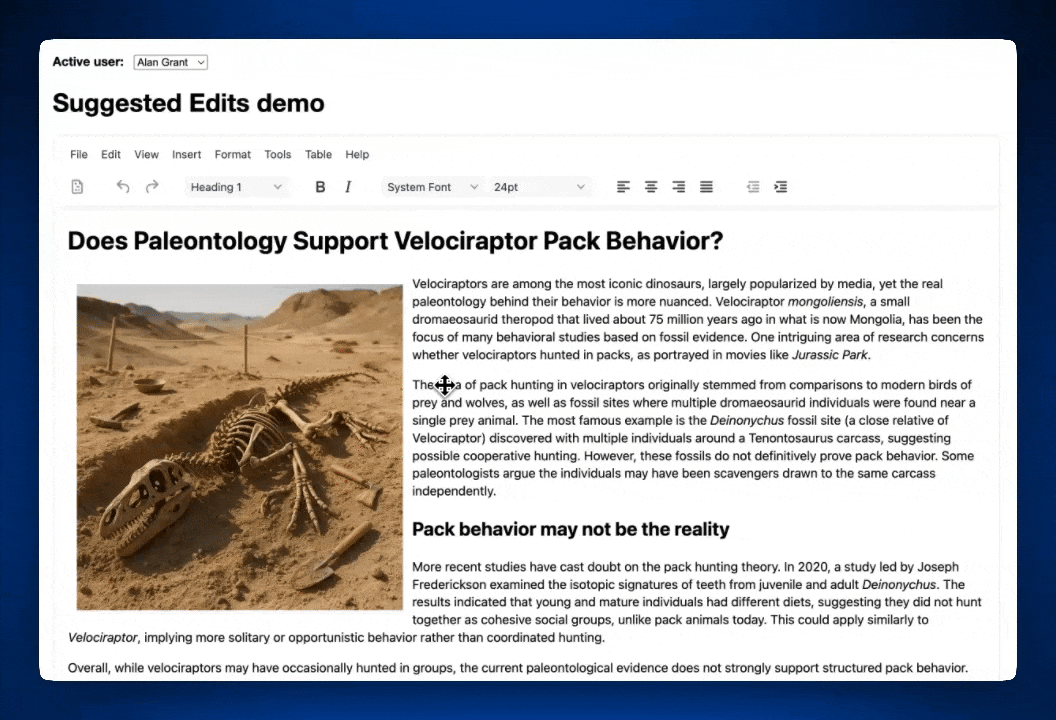
The Suggested Edits feature launched in TinyMCE version 8.0 (August 2025), adding native support for inline change tracking. It also lets users comment on any change and start a discussion thread directly on that change.
Suggested Edits installation
Setting up Suggested Edits requires some groundwork: connect your app to a user database and determine how to handle content with unreviewed edits still visible in the editor.
Here's what implementation looks like:
- Add suggestededits to your plugins and toolbar lists.
- Configure the
suggestededits_model—a JSON object that tracks content states and must stay synced with the editor. - Set up
fetch_users, a callback that takes an array of user IDs and returns aPromisewith complete user objects. - Define the
user_idso the editor knows which user is currently active.
You can dive deeper into customization with options like suggestededits_content and suggestededits_access, or adjust the styling with CSS. You can read the Suggested Edits docs for more information. For a vanilla JavaScript example, see the How to Add Suggested Edits to TinyMCE guide.
Level of effort: Medium.
Revision history
Version history is critical in content management systems, document management systems, and learning management systems, among other applications. It lets users restore previous drafts, lesson plans, or documents directly in the editor.
Version tracking also supports audits by validating changes and user access to secure documents. This functionality is called Revision History in both CKEditor and TinyMCE.
Time to implement CKEditor’s Revision History
CKEditor’s Revision History has five different steps before the plugin is fully integrated, but the first three steps complete the basic setup. Since CKEditor is decoupled from the UI, there will be some UI styling necessary as well.
Revision History installation
To install Revision History in CKEditor, you’ll need to:
- Import
RevisionHistoryfrom the premium CKEditor features package. - Add
RevisionHistoryto the plugins array. - Add '
revisionHistory' to the toolbar array. - Configure the Revision History changes container inside the initEditor function, including:
editorContainerviewerContainerviewerEditorElementviewerSidebarContainerresumeUnsavedRevision
- Add the Revision History review panel, sidebar, and editor to your UI, and then style them.
Level of effort: Small or Medium based on your app’s complexity.
Time to implement TinyMCE’s Revision History

Revision History is TinyMCE's versioning feature. It's more involved than a simple code addition—you'll need to store version data, render comparisons, and track changes between save points. But if you need authorship tracking, visual diffs, and complete version history, the integration effort pays off.
⚠️ Heads up: Revision History only works in classic mode, not inline. Details are in the TinyMCE Classic editing mode docs.
Revision History installation
There are three key parts to getting Revision History running: initial setup, lazy loading, and author tracking.
Initial setup
- Add the
revisionhistoryplugin to both your plugins and toolbar lists. - Include
revisionhistory_fetchin your TinyMCE config. - Write a
revisionhistory_fetchfunction to connect the editor to your backend.
For code examples, see the Revision History installation guide.
Lazy loading implementation
To keep things lightweight, you can lazy load version data—fetch only a list of revisions upfront, then load the full content when a specific version is selected.
- Create a lightweight
revisionlist for TinyMCE. - Write a
revisionhistory_fetch_revisionfunction for loading individual revisions. - Add
revisionhistory_fetch_revisionto your config. - Update
revisionhistory_fetchto support lightweight loading behavior.
Implementation details are in the lazy loading tutorial.
Author tracking implementation
Want to show who made each revision? Most setups can use the existing fetch logic with a few small updates.
- Add
revisionhistory_authorandrevisionhistory_display_authorto your config. - Add
authormetadata to yourrevisionsandlightRevisionsJSON objects. - Configure your display options to show user info as needed.
For more, check the author information guide or explore the full TinyMCE docs. You can also style the plugin with custom CSS to match your app's look and feel.
Level of effort: Medium or Large based on your app’s complexity.
Comments and mentions
Comments are the foundation of collaboration in any rich text editor. They spark discussion, guide editing, and help teams draft and create together. Both TinyMCE and CKEditor have these features.
Time to implement CKEditor’s Comments and Mentions
CKEditor’s Comments relies on the UsersIntegration custom plugin mentioned in the “Time to implement CKEditor’s Track changes” section of this guide in order to get its list of users. Keep in mind that’s an additional setup process before you can install and customize Comments. CKEditor’s Mentions is much easier to connect and customize through a quick JSON configuration in the initEditor function.
Comments installation process
To install Comments in CKEditor, you’ll need to:
- Import the
Commentsplugin from CKEditor’s Comments package. - Add
Commentsto the plugins array. - Add '
comment', 'commentsArchive' to the toolbar array. - Add a reference to the
editorConfigforcomments{}insideinitEditor.
That’s all it takes to wire in Comments, although remember that the UI will need to be styled since it will be bare bones after this installation.
Level of effort: Small.
H4 Mention installation process
To install Mention in CKEditor, you’ll need to:
- Import the
Mentionplugin from the usual CKEditor5 package. - Add
Mentionto the plugins array. - Add a user feed configuration under
mention{}in theeditorConfigfor comments insideinitEditor.
This is the smallest CKEditor collaboration plugin to install, although it can be more complicated if you have pagination in your users API, or if you need to customize the UI with avatars for users.
Level of effort: Small.
Time to implement TinyMCE’s Comments and Mentions
TinyMCE's Comments and Mentions are designed to work together. You can install Mentions standalone, but you'll get the most value when both features are integrated. They complement each other and expand the collaboration possibilities for users.
Comments installation process

TinyMCE Comments supports two modes: Embedded and Callback. For most production apps, Callback Mode is what you'll want—it connects to your backend using the TinyMCE Comments API. Embedded Mode works well for testing or demos and can be up and running in about 10 minutes using the Comments Plugin setup guide.
Here's what you'll need for Callback Mode:
- Add
tinycommentsto your plugins and toolbar lists. - Configure all required Callback Mode options with your own functions. Each one uses
doneandfailcallbacks, and TinyMCE provides ready-to-use code snippets. You just need to plug in your own API endpoints and auth: - Set up the
sidebar_show_optionto enable the comment sidebar UI.
That's the general flow for integrating Comments in Callback Mode. The beginning of integration is easy, but configuring all of the Callback Mode options will require some effort.
Level of effort: Medium.
Mentions installation process
TinyMCE Mentions lets users tag each other, Google Docs-style, directly in the editor. Just a heads-up: only the first 10 users from your array will appear in the dropdown, but all are available for tagging.
To get started, you'll need to:
- Add
mentionsto your plugins and toolbar lists. - Write one callback function:
mentions_fetch, which pulls users from your API.
This is the easiest TinyMCE collaboration plugin to install. There are also seven customization options if you want more control over mention behavior. Check out the TinyMCE Mentions documentation for more.
Level of effort: Small.
Real-time collaboration
Real-time collaboration enables users to work on the same document simultaneously. The foundational elements of real-time collaboration include automatic conflict resolution, synchronized updates across clients, presence indicators like live selections and cursors, and a list of active collaborators in the UI showing which users are performing which actions.
Time to implement CKEditor’s Real-time collaboration
All of these real-time collaboration plugins rely on the CKEditor CloudServices plugin as the foundation.
Real-time collaboration installation
Before any real-time collaboration features in CKEditor will work, you’ll need to install CloudServices and handle some configuration.
To set up real-time collaboration in CKEditor, you will:
- Import
CloudServicesfrom the CKEditor5 package. - Add
CloudServicesto the plugins array in initEditor. - Provide two const values (from your CKEditor account) to connect to Cloud Services:
const CLOUD_SERVICES_TOKEN_URLconst CLOUD_SERVICES_WEBSOCKET_URL
- Provide the ID of the document (your chosen value) as a
const COLLABORATION_CHANNEL_ID. - Connect all three of the above values to the editor in the
initEditorfunction under configuration sectionscloudServicesandcollaboration.
That’s all it takes to set up the Cloud Services foundation in CKEditor5 for real-time collaboration features.
Level of effort: Small.
Real-Time Comments installation process
Since Comments and Cloud Services are already present, there are only two very small steps to installing real-time functionality for Comments:
- Import
RealTimeCollaborativeCommentsfrom the Real Time Collaboration CKEditor package. - Add
RealTimeCollaborativeCommentsto the Plugins array.
Level of effort: Extra Small.
Real-Time Revision History installation process
Real-Time Revision History is as easy to install as Real-Time Comments. Simply:
- Import
RealTimeCollaborativeRevisionHistoryfrom the CKEditor Real Time Collaboration package. - Add
RealTimeCollaborativeRevisionHistoryto the plugins array.
Level of effort: Extra Small.
Real-Time Track Changes installation process
Adding Real-Time Track Changes to CKEditor5 is much like adding Comments or Revision History. It just takes two steps:
- Import
RealTimeCollaborativeTrackChangesfrom the Real Time Collaboration CKEditor package. - Add
RealTimeCollaborativeTrackChangesto the plugins array.
Level of effort: Extra Small.
Real-Time Presence List installation process
CKEditor5 provides a Presence List for real-time collaboration that shows who is currently working in the document, and where they’re working. You can customize the presence indicator to show users where their colleagues are in the document.
To install CKEditor’s Real-Time Presence List, you will:
- Add a
constcalledpresenceListContainerto hold the presence list. - Import
PresenceListfrom the CKEditor Real-Time Collaboration package. - Add the
presenceListContainerto theinitEditorfunction. - Add
PresenceListto the Plugins array.
Don’t forget, you’ll also need to configure the Presence List UI elements (i.e. in vanilla JS this would happen in the index.html and styles.css files), including the presence indicator. By default, it’s just a name, so the name of the person appears in the midst of the content.
Level of effort: Small.
Real-time collaboration in TinyMCE
TinyMCE doesn’t have real-time collaboration.
What’s next?
TinyMCE and CKEditor are very comparable when it comes to collaboration implementation, but collaboration is just one factor when choosing your RTE. Most TinyMCE integrations are quick wins—just add a word or two to your plugins and toolbar arrays. For instance, the open source Emoticon plugin enables emoji in TinyMCE's configuration with two words.
Want to see what TinyMCE can do? A free 14-day trial of TinyMCE gives you access to all the advanced collaboration tools: Comments, Mentions, Revision History, and Suggested Edits. Find out how much faster your team can ship with the right tools in their corner. Questions? Contact the TinyMCE team.


