


When teams collaborate in web apps, keeping track of changes can get messy fast, especially if ideas are scattered across emails, Slack messages, and multiple files. That’s where the ability for users to work in one rich text editor comes in.
With Suggested Edits, a new TinyMCE feature that brings collaboration into one place, users can propose edits that others can review and accept or reject without ever leaving the app.
It’s frequently a high priority requirement for developers building document management systems, learning management platforms, internal SaaS tools, and other applications where accuracy, accountability, and clarity are critical. Instead of end users juggling third-party review tools or endless “final_final_v3” documents, Suggested Edits keeps the entire review process in one place. This makes workflows easier and reduces errors. In this guide, we’ll walk through how to install and enable Suggested Edits in TinyMCE using a demo user database.
Step one: Set up your TinyMCE instance
The first step is to set up an index.html page with TinyMCE that you can run in the default browser. For this guide, we’ve included an example with several basic TinyMCE features and some sample content.
Copy and paste the example code below in an HTML file and save it as index.html.
<!DOCTYPE html>
<html lang="en">
<head>
<meta charset="UTF-8">
<title>Suggested Edits Demo</title>
<script src="https://cdn.tiny.cloud/1/no-api-key/tinymce/8/tinymce.min.js" referrerpolicy="origin"></script>
<style>
body {
font-family: Helvetica Neue, sans-serif;
margin: 20px;
}
#editor-container {
margin-top: 10px;
}
</style>
</head>
<body>
<div id="editor-container">
<h1>Suggested Edits demo</h1>
<textarea id="suggested-edits-editor">
<h1>Does Paleontology Support Velociraptor Pack Behavior?</h1>
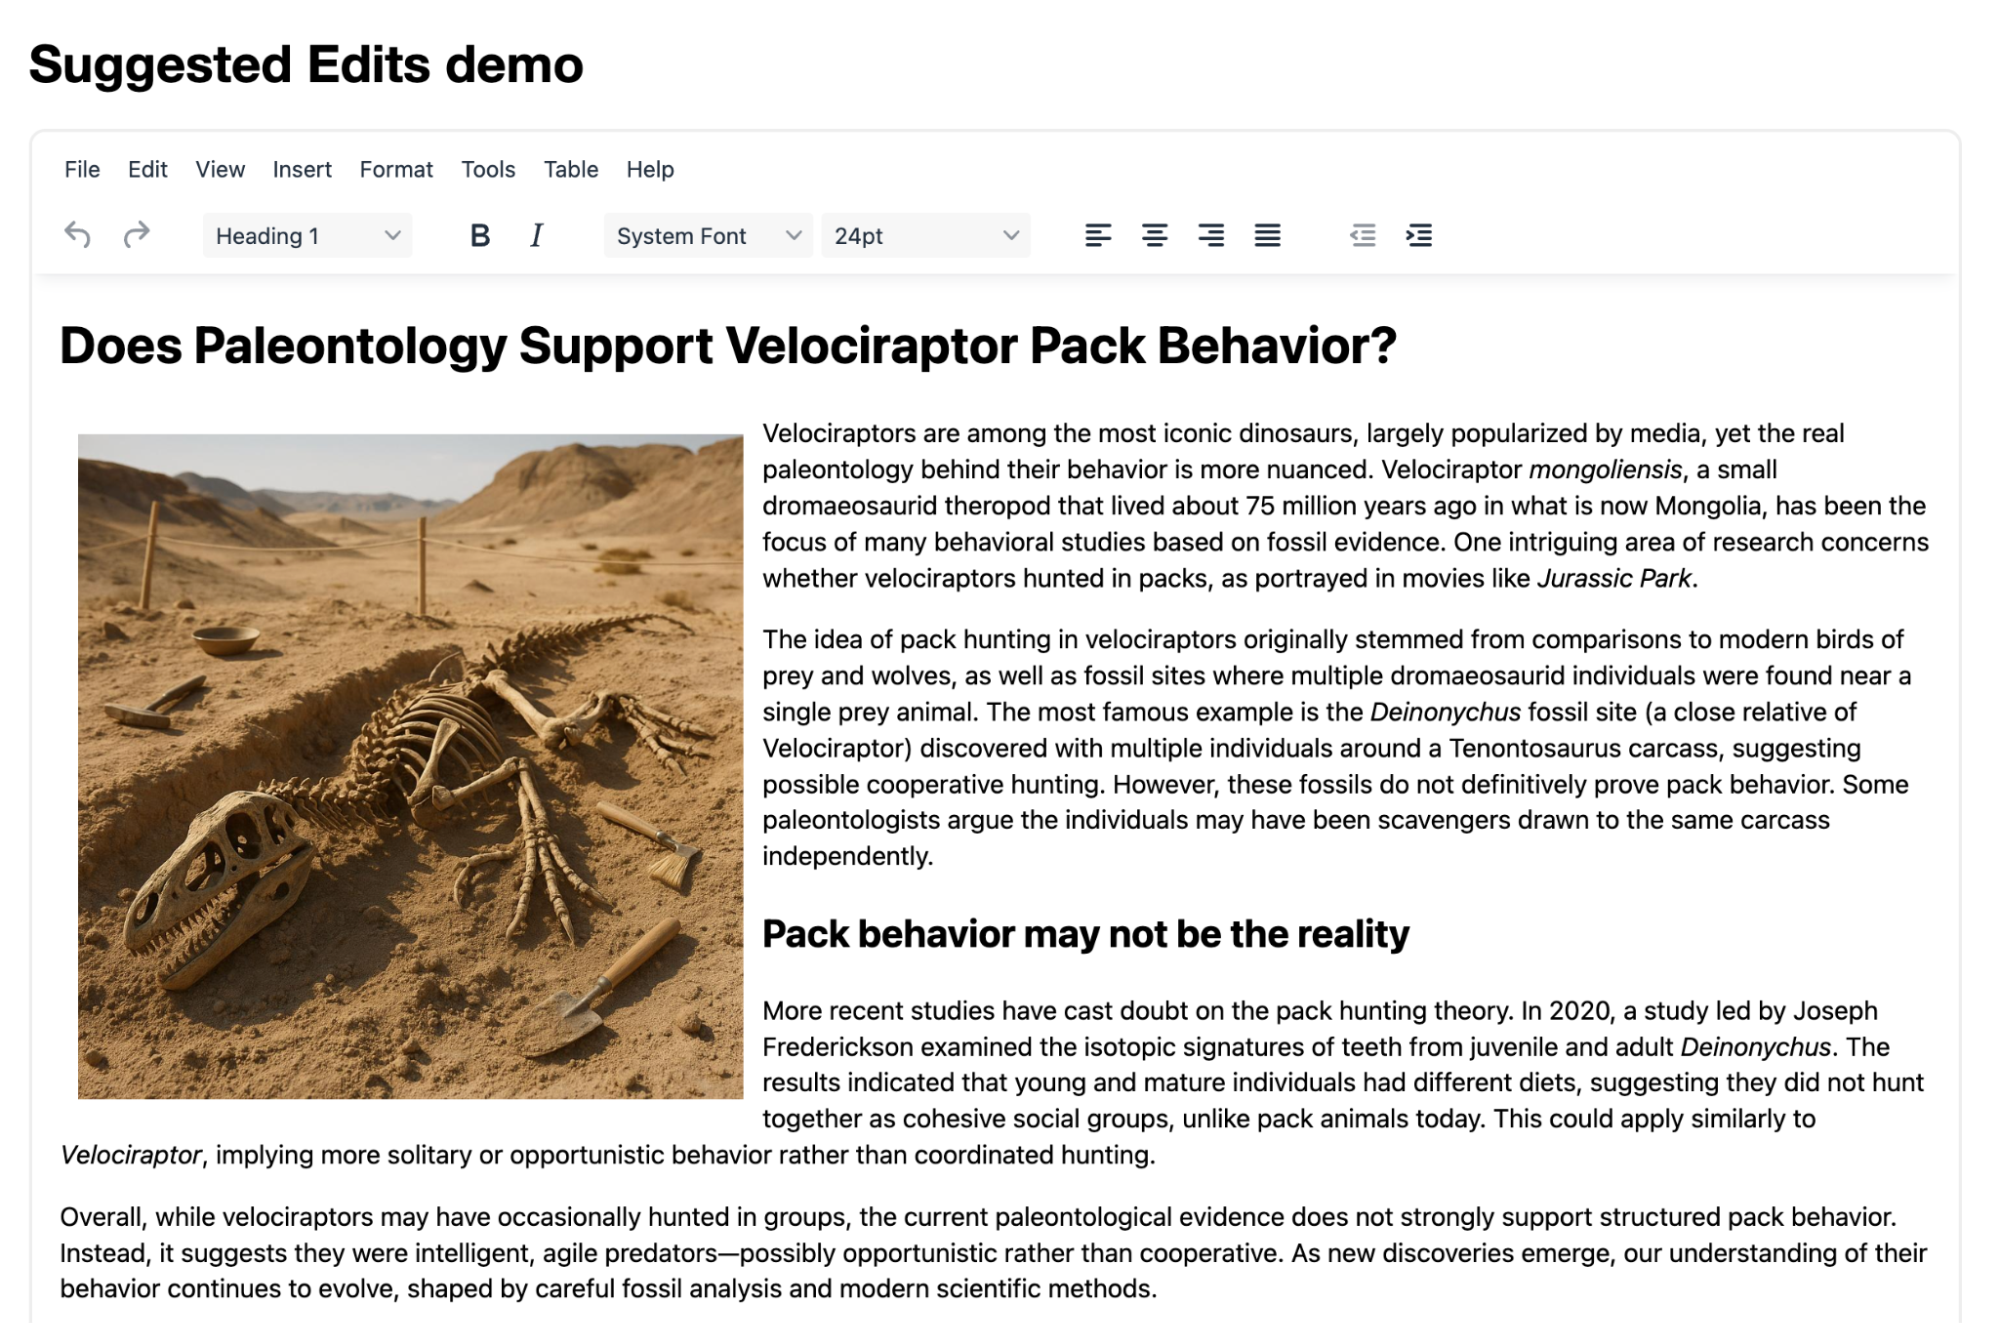
<p><img style="float: left; padding: 1%;" src="https://i.imgur.com/A4deUHn.jpeg" width="413" height="413">Velociraptors are among the most iconic dinosaurs, largely popularized by media, yet the real paleontology behind their behavior is more nuanced. Velociraptor <em>mongoliensis</em>, a small dromaeosaurid theropod that lived about 75 million years ago in what is now Mongolia, has been the focus of many behavioral studies based on fossil evidence. One intriguing area of research concerns whether velociraptors hunted in packs, as portrayed in movies like <em>Jurassic Park</em>.</p>
<p>The idea of pack hunting in velociraptors originally stemmed from comparisons to modern birds of prey and wolves, as well as fossil sites where multiple dromaeosaurid individuals were found near a single prey animal. The most famous example is the <em>Deinonychus</em> fossil site (a close relative of Velociraptor) discovered with multiple individuals around a Tenontosaurus carcass, suggesting possible cooperative hunting. However, these fossils do not definitively prove pack behavior. Some paleontologists argue the individuals may have been scavengers drawn to the same carcass independently.</p>
<h2>Pack behavior may not be the reality</h2>
<p>More recent studies have cast doubt on the pack hunting theory. In 2020, a study led by Joseph Frederickson examined the isotopic signatures of teeth from juvenile and adult <em>Deinonychus</em>. The results indicated that young and mature individuals had different diets, suggesting they did not hunt together as cohesive social groups, unlike pack animals today. This could apply similarly to <em>Velociraptor</em>, implying more solitary or opportunistic behavior rather than coordinated hunting.</p>
<p>Overall, while velociraptors may have occasionally hunted in groups, the current paleontological evidence does not strongly support structured pack behavior. Instead, it suggests they were intelligent, agile predators—possibly opportunistic rather than cooperative. As new discoveries emerge, our understanding of their behavior continues to evolve, shaped by careful fossil analysis and modern scientific methods.</p>
</textarea>
</div>
<script>
tinymce.init({
selector: '#suggested-edits-editor',
height: 600,
width: 1200,
plugins: 'lists link table code help wordcount autoresize',
toolbar: 'undo redo | blocks | bold italic | fontfamily fontsize | alignleft aligncenter alignright alignjustify | outdent indent'
});
</script>
</body>
</html>⚠️ Note: For this code to work, you’ll need to replace no-api-key in the TinyMCE script URL with a working API key. If you don’t already have one, you can get a TinyMCE API key for free when you sign up today.
Use http-server to launch the page locally
To see this page in action in your default browser, you can use the npm package http-server. To install it is as simple as running this command:
npm install http-serverAnd then to serve the index.html page, you’ll just run http-server in the same folder where the file lives.
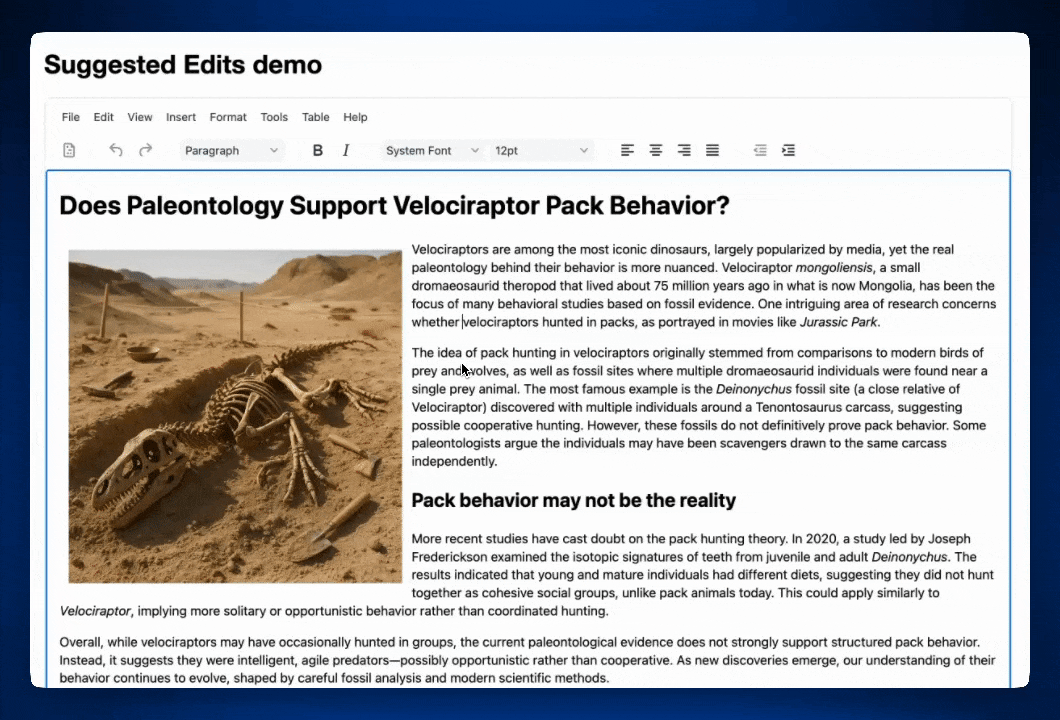
When you’ve done this, you’ll see the page running at http://localhost:8080/. You must use the localhost URL for this guide, because there is an image hosted in the rich text editor example.
It looks like this:
⚠️ Note: http-server will point you to http://127.0.0.1:8080, but this won’t work by default. 127.0.0.1 is not an approved domain on the TinyMCE dashboard, but localhost is. You can always add it to the approved domains, but for the sake of this guide, use localhost instead.
Step two: Enable Suggested Edits
Now that you’ve got a basic web page with TinyMCE, it’s time to add Suggested Edits. To get started, you will add Suggested Edits to tinymce.init. This part is simple. Just add suggestededits to the plugins and toolbar lists in the TinyMCE initialization script.
 <script>
    tinymce.init({
        selector: '#suggested-edits-editor',
        height: 600,
        width: 1200,
        plugins: 'suggestededits lists link table code help wordcount autoresize',
        toolbar: 'suggestededits | undo redo | blocks | bold italic | fontfamily fontsize | alignleft aligncenter alignright alignjustify | outdent indent'
      });
</script>Once you save index.html with just these two additions, localhost:8080 will refresh automagically, and you can play with the basic Suggested Edits function* in TinyMCE.
* Without implementing any further options, basic Suggested Edits will operate as an Anonymous single user.
🔥 Hot Tip: Before you make any changes to the content, the Suggested Edits button will be disabled since no changes have been made.
Step three: Configure suggestededits_model, user_id, and fetch_users
Suggested Edits requires a model to store the content that’s inside the editor, and store the changes that users make to that content. You’ll need to configure and add the suggestededits_model option to TinyMCE. The suggestededits_model is a JSON object holding the content with unreviewed edits and feedback. This model must be kept in sync with editor content, and loaded into the editor at the same time as the content.
You will also need to implement the user_id option. This option sets the current unique user in the editor.
Lastly, you’ll need the fetch_users callback function. This is a requirement for Suggested Edits, and must return a Promise that resolves to an array of user objects. These user objects contain information like a unique user ID, name, avatar URL, and user roles and permissions.
Add users and create a loading model
For this example, you can quickly add the suggestededits_model, user_id, and fetch_users options, all of which will reference functions that use an example user database.
Because the users and the loading state in this demo are contained in the same file, you’ll add this code into your index.html:
 <script>
    // Create a fake database of users with an array of user IDs
    const userDb = {
      alangrant: {
        id: 'alangrant',
        name: 'Alan Grant',
        avatar: `https://upload.wikimedia.org/wikipedia/en/thumb/1/18/Alan_Grant_%28Sam_Neill%29.jpg/250px-Alan_Grant_%28Sam_Neill%29.jpg`,
      },
      elliesattler: {
        id: 'elliesattler',
        name: 'Ellie Sattler',
        avatar: `https://static.wikia.nocookie.net/jurassicpark/images/1/1f/Ellie_Sattler_1993.jpg`,
      },
	  ianmalcolm: {
        id: 'ianmalcolm',
        name: 'Ian Malcolm',
        avatar: `https://upload.wikimedia.org/wikipedia/en/6/60/Ian_Malcolm_%28Jeff_Goldblum%29.jpg`,
      }
    };

    const fetch_users = (ids) => {
      return Promise.resolve(ids.map(id => userDb[id]));
    };

    // Configure user changes based on the current userId
    const userSelect = document.getElementById('userSelect');
    let currentUserId = userSelect.value;
    let editorInstance = null;
    let suggestedEditsModel = null;

    // Initialize and configure the rich text editor with the current content through suggestedEditsModel
    function initEditor(userId) {
      if (editorInstance) {
        suggestedEditsModel = editorInstance.plugins.suggestededits.getModel();
        tinymce.remove(editorInstance);
      }
        tinymce.init({
            selector: '#suggested-edits-editor',
            height: 600,
            width: 1200,
            plugins: 'suggestededits lists link table code help wordcount autoresize',
            toolbar: 'suggestededits| undo redo | blocks | bold italic | fontfamily fontsize | alignleft aligncenter alignright alignjustify | outdent indent',
            user_id: userId,
            fetch_users,
            suggestededits_model: suggestedEditsModel,
            setup: (editor) => {
            editorInstance = editor;
            }
        });
    }

    // Change between the current user and a new one
    userSelect.addEventListener('change', () => {
      currentUserId = userSelect.value;
      initEditor(currentUserId);
    });

    // Initialize with default user
    initEditor(currentUserId);
</script>Once this is added, don’t save index.html yet. If you do, localhost:8080 will throw an error because you haven’t quite finished implementing all the necessary code.
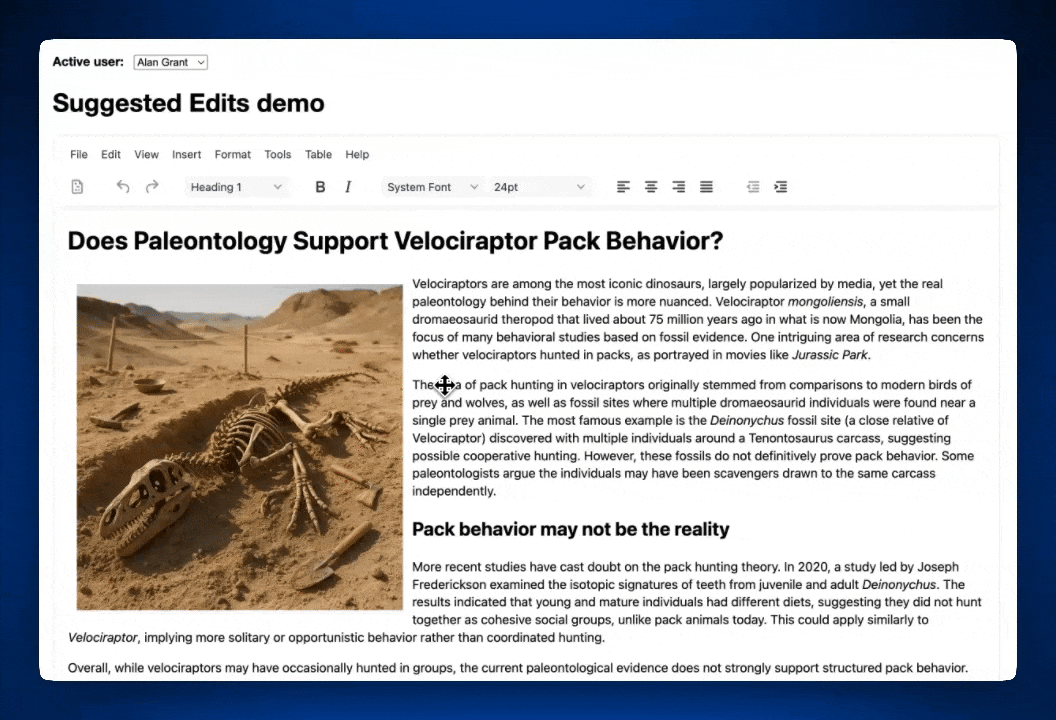
Add a user switcher in the UI
In the <body> before the editor-container <div>, you’ll paste this code for a user picker that will allow you to switch between users and see the individual changes made by each once the demo code is complete.
 <div id="user-switcher">
    <label for="userSelect">Active user:</label>
    <select id="userSelect">
      <option value="alangrant">Alan Grant</option>
      <option value="elliesattler">Ellie Sattler</option>
	  <option value="ianmalcolm">Ian Malcolm</option>
    </select>
</div>And then in the <head> <style> section, you’ll add a little CSS for the picker:
 <style>
    body {
      font-family: Helvetica Neue, sans-serif;
      margin: 20px;
    }

    #editor-container {
      margin-top: 10px;
    }

    #user-switcher label {
      font-weight: bold;
      margin-right: 8px;
    }

    #editor-container {
      margin-top: 10px;
    }
</style>Complete example of index.html with Suggested Edits
At this point your HTML file should look like this:
<!DOCTYPE html>
<html lang="en">
<head>
  <meta charset="UTF-8">
  <title>Suggested Edits Demo</title>
  <script src="https://cdn.tiny.cloud/1/no-api-key/tinymce/8/tinymce.min.js" referrerpolicy="origin"></script>
  <style>
    body {
      font-family: Helvetica Neue, sans-serif;
      margin: 20px;
    }

    #editor-container {
      margin-top: 10px;
    }

    #user-switcher label {
      font-weight: bold;
      margin-right: 8px;
    }

    #editor-container {
      margin-top: 10px;
    }
  </style>
</head>
<body>
  <div id="user-switcher">
    <label for="userSelect">Active user:</label>
    <select id="userSelect">
      <option value="alangrant">Alan Grant</option>
      <option value="elliesattler">Ellie Sattler</option>
	  <option value="ianmalcolm">Ian Malcolm</option>
    </select>
  </div>

  <div id="editor-container">
  <h1>Suggested Edits demo</h1>
    <textarea id="suggested-edits-editor">
      <h1>Does Paleontology Support Velociraptor Pack Behavior?</h1>
      <p><img style="float: left; padding: 1%;" src="https://i.imgur.com/A4deUHn.jpeg" width="413" height="413">Velociraptors are among the most iconic dinosaurs, largely popularized by media, yet the real paleontology behind their behavior is more nuanced. Velociraptor <em>mongoliensis</em>, a small dromaeosaurid theropod that lived about 75 million years ago in what is now Mongolia, has been the focus of many behavioral studies based on fossil evidence. One intriguing area of research concerns whether velociraptors hunted in packs, as portrayed in movies like <em>Jurassic Park</em>.</p>
      <p>The idea of pack hunting in velociraptors originally stemmed from comparisons to modern birds of prey and wolves, as well as fossil sites where multiple dromaeosaurid individuals were found near a single prey animal. The most famous example is the <em>Deinonychus</em> fossil site (a close relative of Velociraptor) discovered with multiple individuals around a Tenontosaurus carcass, suggesting possible cooperative hunting. However, these fossils do not definitively prove pack behavior. Some paleontologists argue the individuals may have been scavengers drawn to the same carcass independently.</p>
      <h2>Pack behavior may not be the reality</h2>
      <p>More recent studies have cast doubt on the pack hunting theory. In 2020, a study led by Joseph Frederickson examined the isotopic signatures of teeth from juvenile and adult <em>Deinonychus</em>. The results indicated that young and mature individuals had different diets, suggesting they did not hunt together as cohesive social groups, unlike pack animals today. This could apply similarly to <em>Velociraptor</em>, implying more solitary or opportunistic behavior rather than coordinated hunting.</p>
      <p>Overall, while velociraptors may have occasionally hunted in groups, the current paleontological evidence does not strongly support structured pack behavior. Instead, it suggests they were intelligent, agile predators—possibly opportunistic rather than cooperative. As new discoveries emerge, our understanding of their behavior continues to evolve, shaped by careful fossil analysis and modern scientific methods.</p>
    </textarea>
  </div>
  <script>
    // Create a fake database of users with an array of user IDs
    const userDb = {
      alangrant: {
        id: 'alangrant',
        name: 'Alan Grant',
        avatar: `https://upload.wikimedia.org/wikipedia/en/thumb/1/18/Alan_Grant_%28Sam_Neill%29.jpg/250px-Alan_Grant_%28Sam_Neill%29.jpg`,
      },
      elliesattler: {
        id: 'elliesattler',
        name: 'Ellie Sattler',
        avatar: `https://static.wikia.nocookie.net/jurassicpark/images/1/1f/Ellie_Sattler_1993.jpg`,
      },
	  ianmalcolm: {
        id: 'ianmalcolm',
        name: 'Ian Malcolm',
        avatar: `https://upload.wikimedia.org/wikipedia/en/6/60/Ian_Malcolm_%28Jeff_Goldblum%29.jpg`,
      }
    };

    const fetch_users = (ids) => {
      return Promise.resolve(ids.map(id => userDb[id]));
    };

    // Configure user changes based on the current userId
    const userSelect = document.getElementById('userSelect');
    let currentUserId = userSelect.value;
    let editorInstance = null;
    let suggestedEditsModel = null;

    // Initialize and configure the rich text editor with the current content through suggestedEditsModel
    function initEditor(userId) {
      if (editorInstance) {
        suggestedEditsModel = editorInstance.plugins.suggestededits.getModel();
        tinymce.remove(editorInstance);
      }
        tinymce.init({
            selector: '#suggested-edits-editor',
            height: 600,
            width: 1200,
            plugins: 'suggestededits lists link table code help wordcount autoresize',
            toolbar: 'suggestededits| undo redo | blocks | bold italic | fontfamily fontsize | alignleft aligncenter alignright alignjustify | outdent indent',
            user_id: userId,
            fetch_users,
            suggestededits_model: suggestedEditsModel,
            setup: (editor) => {
            editorInstance = editor;
            }
        });
    }

    // Change between the current user and a new one
    userSelect.addEventListener('change', () => {
      currentUserId = userSelect.value;
      initEditor(currentUserId);
    });

    // Initialize with default user
    initEditor(currentUserId);
  </script>
  </body>
</html>Step four: Test out your setup
Now that you have a full working TinyMCE instance with Suggested Edits, you can test out your setup and give feedback inside the demo. Try leaving some edits as one user and then switching to another.
You’ve created a useful way for users to work together in one rich text editor without bouncing between applications, in just a few steps. In a real world scenario, there wouldn't be a dropdown list to select the user, nor a fake database of users. You would load user IDs and information from your own database, and configure proper permissions for them. To make it easier to show you how to install Suggested Edits and to keep this demo simple, this example has both.
Now that you have the basics, make this demo your own! You can change CSS styles for user feedback, add users to your demo database, or change the sample content.
What’s next? Expand with Revision History
Suggested Edits is just the beginning of the TinyMCE collaboration suite. If your application also needs document history, check out our series on how to implement an example of Revision History in TinyMCE.
- Part one: How to Set Up and Use Revision History in TinyMCE
- Part two: How to Implement Lazy Loading in TinyMCE Revision History
- Part three: Add Author Information to Revision History in TinyMCE
- Part four: Enhance TinyMCE Revision History with Custom CSS Styles
Got questions? We’ve got the answers. Contact TinyMCE to chat with a real human and find out everything you need to know.


