


Since the days of hieroglyphs, humans have used micro illustrations to depict feelings, words, ideas, and more. Today, emojis are a modern version of hieroglyphs as an essential part of how we communicate.
This is also true when it comes to using a rich text editor in a web application. Emojis are more than an “extra” for your users; they’re an expected feature. ✅
Adding an emoji picker to a rich text editor is easy to do and fairly quick. In TinyMCE, it takes the addition of just two words to get a useful, open-source emoji picker. In this guide, we’ll walk you through how to integrate an emoji picker into a React rich text editor.
What is an open source emoji picker and why use it in a React rich text editor?
An emoji picker is like a keyboard, but for emojis. Its purpose is to allow the user to scroll through all the options available, because unlike the English alphabet, which only has 26 letters, there are 4241 emoji as of Apple’s 18 iOS release. That’s a ton of options (okay, the number is more like two tons 🤓) for users in a React RTE, enough to merit a separate menu for choosing emoji.
Implement an emoji picker in a React rich text editor step-by-step
It’s clear that users need emoji support and an emoji picker in a React RTE if you want your application to be modern. So, how do you install an open-source emoji picker into a React rich text editor? Let’s take a look at how simple the process is. 👇
Step one: Create a new React project
This demo uses Vite to create a quick React project with a basic template. This will provide a basic app setup to work with and add a rich text editor to.
To create a demo project, navigate in Terminal to the folder where you want to create the project, and run:
npm create vite@latest react-emoji-demo -- --template react-swcThis is a fairly quick process. Once it’s finished creating the project, you can cd into react-emoji-demo. Then, run both of these commands to install all of the project’s initial packages, along with an RTE we can integrate into our React project:
npm install
npm install --save @tinymce/tinymce-reactStep two: Add a rich text editor
Open the React project in your preferred IDE. Now that dependencies are installed, the next step is to add the TinyMCE Editor to the App.jsx page. The first part of this is importing the Editor:
import { Editor } from "@tinymce/tinymce-react";
And then replacing the App() function with the Editor, so the whole App.jsx file looks like this:
import { Editor } from "@tinymce/tinymce-react";
import "./App.css";
function App() {
return (
<div>
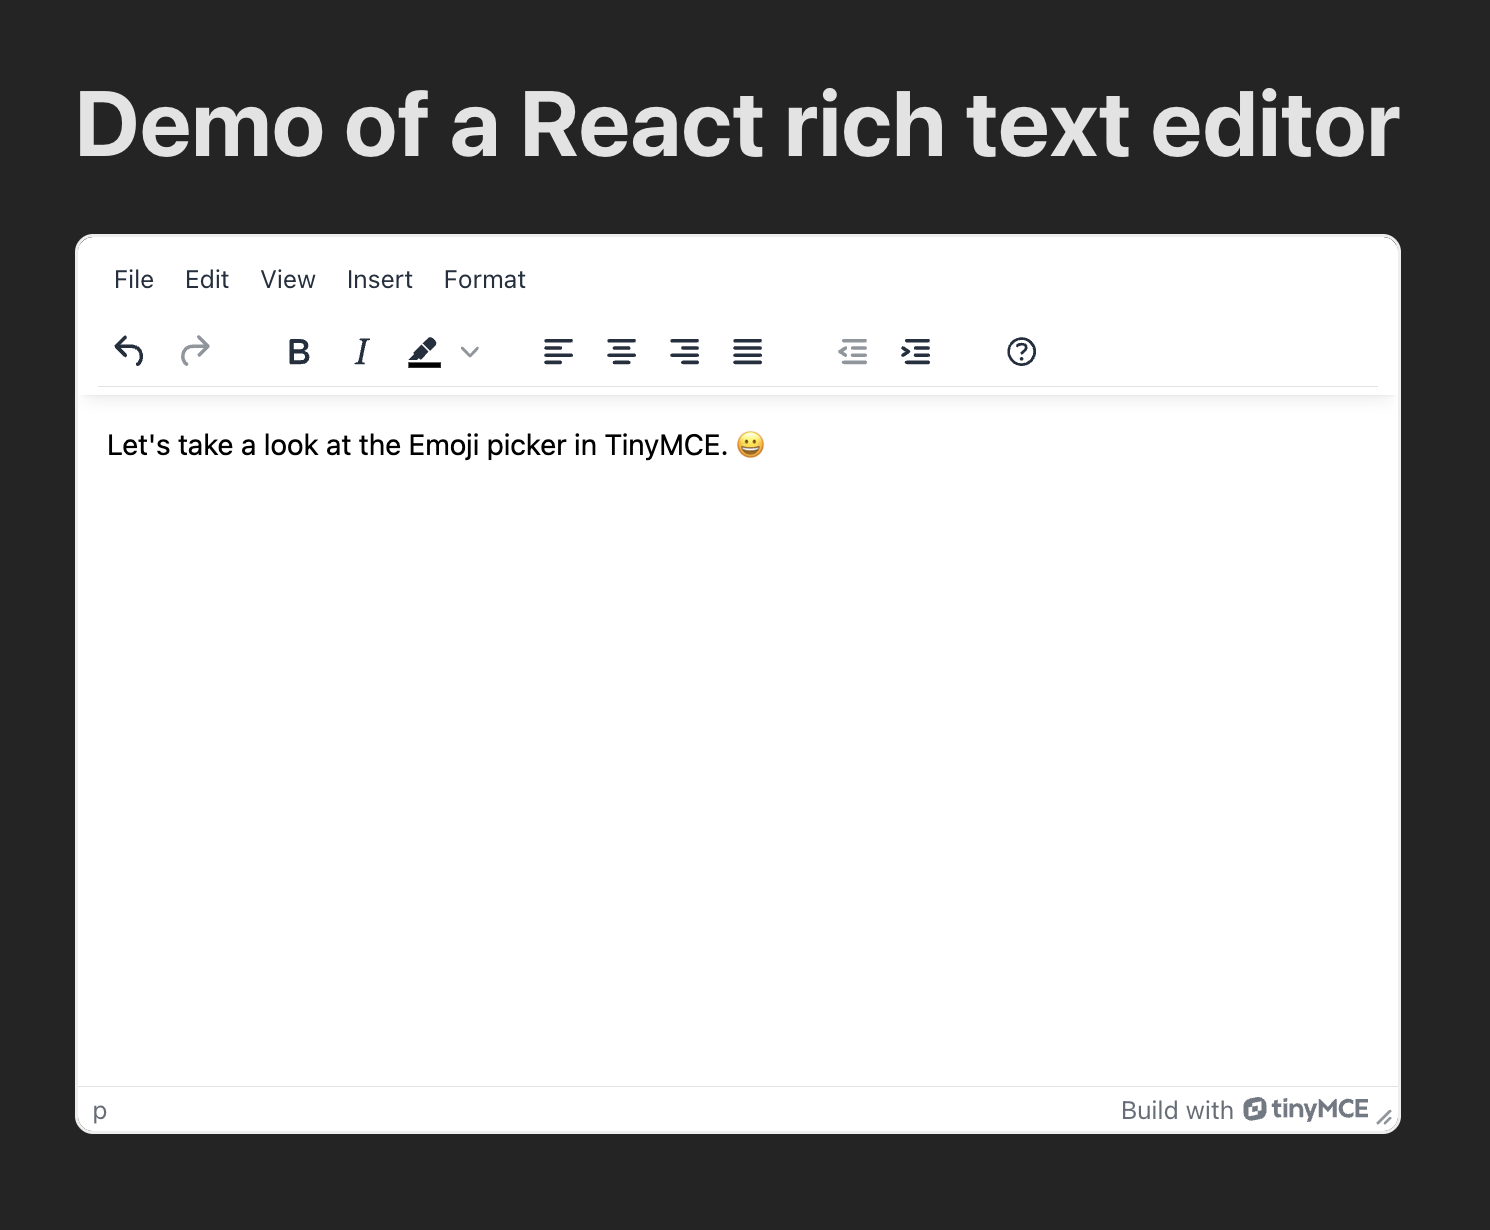
<h1>Demo of a React rich text editor</h1>
<Editor
apiKey="no-api-key"
initialValue="<p>Let's take a look at the Emoji picker in TinyMCE. 😀 </p>"
init={{
height: 500,
plugins: "advlist autolink lists link image code wordcount",
toolbar:
"undo redo | formatselect | bold italic | alignleft aligncenter alignright alignjustify | bullist numlist outdent indent",
}}
/>
</div>
);
}
export default App;
⚠️ Note: Don’t forget to replace no-api-key in the Editor config with a real TinyMCE API key. You can find it on the Integrate page for your TinyMCE account, or get a free TinyMCE API key today.
The result of this new App.jsx configuration with TinyMCE when npm run dev is run is a nice little RTE on a local instance at http://localhost:5173/:
Step three: Add an emoji picker to the React RTE
The Emoticons feature for TinyMCE is free and open source. 🎉
It’s a quick install, and it adds a React emoji picker to your RTE in moments. All you have to do is add emoticons to the plugins and toolbar lists in the Editor configuration:
...
plugins: "advlist autolink lists link image code wordcount emoticons",
       toolbar: "undo redo | formatselect | bold italic emoticons | alignleft aligncenter alignright alignjustify | bullist numlist outdent indent",
        }}
...Save App.jsx and reload the localhost page. Voila! 🪄 The React emoji picker is available in your RTE.
With Emoticons in TinyMCE, emojis are available for users to insert directly into content with a typed reference if they know the name of the emoji. For example, if you type :soccer: and then press Enter, you get a soccer ball emoji option.
That’s really all it takes to install a React emoji picker in a rich text editor!
Customize your React emoji library
The Emoticons feature for TinyMCE has several customization options available, including adding custom emoji to the library. You can customize the emoji library, add new images as emojis, or even connect your own emoji library to the emoji picker in this React RTE.
Table of Emoticons feature options in TinyMCE
|
Customization option |
Purpose |
Notes |
|
Provides a way to append some additional emoji to the default emoji database |
Emoji format for usage: |
|
|
Provides the ability to specify which built-in emoji database to use when rendering emojis in the editor. |
Two options: emojis and emojiimages (provided by the twemoji project). |
|
|
Provides the default location to load the emoji database from. The database should be an external JavaScript file, that registers a tinymce.plugins.emoticons resource. |
||
|
Sets the base URL for the images used to represent emojis when using the emojiimages database. |
What’s next?
The benefits of adding an emoji picker to your React rich text editor are numerous. It’s free and open source, it takes only one step to add if you already have a TinyMCE instance, and your users will love the intuitive ability to choose emoji they need for their content. If you don’t have it already, consider trying the premium version of TinyMCE free for 14 days.
Have questions about using TinyMCE in React or customizing the Emoticons plugin? Send us a message and ask away! No matter how you use your rich text editor, we’re here to support your use case and answer all your questions.


