A common error that new web developers have to solve involves JavaScript running and trying to execute when the webpage the code is written for hasn’t finished loading. As a result, learning to manage when scripts load represents an essential early skill.
For situations when you want to load a web page, and then initiate a script to load afterwards, TinyMCE’s script loader API offers the solution.
The scope of the ScriptLoader API management covers asynchronous loading, and manages scripts using a queue process.
What you can do with the script loader API
The script loader API works with a queue, and what this means is that scripts loaded by the API are placed in order of upload, and then processed. When scripts leave the queue and activate, the script affects TinyMCE in the web page.
In essence, if you have external JavaScript files you need to add to TinyMCE after it loads, you can make use of the script loader API methods to manage these scripts.
The following are the important API methods needed to get the script working:
- Add() to place scripts in a queue
- LoadQueue() to start the scripts loading
- Add LoadScript() to load a specific script directly, without a queue.
Using LoadScript() depends on your specific needs.
Take a moment to consider: Do I have one script I want to load later, or many scripts?
- If one script, use the LoadScript() method
- If many scripts, set them up with the add() method, then loadQueue() method to start loading them (and you can use another method called isDone() to check the status if needed).
Check the TinyMCE script loader documentation for more information on these methods.
A Script Loader API quickstart guide
The following example loads local JavaScript files into an instance of TinyMCE. To try out the tutorial, you need:
-
Python running in your environment so you can use the http.server command
-
An index.html file in it’s own directory
-
A FREE TinyMCE API key included in the index. html file, configured with the TinyMCE init scripts and CDN:
<script src="<a href="https://cdn.tiny.cloud/1/add-an-apikey-here/tinymce/5/tinymce.min.js">https://cdn.tiny.cloud/1/add-an-apikey-here/tinymce/5/tinymce.min.js</a>" referrerpolicy="origin"></script>
   <script>
        tinymce.init({
        selector : "#mytextarea",
        width: 600,
        height: 700,
        plugins: [
        "lists link image preview hr anchor pagebreak",
        "searchreplace wordcount visualblocks visualchars code",
        "image visualblocks",
        ],
        toolbar: "code link",
        })
</script>-
Change into the directory where your index.html file resides
-
Run the python command to start the example server:
Python -m http.server 8000-
Navigate to the localhost address at port 8000 in your browser
-
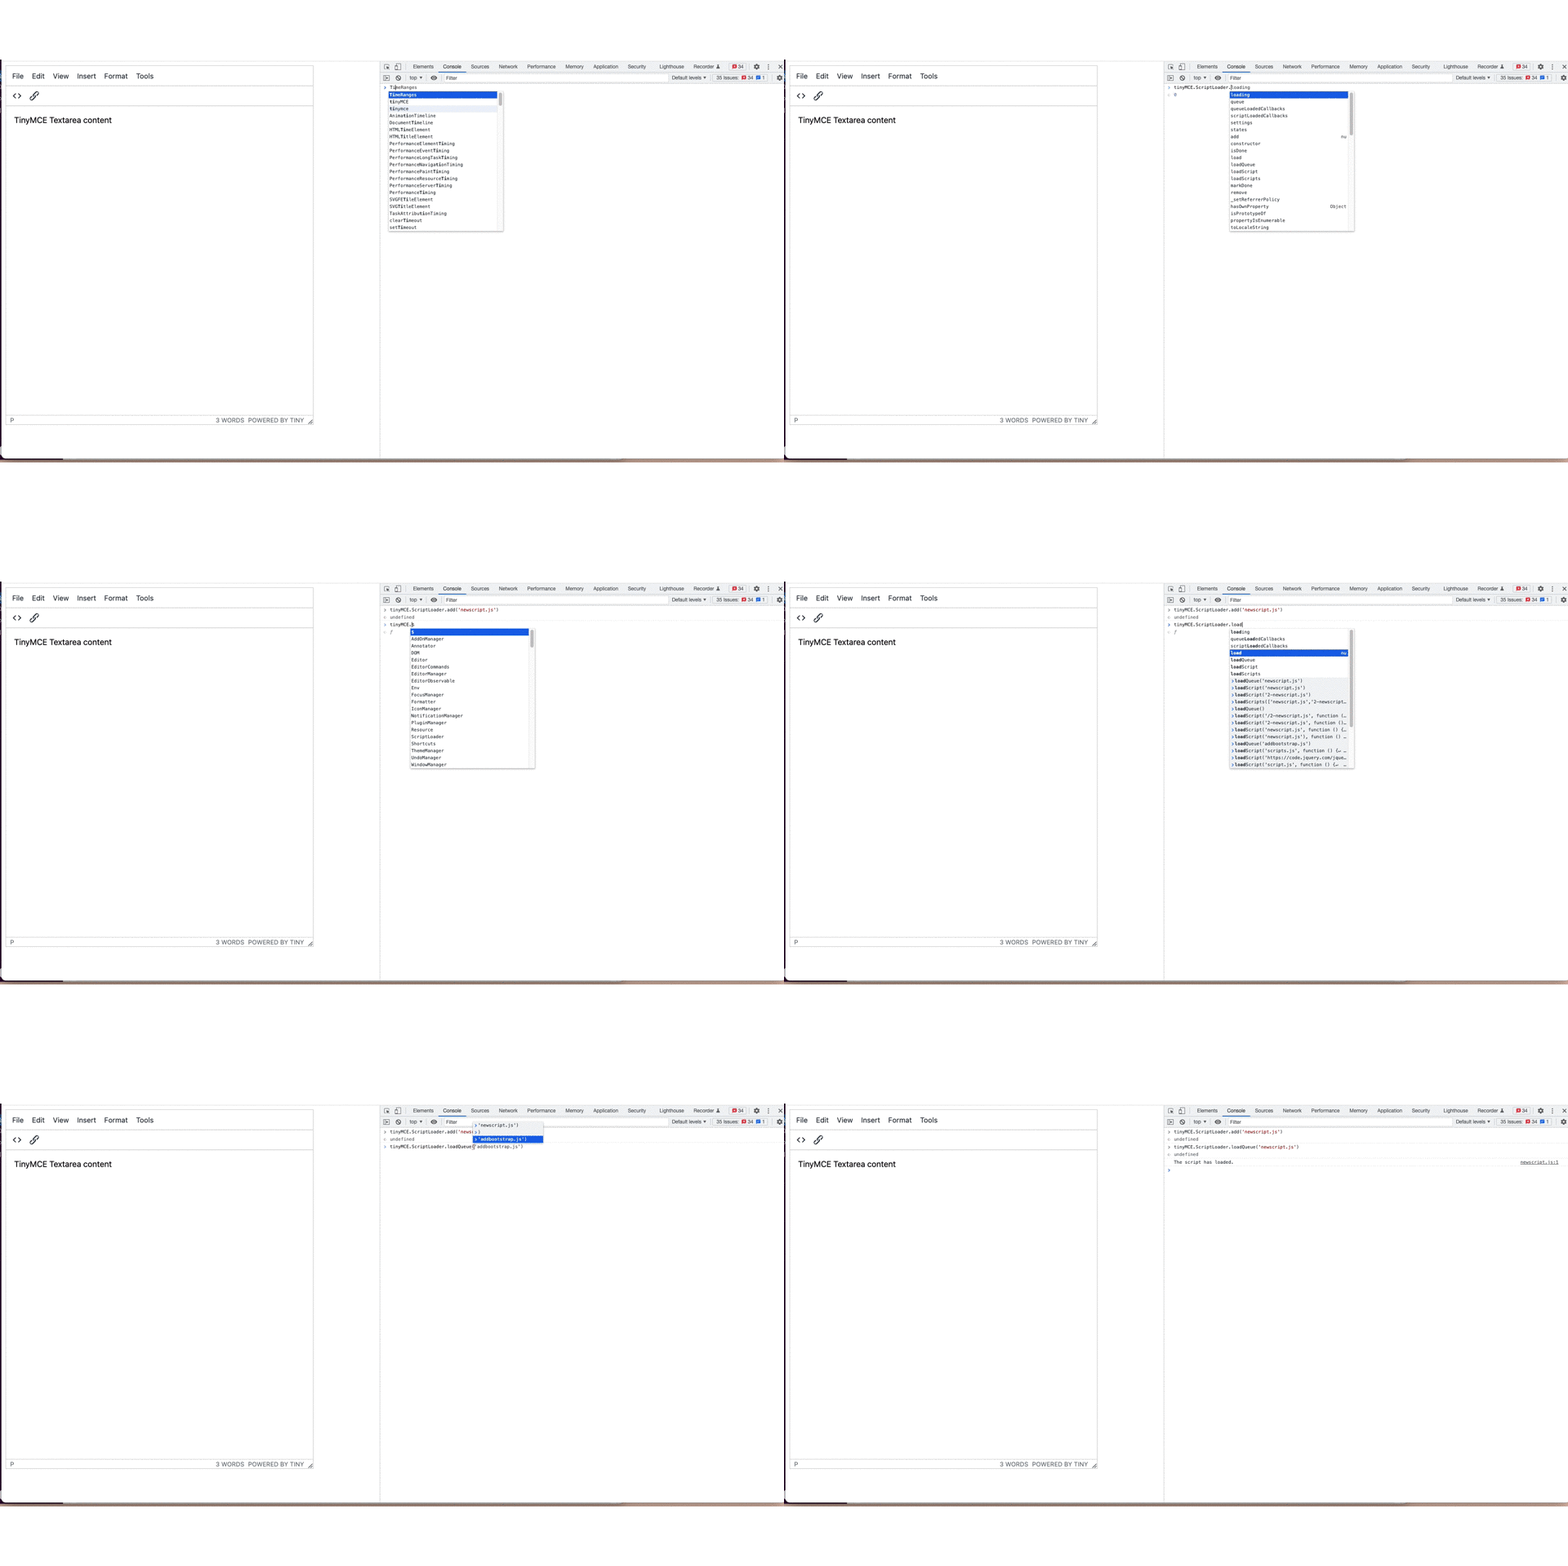
Prepare a JavaScript file to run with the tinymce.ScriptLoader command. This short example is called newscript.js. It logs a message to a console, and posts an alert to the browser window:
console.log("The script has loaded.");

window.alert("Confirming the Script has loaded.");
-
Load the script into the queue with the add() method:
tinyMCE.ScriptLoader.add("newscript.js");
-
Run the script from the queue with the LoadQueue() method:
tinyMCE.ScriptLoader.loadQueue("newscript.js");

How to queue multiple JavaScript files
In place of running the add() method repeatedly, if you want your scripts to run right away, you can use another method called loadScripts() – that’s Scripts, plural – to queue up multiple files at once.
-
Create a second JavaScript file, and save it in the same directory as the index.html file and the newscripts.js file
-
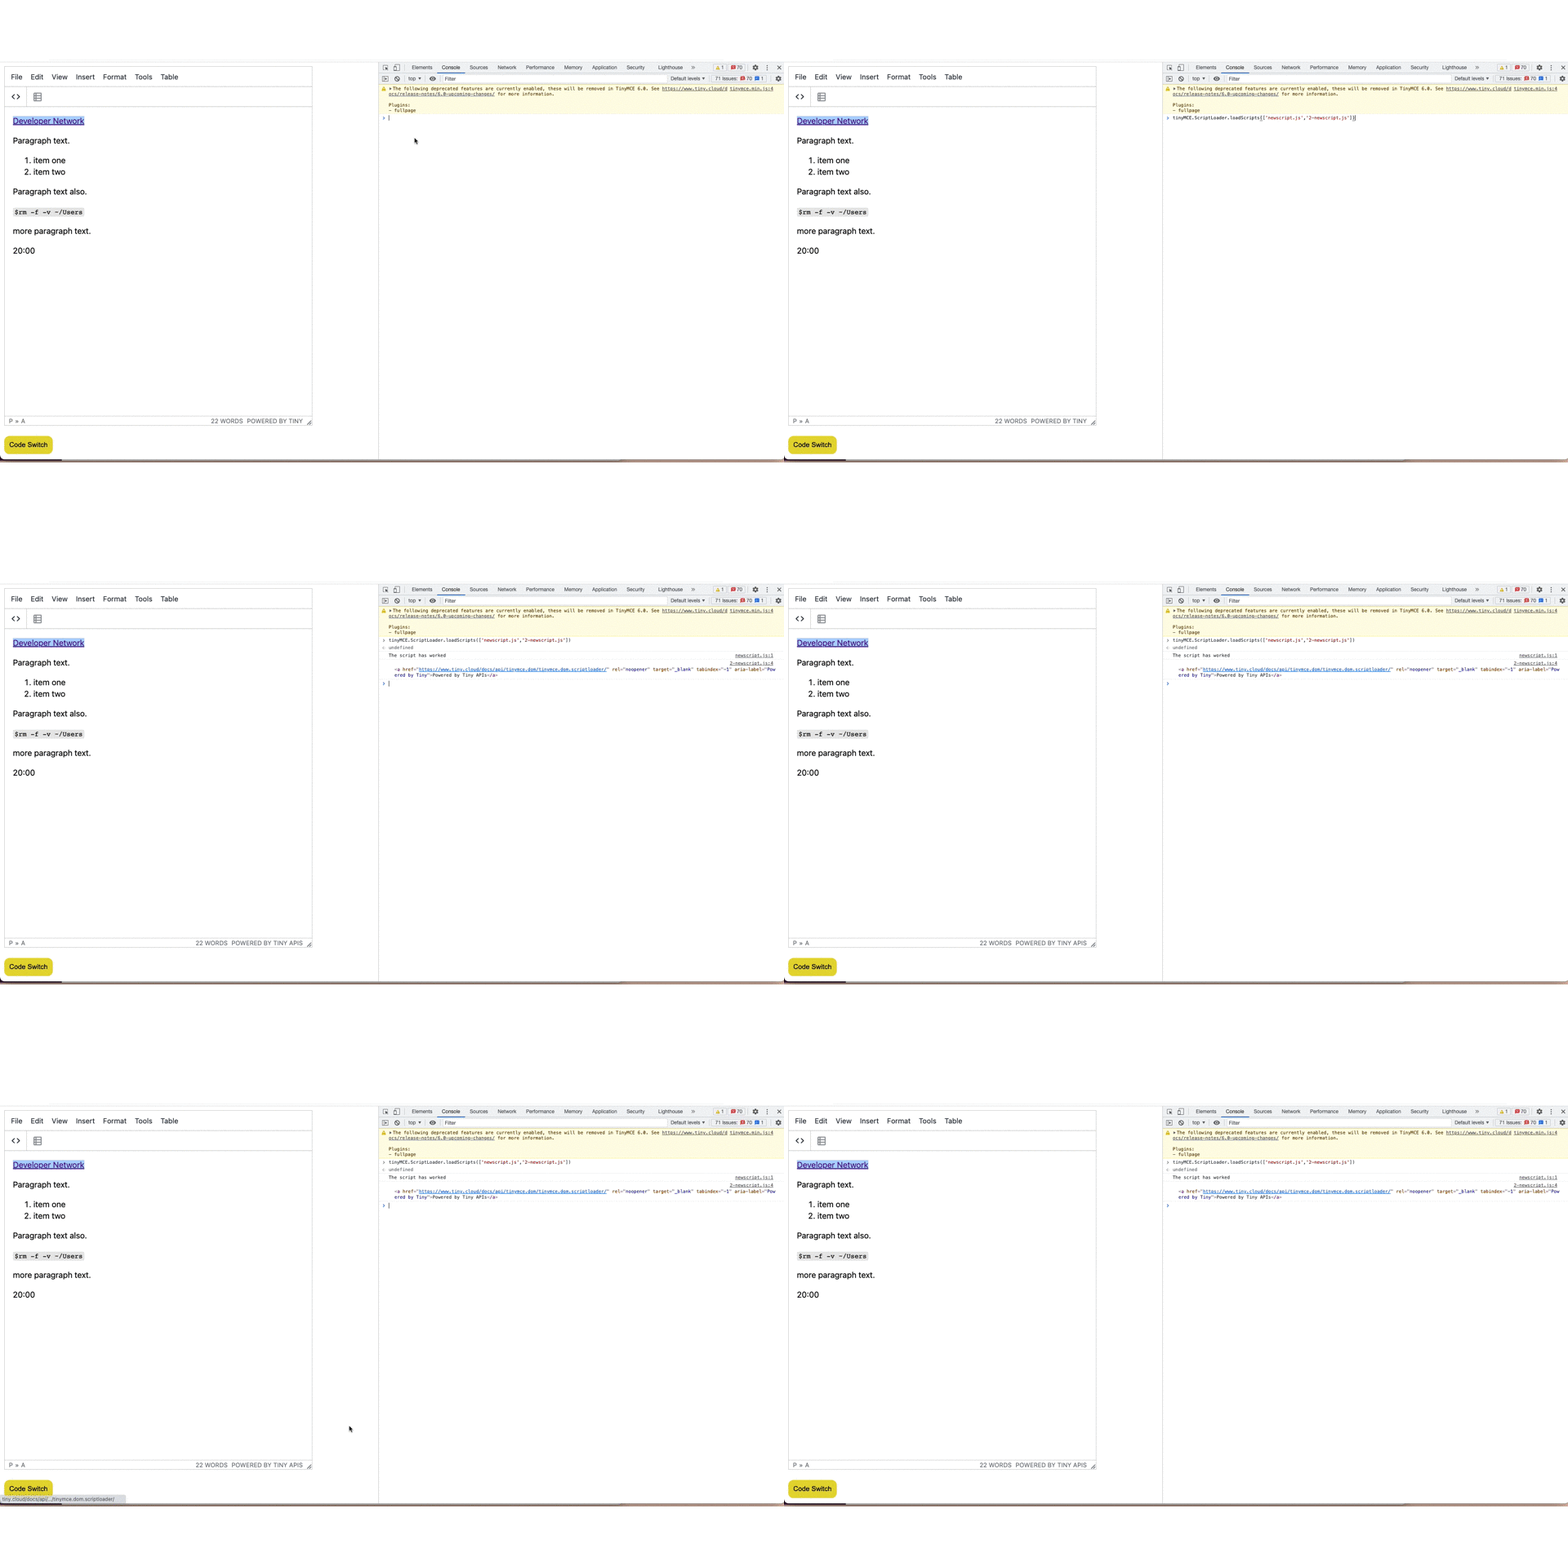
In the new JavaScript file, the actions the script takes can be something that will adjust the web page DOM. For example, this JavaScript changes the link and text found in the lower left corner of the TinyMCE rich text editor:
var link = document.querySelector("a");
link.textContent = "Powered by Tiny APIs";
link.href =
  '<a href="https://www.tiny.cloud/docs/api/tinymce.dom/tinymce.dom.scriptloader/">https://www.tiny.cloud/docs/api/tinymce.dom/tinymce.dom.scriptloader/</a>';
console.log(link);
-
Save the file, and return to the console in your browser
-
Run the loadScripts() method, with the two JavaScript files in an array:
tinyMCE.ScriptLoader.loadScripts(["newscript.js", "2-newscript.js"]);
-
Note that the scripts run right away.
How to load one script quickly
The fastest way to get a script loaded is to use the LoadScript() method (that’s script, singular). With this method, you will need to write a callback function. Here’s how it’s done:
-
In the console on your browser, run the LoadScript method, with a callback:
tinyMCE.ScriptLoader.loadScript(
  "2-newscript.js",
  function () {
    console.log("Loaded!");
  },
  function () {
    console.error("Error");
  }
);
-
Note the callback response, and the fast change to the TinyMCE text editor:

The script loader API in summary
The script loader API can help you sort out the loading of a script when you need specific timing of when a script loads.
Remember to check on how many JavaScript files you actually need to load into the web page. And if you can collect and condense the content into one file, you can load it in right away with the ScriptLoad() method.
If you’d like to try out this API, and build on the script loader abilities, check on the TinyMCE repository on GitHub. We have a discussion space where you can leave feedback, and find out what the community is working towards improving.
