


Design trends are constantly changing to keep products looking fresh and lively. Trends come and go…and come back again! And, this is the case with gradients. A gradient is the gradual blending of two or more colors to create a new “color” that is unique and appealing to the eye, providing designers with a whole new palette to work with. Gradients and multi-tone effects are at the forefront of modern design, showing up on many websites, brands, and logos, such as Instagram and Firefox.
In this article, we demonstrate how to add gradients to icons by defining gradients on SVGs. We also show how to add gradients to icons in our own rich text editor, providing developers with more ways to modernize their applications with just a few lines of code. Make sure to read the article in its entirety to get all the important information.
Check out the Mozilla documentation for more information about gradients in SVGs.
Working with gradients on SVG icons
Let’s say we have a bold icon defined by the following SVG:
<svg width="24" height="24"><path d="M7.8 19c-.3 0-.5 0-.6-.2l-.2-.5V5.7c0-.2 0-.4.2-.5l.6-.2h5c1.5 0 2.7.3 3.5 1 .7.6 1.1 1.4 1.1 2.5a3 3 0 01-.6 1.9c-.4.6-1 1-1.6 1.2.4.1.9.3 1.3.6s.8.7 1 1.2c.4.4.5 1 .5 1.6 0 1.3-.4 2.3-1.3 3-.8.7-2.1 1-3.8 1H7.8zm5-8.3c.6 0 1.2-.1 1.6-.5.4-.3.6-.7.6-1.3 0-1.1-.8-1.7-2.3-1.7H9.3v3.5h3.4zm.5 6c.7 0 1.3-.1 1.7-.4.4-.4.6-.9.6-1.5s-.2-1-.7-1.4c-.4-.3-1-.4-2-.4H9.4v3.8h4z" fill-rule="evenodd"></path></svg>
The fill property in CSS is for filling in the color of an SVG shape, so you can apply a color to it (for example, red) with the following CSS:
<style>
  svg path {
    fill: red;
  }
</style>
We can extend this idea further by defining a linearGradient and using that as the fill color.
For example, here we define a gradient that transitions from a pink #cc208e to a blue #6713d2:
<svg xmlns="http://www.w3.org/2000/svg" width="0" height="0"><defs><linearGradient id="mygradient" x1="80.86%" x2="19.14%" y1="0%" y2="100%"><stop offset="0%" stop-color="#cc208e"/><stop offset="100%" stop-color="#6713d2"/></linearGradient></defs></svg>And we apply the gradient to the SVG by referring to its id in our CSS as follows:
<style>
  svg path {
    fill:url(#mygradient);
  }
</style>
Bold icon with gradient color.
Gradient icons in TinyMCE
If you’re building an application that requires users to enter text, you’ll most likely be taking advantage of a rich text editor like TinyMCE. This makes gradient icons easy to add to your applications because you already have the icons - you just need to add the CSS to customize it.
TinyMCE
TinyMCE is used as the text entry component in over 100M+ products worldwide. It’s trusted by millions of developers who are creating the next generation of productivity and collaboration applications - check out examples of 9 products you can build with TinyMCE.
The default editor
By default, TinyMCE comes with a predefined set of toolbar options for your users to play with. For example, create a file with the following HTML and open it in a web browser, replacing no-api-key with your own Tiny API Key. If you don’t yet have one, you can get a free API Key now.
<!DOCTYPE html>
<html lang="en">
  <head>
    <meta charset="utf-8">
    <meta name="viewport" content="width=device-width, initial-scale=1">
    <script src="https://cdn.tiny.cloud/1/no-api-key/tinymce/6/tinymce.min.js" referrerpolicy="origin"></script>
    <script>
      tinymce.init({
        selector: "textarea"
      });
    </script>
  </head>
  <body>
      <textarea>Hello, World!</textarea>
  </body>
</html>When you open this HTML file in a browser, you’ll be presented with the following configuration:
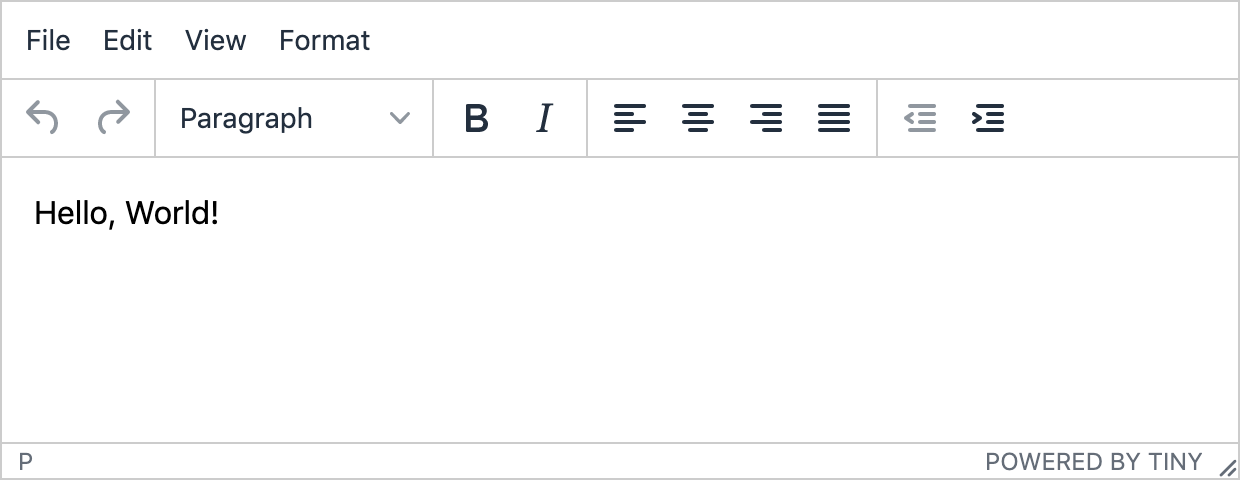
NOTE: You will be presented with a warning notification - This domain is not registered with Tiny Cloud - if you are running TinyMCE on your local machine outside of a web server, or if the domain on which you’re running TinyMCE is not registered against your account. To remove the notification, open it on localhost (which is already an approved domain by default), or register your domain as an approved domain in your account.
Adding gradient icons
Getting gradient icons in the editor is simply a matter of defining the gradient and adding it to our CSS as demonstrated above.
For example, add the following code to your HTML, restricting the style to the editor’s tox class to ensure we don’t style anything else on the page unexpectedly.
<svg xmlns="http://www.w3.org/2000/svg" width="0" height="0"><defs><linearGradient id="mygradient" x1="80.86%" x2="19.14%" y1="0%" y2="100%"><stop offset="0%" stop-color="#cc208e"/><stop offset="100%" stop-color="#6713d2"/></linearGradient></defs></svg>
<style>
  .tox svg path {
    fill:url(#mygradient);
  }
</style>Live example
Check out this example on CodePen:
If you’re already using TinyMCE, you’ll know that the editor is extremely flexible, allowing developers to create great user experiences. One of our most popular articles has more information about customizing TinyMCE toolbar options.
Please be aware that this is customization done by your team, so is not supported by Tiny. This does mean any updates to the editor may cause this to break. If you are looking for supported pre-configured options that will always be up to date and ready to use, please check out our premium Skins and Icons Pack.
If you’re new to TinyMCE, find out how easy it is to integrate it with some of the most popular JavaScript frameworks:
- Enhance Bootstrap forms with WYSIWYG editing
- Create an Angular reactive form with a rich text editor
- Enhance React forms with a rich text editor
- Add a rich text editor to a simple Vue project
Contact us for more information about TinyMCE and how we’re helping other developers get their innovative solutions to market sooner.
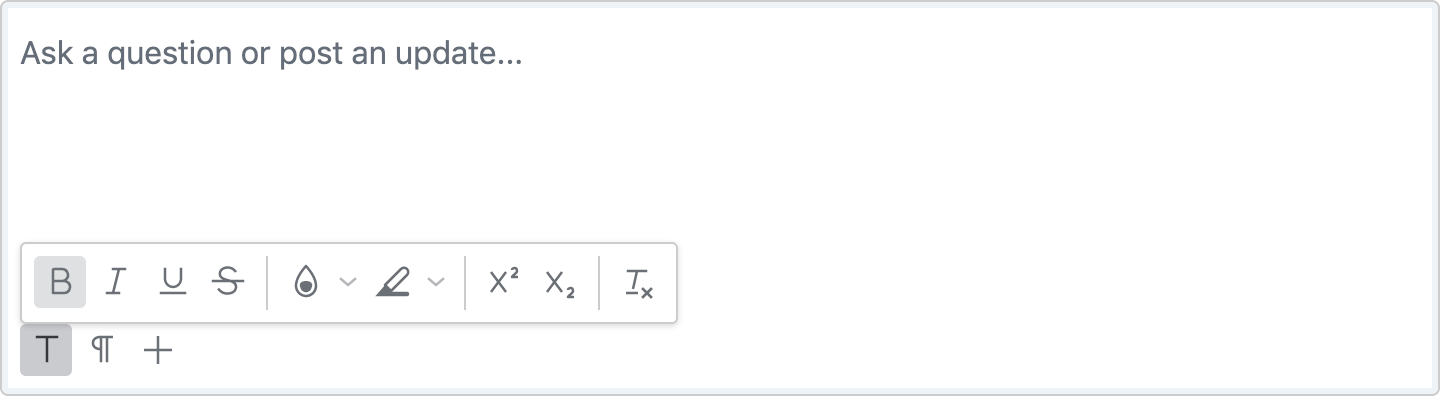
TinyMCE with custom skin, and toolbar icons grouped on the bottom.


