


Although we’ve made it simple for developers to run TinyMCE from the cloud so they’re always up to date with the latest features, many developers still want to self-host TinyMCE.
In this article, we demonstrate how to self-host TinyMCE and get it running in a simple application. We also show how you can get started with a free trial of our premium plugins.
For a more comprehensive overview of how to set up a self-hosted installation of TinyMCE, check out the advanced installation guide in our Tiny docs.
Self-hosting TinyMCE
Getting your first self-hosted instance of TinyMCE up and running is as easy as getting the TinyMCE package and initializing it in your application.
1. Get the TinyMCE package
First you need to get a copy of the TinyMCE package so your application can access it locally. You can get a copy of the TinyMCE package in one of two ways:
- Download TinyMCE and unzip it where you need it (for example, on your application server)
- Use a package manager - see the Tiny documentation for more detailed instructions about using NPM, Bower, Composer, or NuGet
2. Load TinyMCE in your application
Once you have the TinyMCE package locally available to your application, you can load it on your application pages with the following script:
<script src="/path/to/tinymce/tinymce.min.js"></script>For example, in a simple HTML page:
<!DOCTYPE html>
<html>
<head>
  <script src="/path/to/tinymce/tinymce.min.js"></script>
  <script type="text/javascript">
  tinymce.init({
    selector: '#mytextarea'
  });
  </script>
</head>
<body>
  <h1>TinyMCE Quick Start Guide</h1>
  <form method="post">
    <textarea id="mytextarea">Hello, World!</textarea>
  </form>
</body>
</html>Example: Self-host TinyMCE on localhost
Let’s run through a quick example showing how to get a self-hosted instance of TinyMCE up and running on localhost.
1. Install httpserver
First, install httpserver, a command line HTTP server tool for serving up local files. Assuming you’ve already got Node.js installed, you can install httpserver by running:
npm install -g httpserver2. Download TinyMCE
Download TinyMCE and unzip it in a folder on your system.
3. Load TinyMCE on an HTML page
In the same directory, create the following index.html file, specifying the path to the tinymce.min.js file accordingly:
<!DOCTYPE html>
<html>
<head>
  <script src="tinymce/js/tinymce/tinymce.min.js"></script>
  <script type="text/javascript">
  tinymce.init({
    selector: '#mytextarea'
  });
  </script>
</head>
<body>
  <h1>TinyMCE Quick Start Guide</h1>
  <form method="post">
    <textarea id="mytextarea">Hello, World!</textarea>
  </form>
</body>
</html>4. Run the application
Again, from the same directory, run httpserver on the command line to fire up a server on 0.0.0.0 port 8080.
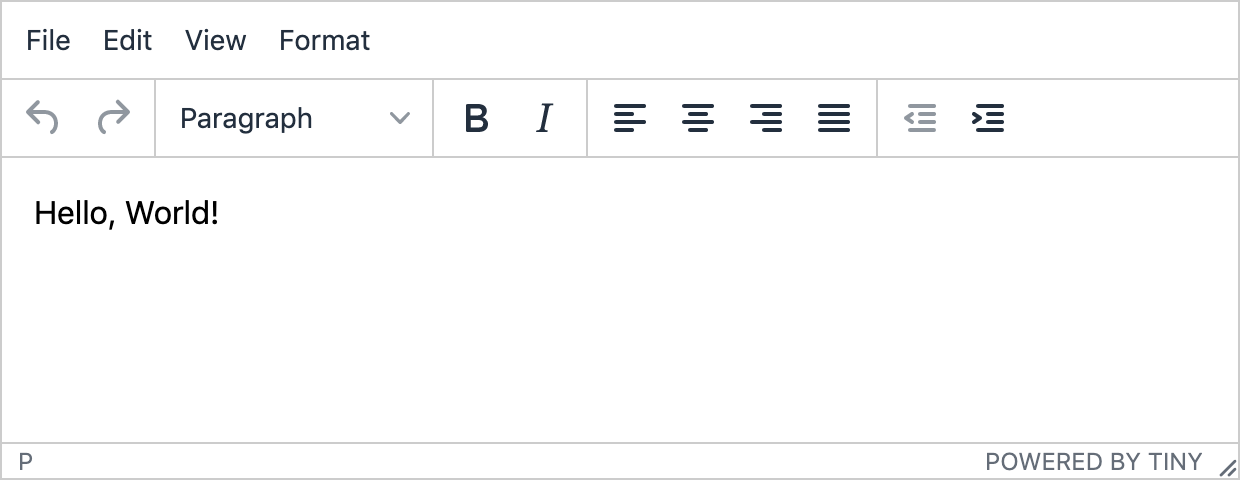
Now, when you open http://localhost:8080/ in a browser, TinyMCE is displayed with its default configuration.
Customizing TinyMCE
Once you’ve got the default configuration up and running, the fun really begins 😀 TinyMCE is highly configurable, and you can customize it to suit almost any UX. Check out 9 products you can build with TinyMCE.
The TinyMCE core editor includes all your standard text formatting options plus 40+ core plugins that you can add or remove as needed to further enhance the editing experience.
One of our most popular articles provides a great starting point for how to customize the TinyMCE toolbar.
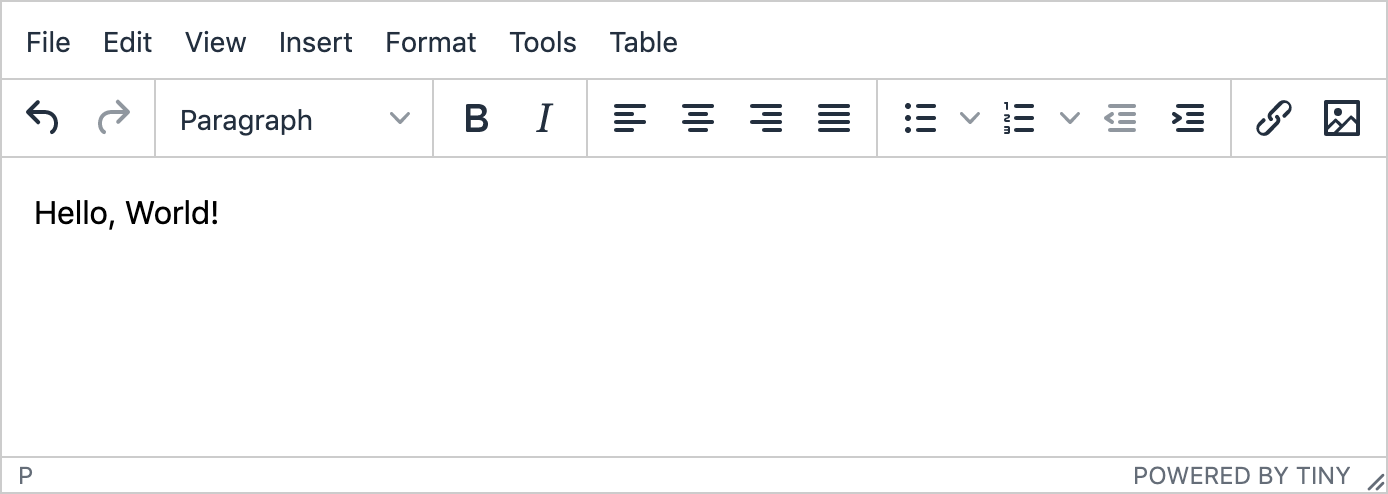
For example, you could provide a larger set of plugins and toolbar options by modifying the configuration in your HTML file as follows:
tinymce.init({
  selector: "#mytextarea",
  plugins: [
    "advlist autolink lists link image charmap print preview anchor",
    "searchreplace visualblocks code fullscreen",
    "insertdatetime media table paste",
  ],
  toolbar:
    "undo redo | styleselect | bold italic | alignleft aligncenter alignright alignjustify | bullist numlist outdent indent | link image",
});
Try premium features for free
If you’ve signed up for a Tiny API key, you automatically get a 14 day free trial of our premium plugins.
Enhance your applications with additional productivity, compliance, or collaboration tools; for example:
- PowerPaste - users can copy-paste content from Word, Excel, and other popular applications without bringing additional code and formatting across and breaking their content
- Format Painter - users can instantly apply content styles to other parts of their content without having to format them all over again
- Spell Checker Pro - users can easily see words that are misspelled (in up to 13 languages simultaneously) and can correct them at the click of a button via the context menu
- Comments and AtMention - users can create and reply to comments, and send notifications to other users through an @mention in the document
- And more - view all premium plugins

Load the plugins package
To try our premium features, include the following code in the head of your HTML, replacing my-api-key with your own API key from the Tiny account dashboard:
<script src="https://cdn.tiny.cloud/1/my-api-key/tinymce/5/plugins.min.js" referrerpolicy="origin"></script>NOTE: By specifying the number 5 in the code above, this will load plugins for the latest version 5 release. You may prefer to specify a minor (e.g., 5.6) or patch (e.g., 5.6.2) version to avoid potential incompatibilities with your self-hosted core going forward.
Try a premium plugin
Now you’re ready to try any of our premium plugins!
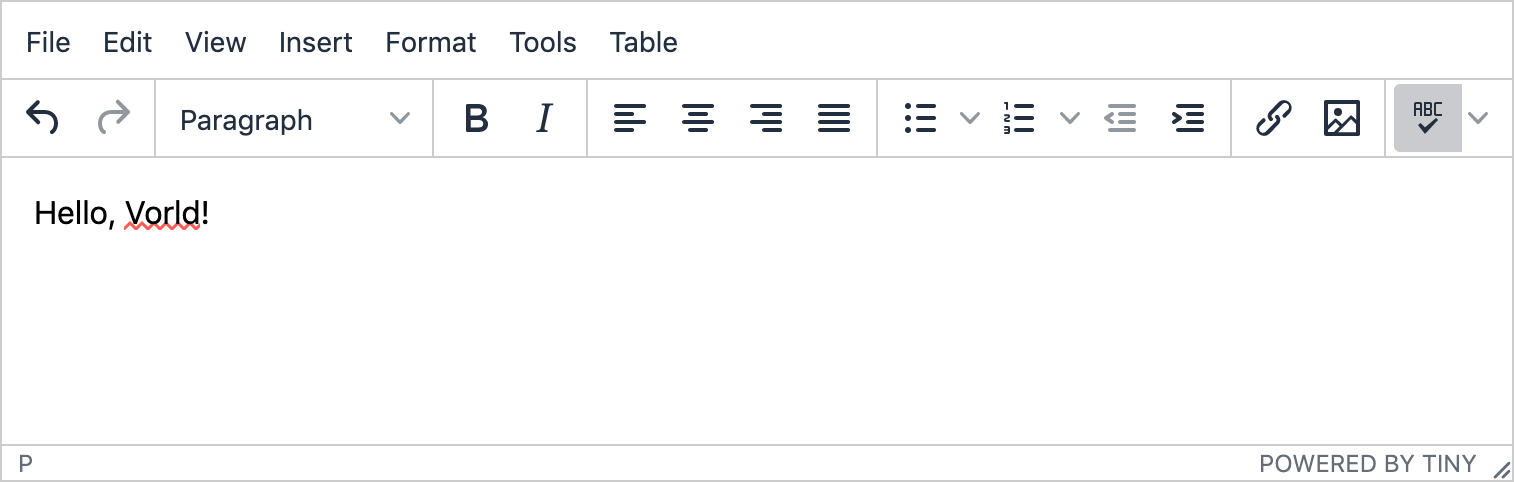
For example, try Spell Checker Pro by modifying the init script in your HTML - add it as a plugin and user option on the toolbar using the tinymcespellchecker and spellchecker controls, respectively.
tinymce.init({
  selector: "#mytextarea",
  plugins: [
    "advlist autolink lists link image charmap print preview anchor",
    "searchreplace visualblocks code fullscreen",
    "insertdatetime media table paste tinymcespellchecker",
  ],
  toolbar:
    "undo redo | styleselect | bold italic | alignleft aligncenter alignright alignjustify | bullist numlist outdent indent | link image | spellchecker",
});
More information about configuring Spell Checker Pro, including multi-language checking, is available in our Tiny documentation.
What next?
Try more of our premium plugins for free. You can find detailed instructions about adding and configuring premium plugins in our Tiny documentation.


