After you’ve enhanced your products with the power and flexibility that comes with the TinyMCE rich text editor, and you’ve got it up and running in your applications, you’ll want to customize it to provide the best possible experience for your users.
There are many solutions you can create with TinyMCE, and each scenario demands different UI requirements. If you’re building, say, a simple comments interface, the ability to set custom HTML font sizes might not be a priority. But with something more advanced like a Document Management System or email builder (where content editing is crucial), the ability to set custom HTML font sizes is likely to be an essential functionality..
This article explains how to configure TinyMCE for custom HTML font sizes. It covers a few how-to cases:
- How to set up your own custom font sizes – so writers can choose from a specific group
- How to set the default font size – if that’s all you need
- How to set up the TinyMCE font size controller in the toolbar – a useful feature for a variety of solutions
- What are custom HTML font sizes?
Custom HTML font sizes are an HTML element that has had specific font sizes defined by either a numeric value, or a relative value. The font tag, however, is deprecated, and could stop working at any time, so setting for a pure, custom HTML font size, you would need to look at configuring and adding a font-size attribute to HTML your customer writes into the text area.
Fortunately, with the TinyMCE font size options, you don’t need to spend time configuring a function that adjusts HTML font sizes.
How to configure font size selection
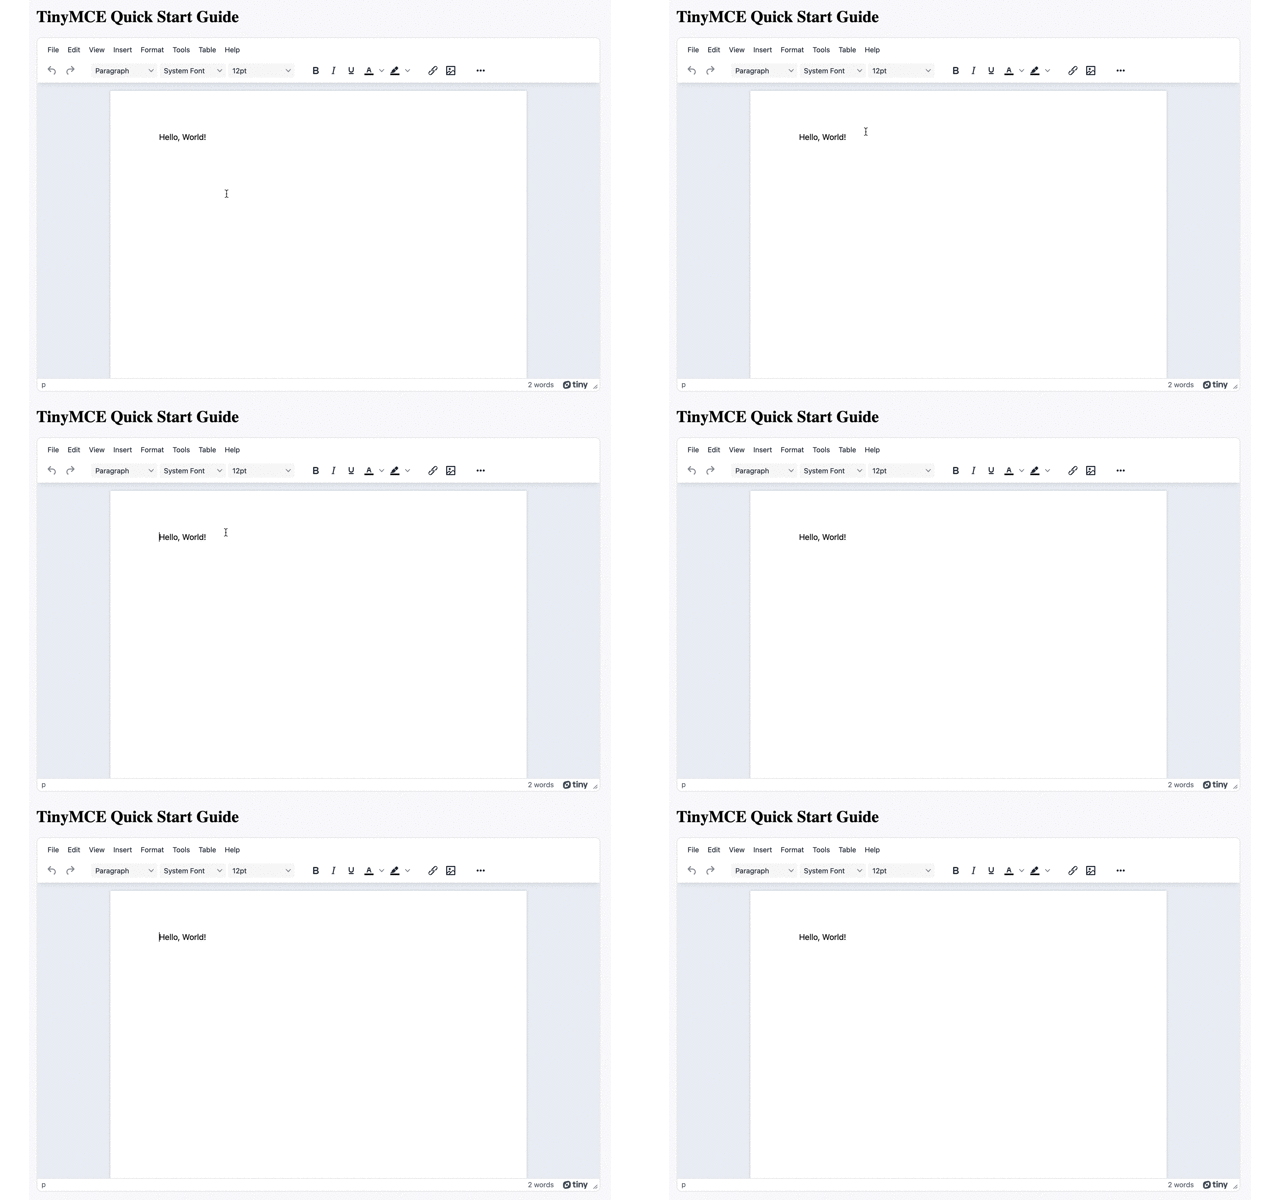
To start setting the HTML font size, the following demo shows each step of the process:
First, you need an API key. This key gives you free access to TinyMCE Premium plugins for 14 days. Navigate to the Get-tiny sign up page to get your FREE rich text editor API key.
-
Create an index.html file, and set up the HTML starter content:
<!DOCTYPE html>
<html lang="en">
<head>
    <meta charset="UTF-8">
    <meta http-equiv="X-UA-Compatible" content="IE=edge">
    <meta name="viewport" content="width=device-width, initial-scale=1.0">
    <title>TinyMCE Custom Font Size</title>
</head>
    <body>
    </body>
</html>
-
With your file open, in the head section, add script tags, and reference TinyMCE Cloud through a CDN link within the script tags. This is what the link looks like:
<script
  src="https://cdn.tiny.cloud/1/your-api-key/tinymce/6/tinymce.min.js"
  referrerpolicy="origin"
></script>;
NOTE: For the Tiny Cloud connection, creating an account with TinyMCE gets you a FREE API key. When you use this key, you have access to Premium TinyMCE plugins for a14 day-trial, as well as no warning messages concerning API keys in the text area.
-
Add another pair of script tags, add the following JavaScript. It’s the tinymce.init method. This content is based on the TinyMCE DMS solution:
<script>
        tinymce.init({
          selector: "#editor",
          plugins: "advcode advlist advtable anchor autocorrect autolink autosave casechange charmap checklist codesample directionality editimage emoticons export footnotes formatpainter help image insertdatetime link linkchecker lists media mediaembed mergetags nonbreaking pagebreak permanentpen powerpaste searchreplace table tableofcontents tinymcespellchecker typography visualblocks visualchars wordcount",
          toolbar: "undo redo spellcheckdialog  | blocks fontfamily fontsize | bold italic underline forecolor backcolor | link image | align lineheight checklist bullist numlist | indent outdent | removeformat typography",
          height: '700px',
          toolbar_sticky: true,
          autosave_restore_when_empty: true,
          spellchecker_active: true,
          spellchecker_language: 'en_US',
          spellchecker_languages: 'English (United States)=en_US,English (United Kingdom)=en_GB,Danish=da,French=fr,German=de,Italian=it,Polish=pl,Spanish=es,Swedish=sv',
          typography_langs: [ 'en-US' ],
          typography_default_lang: 'en-US',
          content_style: `
            body {
              background: #fff;
            }

            @media (min-width: 840px) {
              html {
                background: #eceef4;
                min-height: 100%;
                padding: 0 .5rem;
              }

              body {
                background-color: #fff;
                box-shadow: 0 0 4px rgba(0, 0, 0, .15);
                box-sizing: border-box;
                margin: 1rem auto 0;
                max-width: 820px;
                min-height: calc(100vh - 1rem);
                padding:4rem 6rem 6rem 6rem;
              }
            }
          `,
        });
</script>-
Add initial HTML content, and the CSS selector class to some textarea tags. The selector is set as an id with the value “editor” in the TinyMCE init script:
<body>
   <h1>TinyMCE Quick Start Guide</h1>
  <form id="post">
       <textarea id="editor">Hello, World!</textarea>
  </form>
</body>;
-
Test run the index.html file by opening it in your browser, or use a local server command with Python or with the PHP command:

How to configure TinyMCE HTML font size
The TinyMCE rich text editor comes with seven font size options by default, ranging from 8pt to 36pt. Depending on how TinyMCE is configured, users can select a font from the menubar or toolbar using the fontsize menu item from the toolbar.
If the fontsize dropdown is not already on your toolbar, you can add it to the list of toolbar controls in your configuration. Here’s how it’s done:
-
Check your toolbar options, and add fontsize if it is not already there. The following example from the TinyMCE started content in the preceding section groups the font content together with fontfamily and blocks:
tinymce.init({
  /* ... */
  toolbar:
    "undo redo spellcheckdialog  | blocks fontfamily fontsize | bold italic underline forecolor backcolor | link image | align lineheight checklist bullist numlist | indent outdent | removeformat typography",
});
-
Add the font_size_formats option to the TinyMCE init script:
<script>
        tinymce.init({
          selector: "#editor",
          plugins: "advcode advlist advtable anchor autocorrect autolink autosave casechange charmap checklist codesample directionality editimage emoticons export footnotes formatpainter help image insertdatetime link linkchecker lists media mediaembed mergetags nonbreaking pagebreak permanentpen powerpaste searchreplace table tableofcontents tinymcespellchecker typography visualblocks visualchars wordcount",
          toolbar: "undo redo spellcheckdialog  | blocks fontfamily fontsize | bold italic underline forecolor backcolor | link image | align lineheight checklist bullist numlist | indent outdent | removeformat typography",
          height: '700px',

          //HTML custom font options
font_size_formats: '8pt 10pt 12pt 14pt 16pt 18pt 24pt 36pt 48pt',-
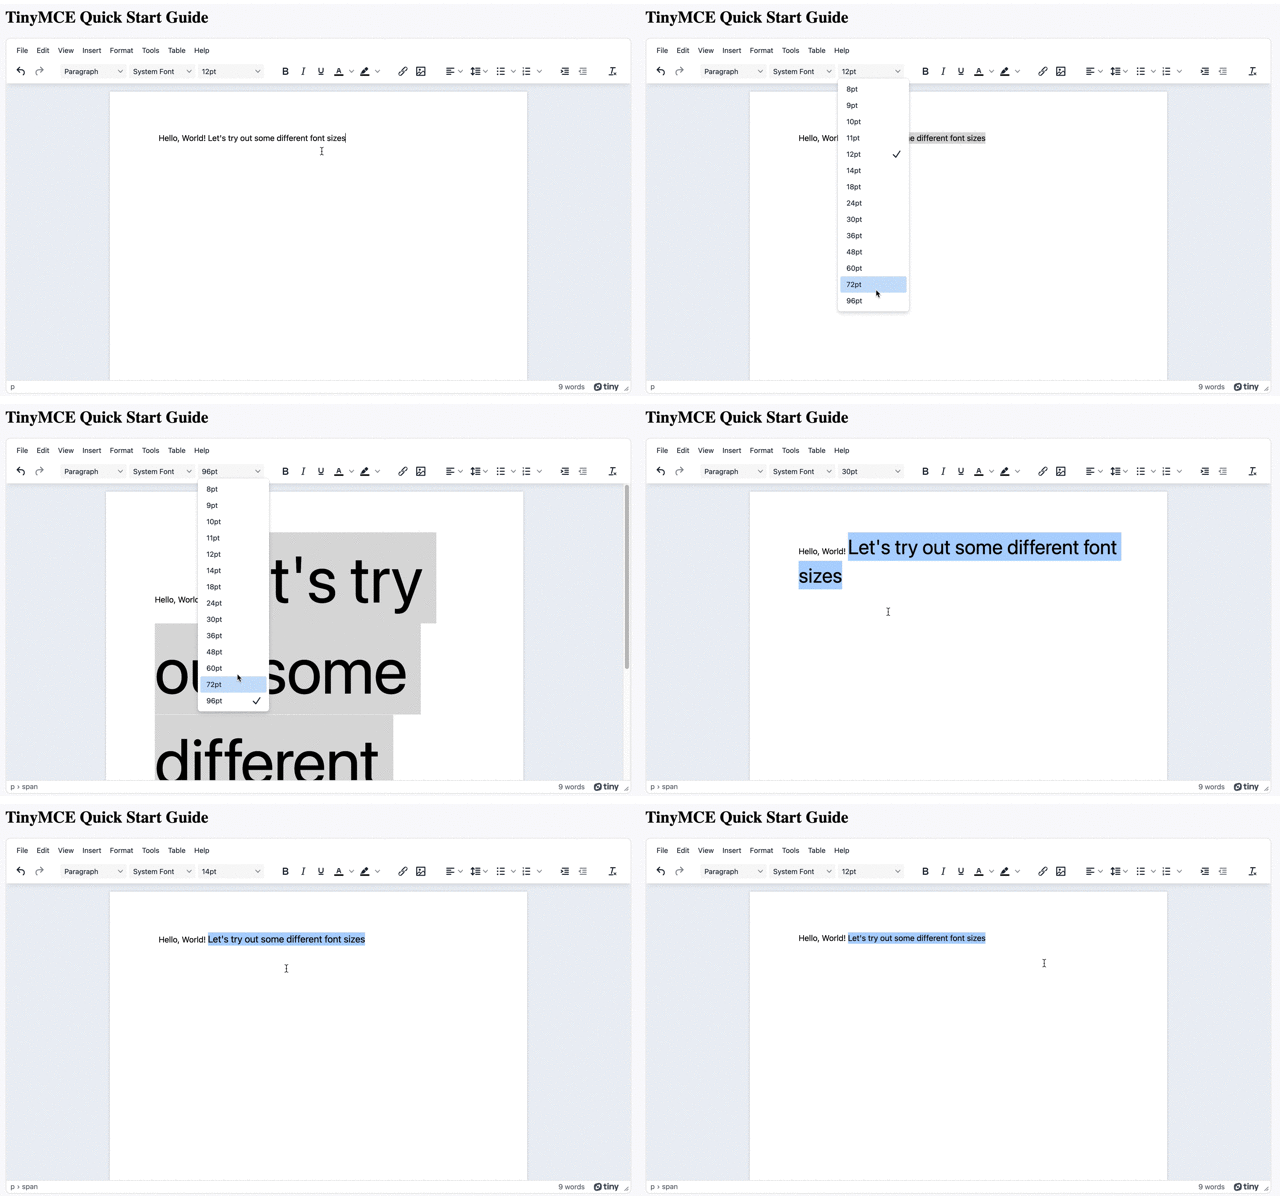
Define the available font sizes by overriding the default list with specific font sizes. For example, you could give your users the same choice as provided by Google Docs:
tinymce.init({
  /* ... */
  fontsize_formats:
    "8pt 9pt 10pt 11pt 12pt 14pt 18pt 24pt 30pt 36pt 48pt 60pt 72pt 96pt",
});
You can then try out the new, custom HTML fonts:

How to change the default font size
If you want to change the default font size of the editor, you can configure the TinyMCE CSS using the content_css or content_style options.
-
Modify the style content to set the body font size to a default size of 14pt:
content_style: `
            body {
              background: #fff;
              font-size: 14pt;
            }
        …
     `;
NOTE: Just remember, these styles are specific to the content inside the editor – if you want it to also be the default size on the published content, you’ll have to make sure the same style is applied to those published pages.
How to set up the custom font size controller in the toolbar
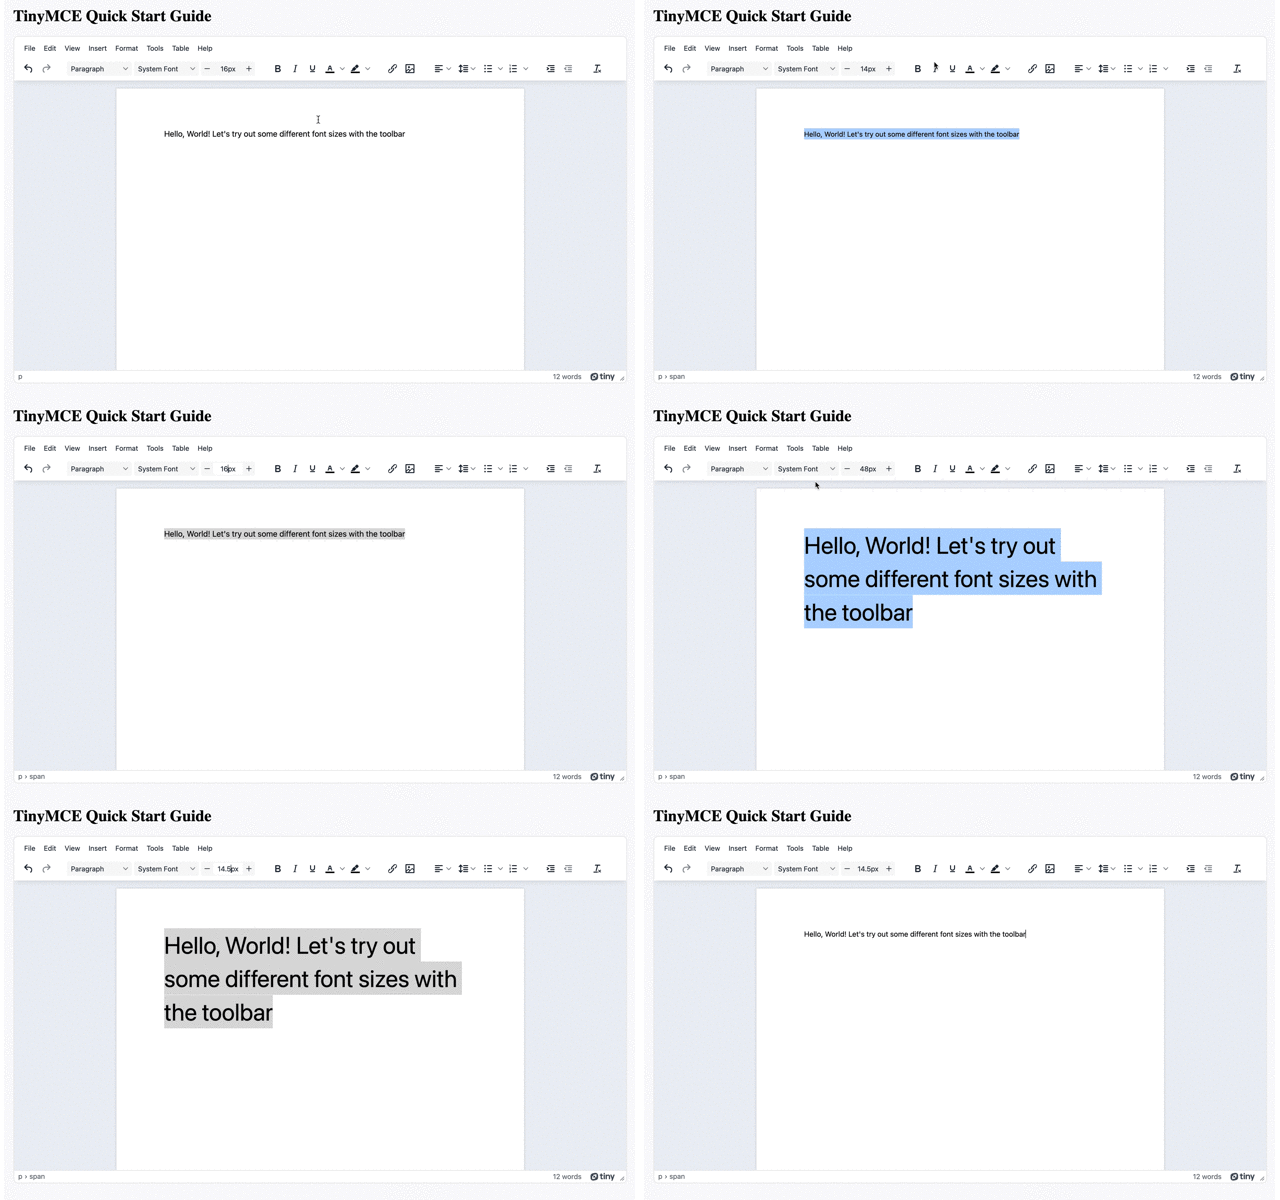
The custom font size controller allows writers using your app to type in specific font sizes, and adjust the size of the font manually with toolbar buttons. These interface options provide a familiar writing experience like Google Docs and MS Word.
NOTE: the font size controller is set up with the fontsizeinput option. This option is available with the TinyMCE 6.4 release, which brings with it several new features. You can find out more about it in the 6.4 release post and webinar.
-
Add the fontsizeinput option to the TinyMCE toolbar
toolbar: "undo redo spellcheckdialog | blocks fontfamily fontsize fontsizeinput | bold italic underline forecolor backcolor | link image | align lineheight checklist bullist numlist | indent outdent | removeformat typography",-
Remove the fontsize option from the toolbar:
toolbar: "undo redo spellcheckdialog | blocks fontfamily fontsizeinput | bold italic underline forecolor backcolor | link image | align lineheight checklist bullist numlist | indent outdent | removeformat typography",-
Save the changes, and then test out the font size change in the toolbar:

Check out the complete example on CodePen:
What next for HTML font size?
If you’re interested in exploring this topic more, also see our related articles:
Not yet using TinyMCE on the cloud? When you’re on the cloud, you’ll always be up to date with the latest build and newest features. Get started with a free API key – you’ll also get a 14-day trial of our Premium plugins!
