


The fastest and least costly method to deploy software is through a connection to a Cloud.
But apart from speed and cost, if you need to scale your project quickly, then Cloud-based software can also provide easy expansion. All three – speed, low-cost, and ease of expansion – are available when using the TinyMCE rich text editor through Tiny Cloud.
If you’re getting TinyMCE 6 up and running through the Tiny Cloud, this article explains how to get started, and the few steps required.
Why upgrade to TinyMCE 6 through Tiny Cloud?
TinyMCE 6 is a major release. This means there are significant feature updates that change how plugins and TinyMCE API connections work. When there are significant improvements made to the TinyMCE rich text editor, the change is represented by the number shifting. In this case, shifting from TinyMCE 5 to TinyMCE 6.
This major change introduces upgrades that may break existing functionality. Be prepared to invest some time and effort in checking your configuration after an upgrade.
The version number would have changed to TinyMCE 5.14.1 for example if only minor bugs or patches were included. This is because TinyMCE follows strict Semantic Versioning (Semver). The final result? A faster, lightweight rich text editor.
Access TinyMCE 6 through Tiny Cloud
TinyMCE 6 is available from a Content Delivery Network (CDN) link. To get started:
-
Add the CDN script to your project index.html file:
<script
  src="https://cdn.tiny.cloud/1/no-api-key/tinymce/6/plugins.min.js"
  referrerpolicy="origin"
></script>;
-
Include another
<script>tag in your project index.html file -
Add a tiny.init script inside the
<script>tag:
<script>
   tinymce.init({
     selector: 'mytextarea'
    });
</script>
-
Add the selector class to a textarea element within your project HTML, and wrap that element in form tags:
<body>
  <h1>TinyMCE Quick Start Guide</h1>
  <form method="post">
    <textarea class="mytextarea">Hello, World!</textarea>
  </form>
</body>;
-
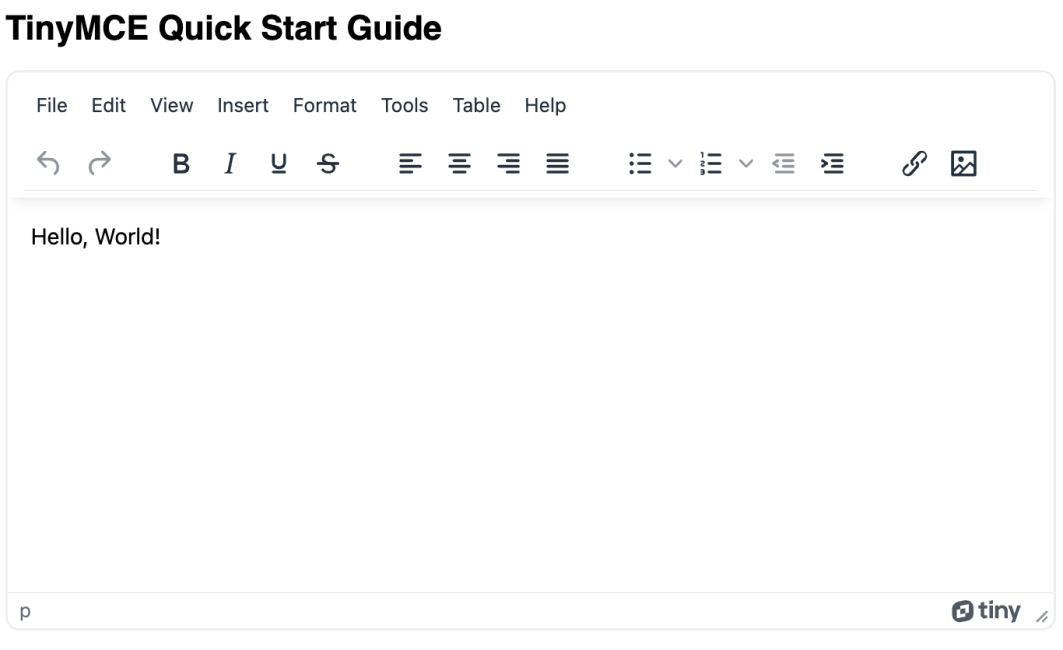
Save and load your project into a web browser to see the TinyMCE 6 rich text editor:
Plugins with TinyMCE 6 in the Cloud
To customize TinyMCE 6, you can add different plugins that add new features and capabilities to your rich text editor.
In previous TinyMCE versions, you needed to specify the following plugins – colorpicker, contextmenu, hr, noneditable, paste, print, textcolor, textpattern – however these plugins are now included within the TinyMCE 6 core, so you no longer need to specify them in your TinyMCE plugin list.
Three ways to configure plugins
Here’s some essential plugins you can add to your rich text editor configuration. You can configure these as text string in three different ways:
1. A space separate text string:
plugins: 'advlist lists link image code codesample emoticons insertdatetime table',
2. A comma separated text string:
plugins:'advlist,lists,link,image,code,codesample,emoticons,insertdatetime,table',3. An array format with square bracers:
plugins: ['advlist’, ‘lists’, ‘link’, ‘image’, ‘code’, ‘codesample’, ‘emoticons’, ‘insertdatetime’, ‘table’]
Premium plugin additions
Sign up for a FREE API key to try out the TinyMCE premium plugins for 14 days. You can add the API key into your CDN link from the previous steps:
<script
  src="https://cdn.tiny.cloud/1/Place-API-Key-Here/tinymce/6/tinymce.min.js"
  referrerpolicy="origin"
></script>;
You can also find out more about the capabilities of the TinyMCE Premium plugins:
- The guide for self-hosting plugin configuration, which works for Tiny Cloud as well.
- The Documentation on TInyMCE Premium plugin configuration.
Final checks for Cloud hosting TinyMCE
If you run into any difficulties when setting up TInyMCE 6 through TIny Cloud, or you find you need assistance with changing to a Premium version of TinyMCE, you can contact our support team for more information, or consult our documentation.
Find out more on the pricing plan page for what’s available with TinyMCE 6. And remember to sign up for a FREE API key to try out any Premium plugins (available for 14 days from when you activate your API key) to explore which features work best when using TinyMCE 6.


