


With the release of TinyMCE 5.5 comes our newest premium plugin - Export - providing your end users with more options for content shareability.
Users can now create a lightweight PDF of content they have created in TinyMCE, enabling easily digestible and shareable content.
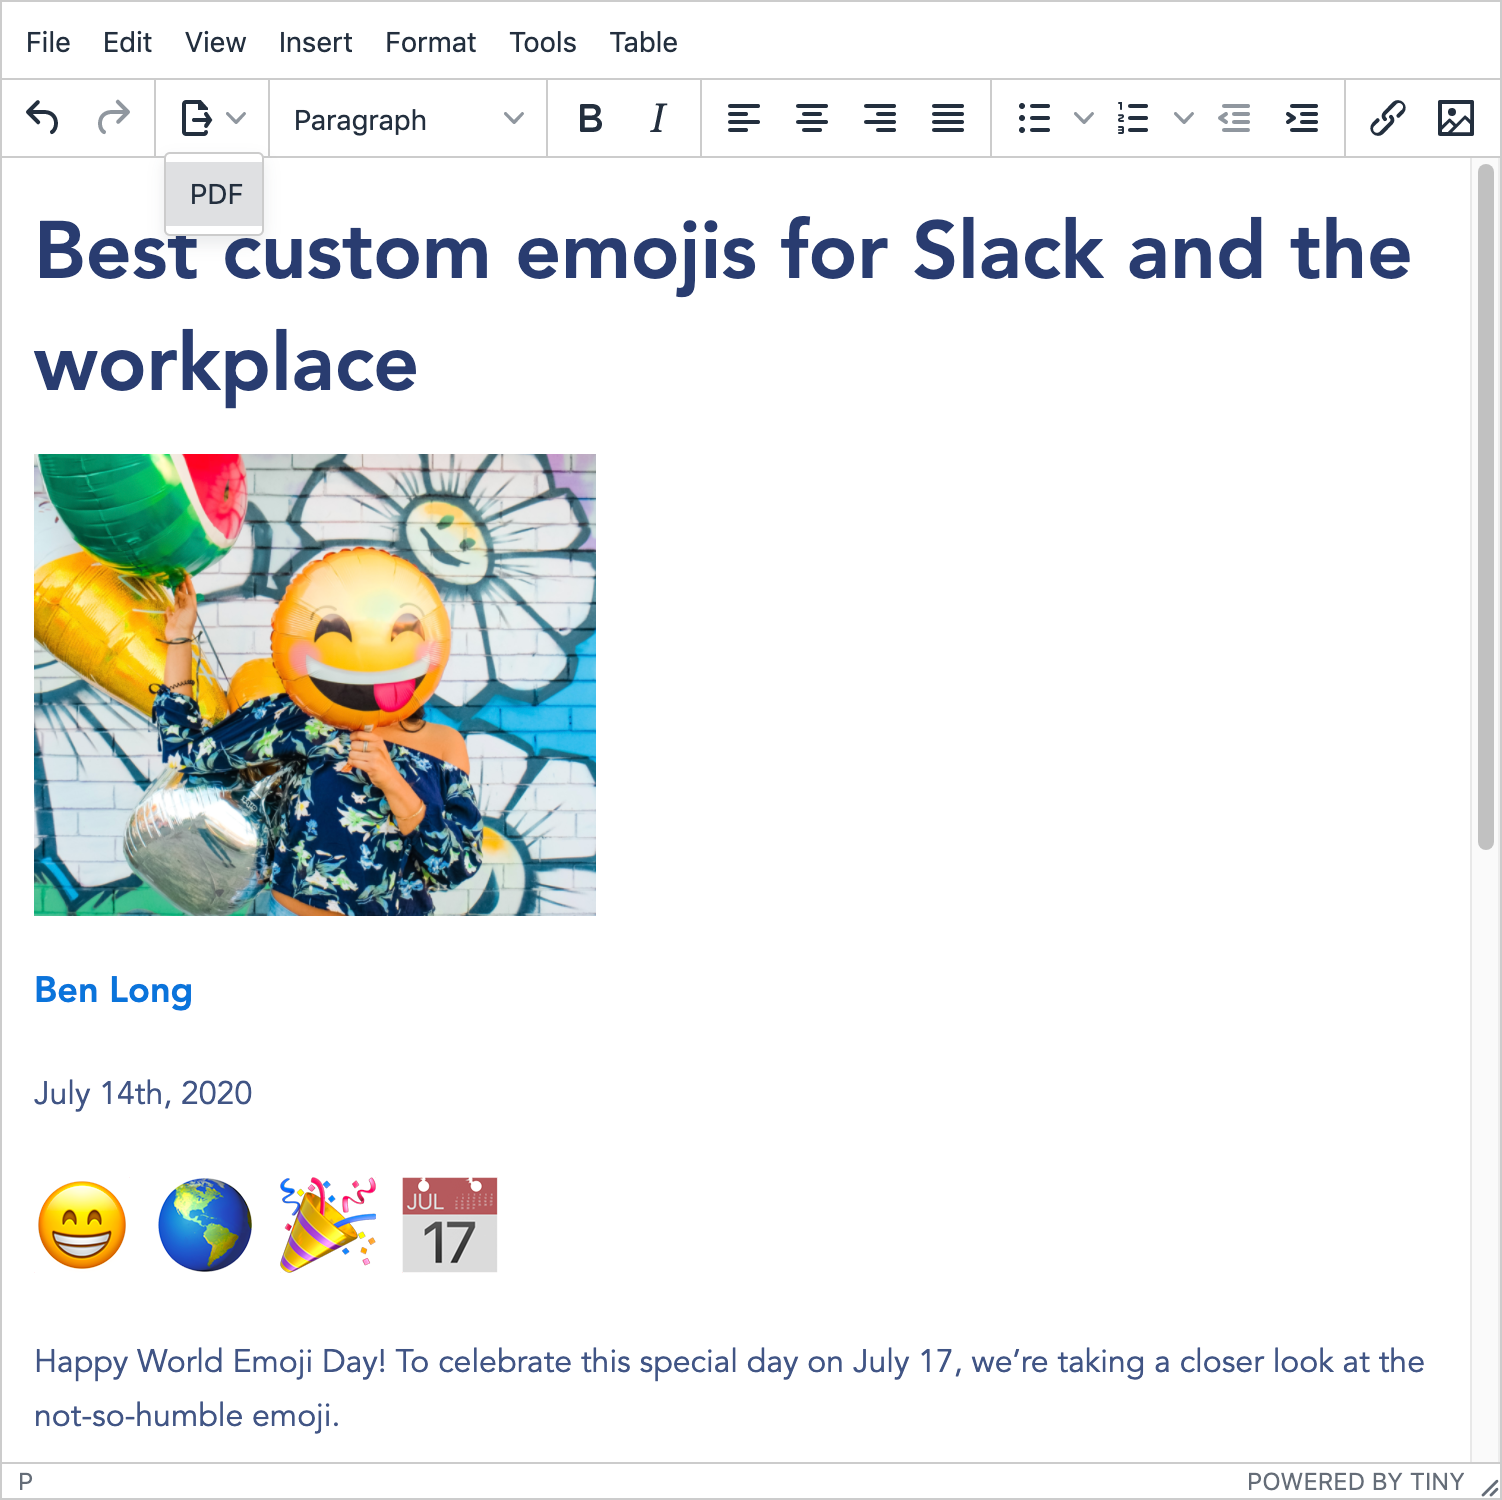
After typing rich text into the editor, users can select the option to export to PDF:
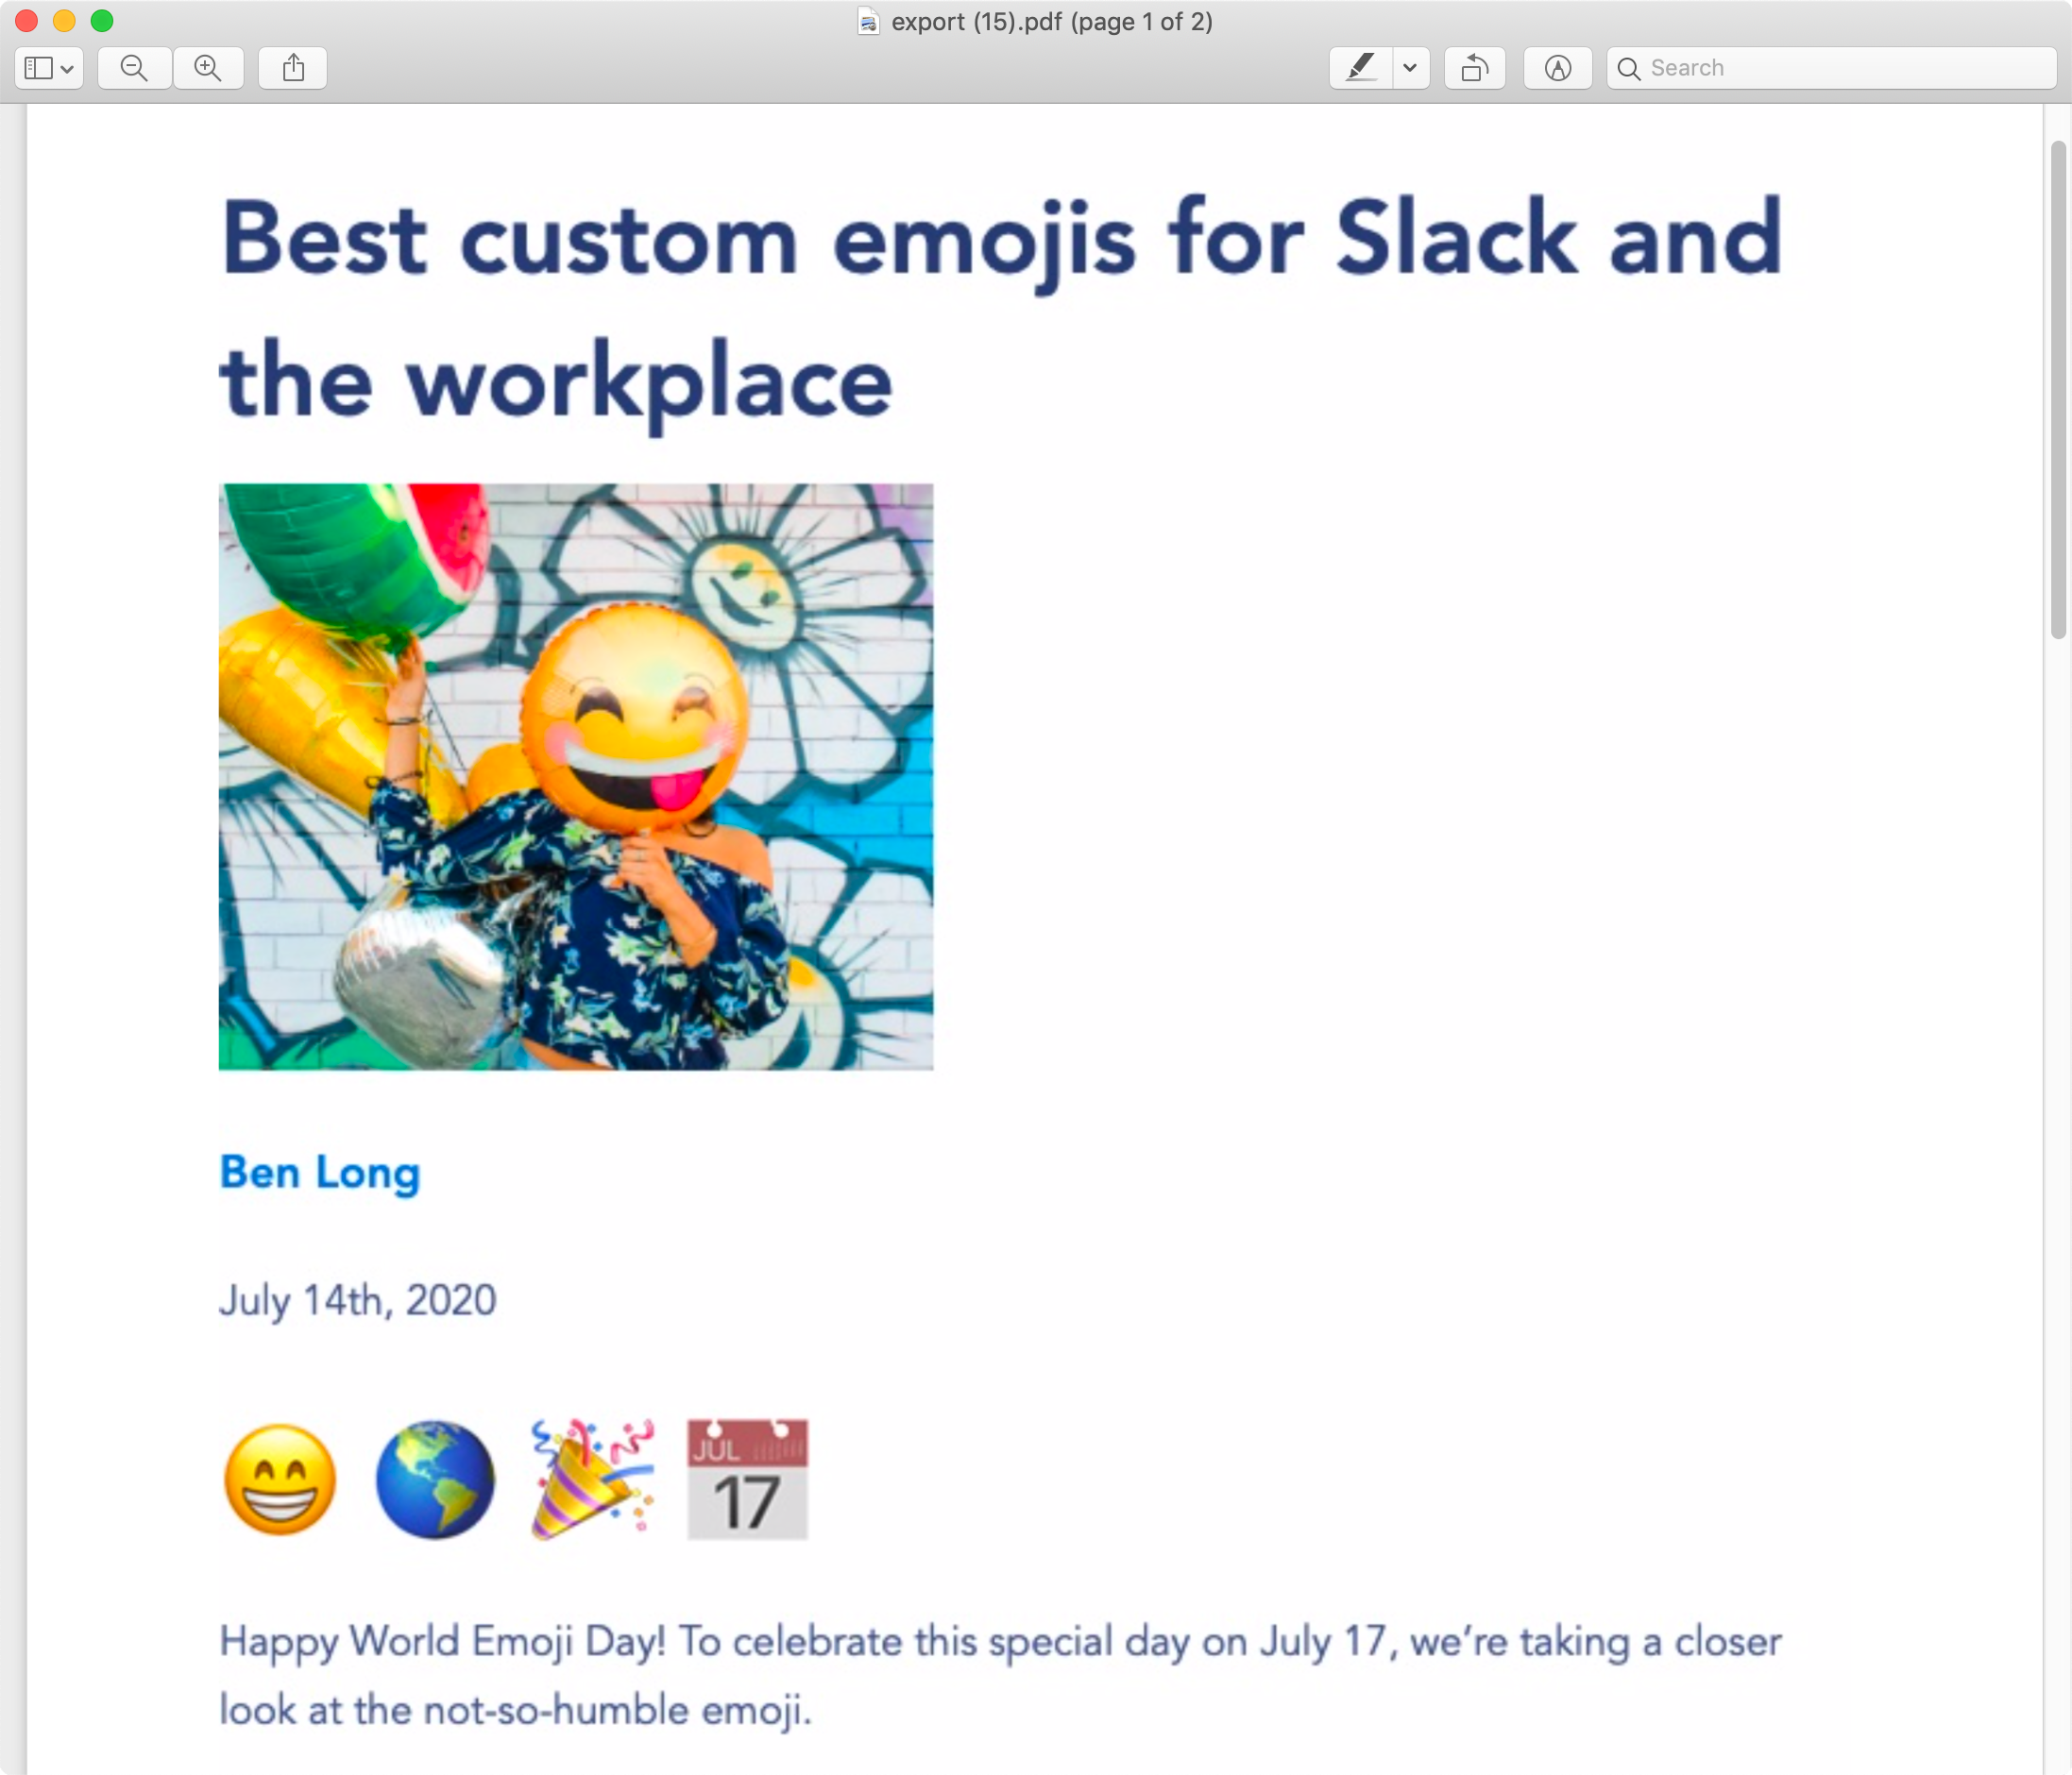
The corresponding PDF will be generated, preserving line breaks and hyperlinks:
Why export?
We’ve all been in a position where we are working on some content - a report, a proposal, a blog post, a lesson plan… - and it’s saved in our application, but we need to share it outside of that product.
We might want to do this to share work in progress, or because the people we’re sharing it with don’t have access to the same system.
In these types of scenarios, it can be super convenient to have options to export your content, for example, to PDF, so it can easily be shared and distributed. PDF is, of course, one of the most popular file formats.
That’s where TinyMCE Export comes in.
TinyMCE Export
TinyMCE Export enables users to save their rich text content as a lightweight PDF at the click of a button, making their content instantly more shareable beyond the walls of the application in which it was created.
This can save users time and frustration in their daily workflows, and removes the need for developers to build this type of functionality into the applications themselves.
At this stage, the Export feature allows users to create a lightweight PDF that renders all content as an image, or non-selectable content, whilst still honoring page breaks and links.
Key features and benefits:
- Exports HTML content to a lightweight PDF document with a click of a button
- Converts any HTML content (e.g., backgrounds, borders, images, tables, and lists)
- Preserves line breaks and hyperlinks
- Implemented client-side, enabling use for both cloud users and self-hosted deployments
- Removes the need for developers to waste time building and maintaining this functionality themselves
Why a “Beta” release?
The Export plugin is being tagged as a “Beta” release. We want our users to start taking advantage of this feature as soon as possible while, at the same time, we gather feedback from customers and apply usability testing for future iterations and improvements.
Try a demo
The following CodePen has TinyMCE configured with the export button, as well as page break and source code options. We’ve preloaded some HTML including an image and text (a portion of one of our most popular blog posts - one we wrote for World Emoji Day back in July).
Click on the Export button (or click File -> Export -> PDF) to download a PDF version of the content. Any HTML elements - e.g., including backgrounds, borders, images, tables, and lists - are converted.
Get started with the TinyMCE Export plugin
Export is a premium feature included with our Cloud Essential and Cloud Professional plans, as well as our Custom plans. You can get started with either plan with a free 14 day trial.
Assuming you’ve already got an instance of TinyMCE up and running and you know how to configure the editor, once you have access to the premium Export plugin, adding it to TinyMCE is as easy as adding it as a plugin and adding it to the toolbar. You might also consider providing the pagebreak plugin/option if it’s not already part of your editor config, because any page breaks inserted will be included in the resulting PDF.
tinymce.init({
  selector: "textarea",
  plugins: "export pagebreak",
  toolbar: "export pagebreak",
});
What next?
To get the most out of our new Export plugin, you might want to add additional styling to the content that appears within the editor. Check out our recent article about configuring TinyMCE CSS and custom styles.
For more information about TinyMCE Export, check out the product page, or contact us anytime to talk about your specific requirements. There’s also more detailed information available in our Tiny documentation.


