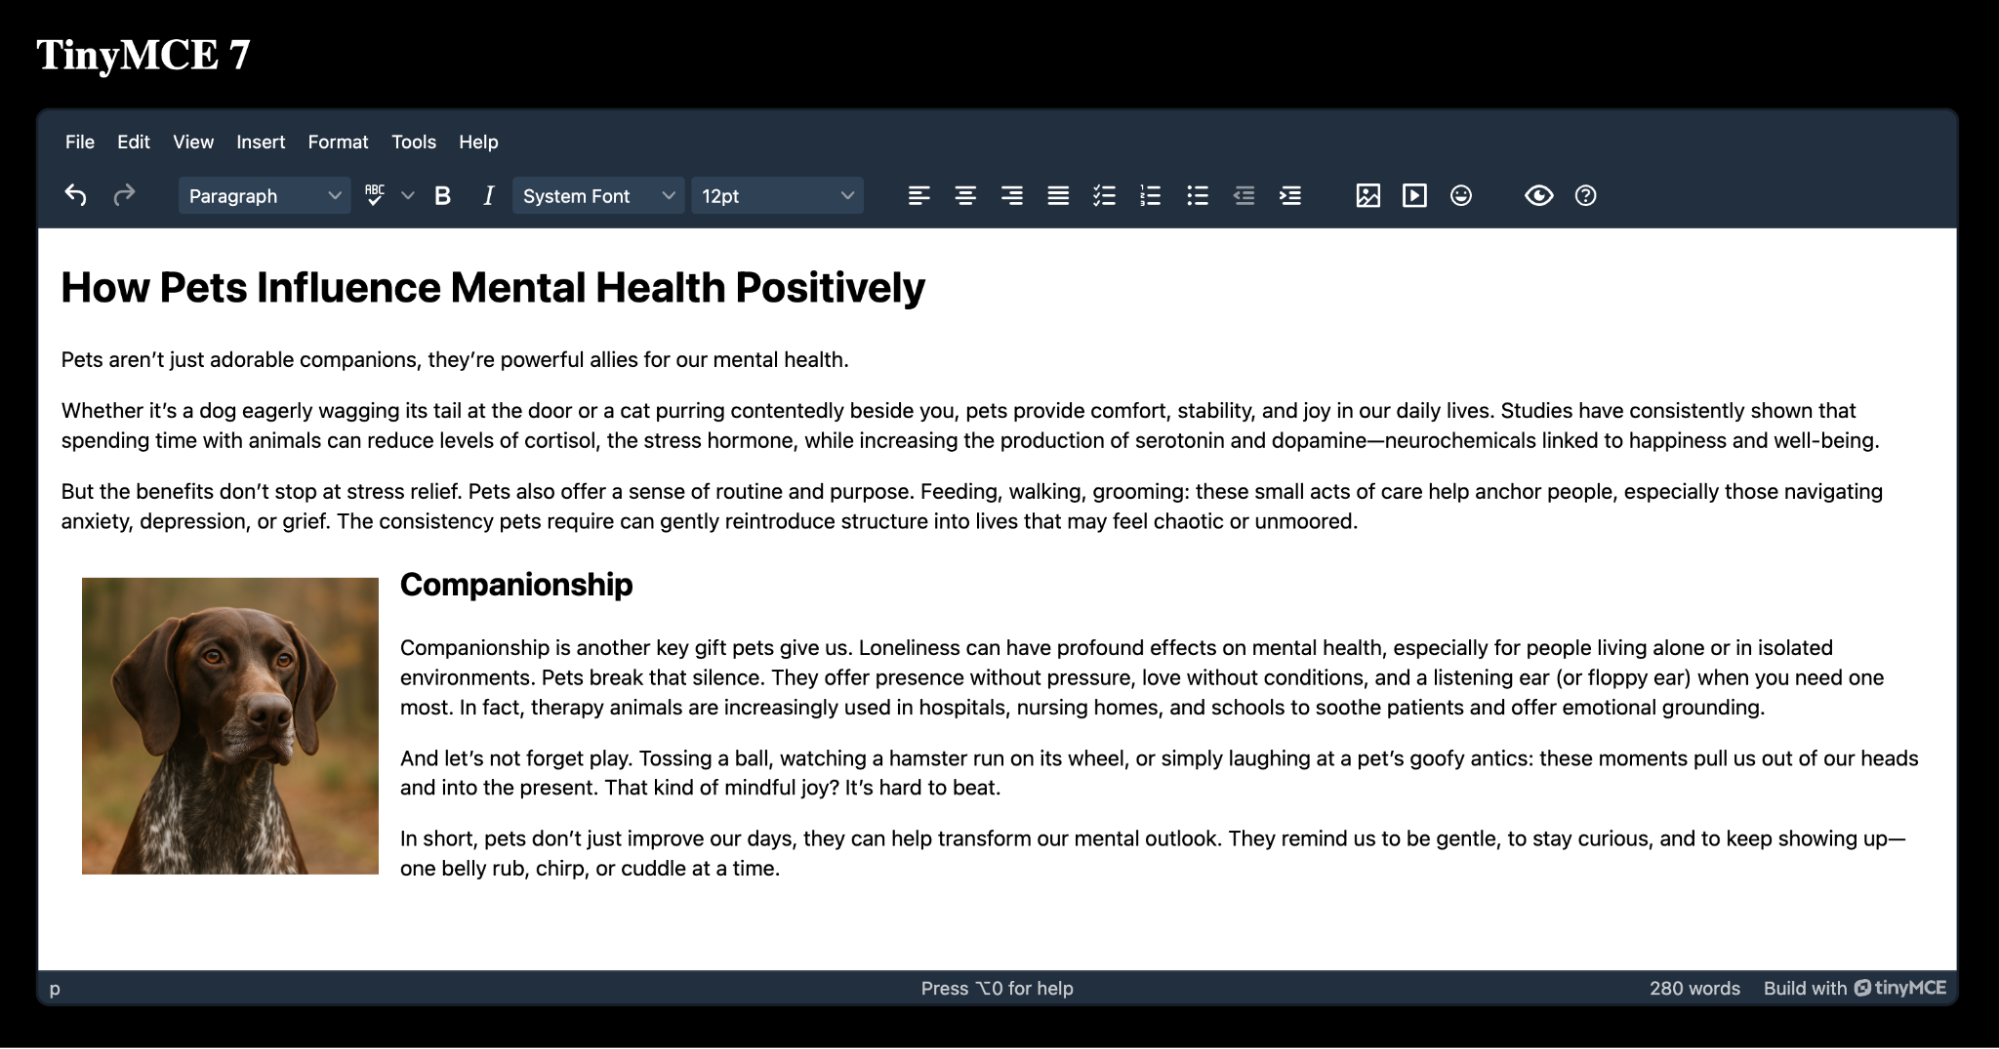
Upgrading to a major new version of any tool can feel a bit like packing for a move to a new place. You know you’ll end up with something better, but getting there takes planning. That’s where this guide comes in.
If your app uses the rich text editor TinyMCE 7, and you’re thinking about moving to TinyMCE 8, we’ve got you covered. In this guide, we’ll show you how to migrate versions and highlight the two biggest breaking changes. Let’s get started!
How to migrate from TinyMCE 7 to TinyMCE 8
Migrating from TinyMCE 7 to TinyMCE 8 is painless and quick when it comes to upgrading the version. It’s more complex when updating the premium collaboration features like Revision History, Comments, and Mentions, so we have a separate guide coming soon for migrating these plugins. For now, this guide will focus on the version upgrade and if you need immediate help, you can send TinyMCE a message.
Let’s upgrade a TinyMCE 7 instance in an index.html file. This example of TinyMCE has several features integrated like Spell Checker, Image, PowerPaste, Enhanced Tables, and more.

Here’s what the TinyMCE 7 instance code looks like in a basic index.html file:
<!doctype html>
<html lang="en">
<head>
  <meta charset="utf-8">
  <title>TinyMCE 7</title>
  <!-- Replace no-api-key below with a real TinyMCE API key  -->
  <script src="https://cdn.tiny.cloud/1/no-api-key/tinymce/7/tinymce.min.js"
  referrerpolicy="origin"></script>
  <style>
  body {
    margin: 2%;
    background-color: black;
    }
  h1 {
    color: white;
  }
</style>
</head>
<body>
  <h1>TinyMCE 7</h1>
    <script>
      tinymce.init({
        selector: 'textarea',
        onboarding: false,
        min_height: 500,
        plugins: 'lists link advtable code image media help wordcount autoresize anchor autolink powerpaste checklist charmap emoticons tinymcespellchecker preview',
        toolbar: 'undo redo | blocks spellchecker bold italic fontfamily fontsize | alignleft aligncenter alignright alignjustify checklist numlist bullist outdent indent | image media emoticons | preview help',
        spellchecker_language: 'en-US',
        spellchecker_dialog: true,
        skin: 'oxide-dark'
      })
    </script>
    <textarea></textarea>
</body>
</html>If you’d like to follow this guide to test out migration before doing it in your application, you can copy and paste the above code to an index.html file.
You can use http-server to serve the index.html file as a website locally and see this configuration in the default browser.
⚠️ Note: Don’t forget, you’ll need to replace no-api-key with a real TinyMCE API key to get this demo to work. If you don’t already have one, you can get a free TinyMCE API key today.
Step one: Update the TinyMCE version
The first thing you’ll need to do is update TinyMCE 7 to TinyMCE 8 in your web application.
If you’re using a script tag like in this guide’s example, you’ll simply change the 7 in the reference URL to an 8.
Update TinyMCE’s HTML script
 <script src="https://cdn.tiny.cloud/1/no-api-key/tinymce/8/tinymce.min.js"
referrerpolicy="origin"></script>If you’re using Angular or Vue with TinyMCE, you can run an npm command to update the wrapper in your project to TinyMCE 8.
Update TinyMCE’s Angular wrapper with npm
npm update @tinymce/tinymce-angularUpdate TinyMCE’s React wrapper with npm
npm update @tinymce/tinymce-reactUpdate TinyMCE’s Vue wrapper with npm
npm update @tinymce/tinymce-vue⚠️🟢 Note for Vue: Some Vue apps may throw a minor Vite compatibility error (depending on the app’s version of Vite) when you run the TinyMCE package update, but it won’t stop TinyMCE from loading or working.
Step two: Test your setup
If you used the example of TinyMCE 7 given in this guide, changing the 7 to an 8 in the <script> URL for TinyMCE (and probably the title and h1 tags so it’s clearer you're now in TinyMCE 8) was painless. Now your <head> section looks like this in index.html:
<head>
  <meta charset="utf-8">
  <title>TinyMCE 8</title>
  <!-- Replace no-api-key below with a real TinyMCE API key  -->
  <script src="https://cdn.tiny.cloud/1/no-api-key/tinymce/8/tinymce.min.js"
  referrerpolicy="origin"></script>
  <style>
  body {
    margin: 2%;
    background-color: black;
    }
  h1 {
    color: white;
  }
</style>
</head>Once you’ve saved index.html and run http-server in the console, you can refresh localhost:8080 to see your changes and TinyMCE 8 working great in the browser.
⚠️ Note: http-server will point you to http://127.0.0.1:8080, but this won’t work by default. 127.0.0.1 is not initially an approved domain on the TinyMCE dashboard and localhost is. You can always add 127.0.0.1 to approved domains, but for the sake of this guide use localhost instead.
Breaking change: License key system for self-hosted setups
⚠️ Note: Don’t worry about this section if you’re using Cloud-hosted TinyMCE or an open source version of TinyMCE without premium plugins: you have already done the steps to upgrade.
In TinyMCE 8 there is a new License Key approach for self-hosted commercial licenses. This reduces external calls to validate access to premium features for self-hosted setups, and makes deploying TinyMCE more predictable in environments where latency is important.
If you self-host your instance of TinyMCE 7 and you’re upgrading, you’ll need to add the new option license_key to your RTE configuration.
All official TinyMCE License Keys begin with the prefix T8LK: so that’s what you’ll be looking for. To get your License Key, contact your Customer Success Manager (CSM). Once your CSM sets up your License Key, it will be available to use on your TinyMCE Account page. Then you can add it to your TinyMCE configuration.
tinymce.init({
  license_key: "T8LK:...",
  selector: "textarea",
  plugins: "lists link code image media help wordcount autoresize",
  toolbar: "undo redo | blocks spellchecker bold italic",
});
These new license keys are required for TinyMCE 8 to work. So if the RTE or a feature suddenly stops loading after you migrate to TinyMCE 8, double-check your License Key configuration. Contact your Customer Success Manager if you still need help.
To read more about these new license keys, check out the official TinyMCE License Key documentation.
Breaking change: DOMPurify update
TinyMCE 8 brought a major upgrade to the default content sanitization strategy powered by DOMPurify. This update brings in version 3.2.6 of DOMPurify and enables the SAFE_FOR_XML flag by default. DOMPurify is a widely trusted library that protects against XSS (cross-site scripting) vulnerabilities by cleaning the HTML. DOMPurify makes sure only safe HTML elements and attributes are rendered on the front end.
Some front-end content may be affected by this update. We recommend adopting DOMPurify long-term and fixing any front-end content that could leave your application vulnerable to XSS attacks. The latest version of DOMPurify is not only more secure, it is also better aligned with 2025 web standards.
What’s next? Try out Suggested Edits
Migrating from TinyMCE 7 to 8 doesn’t have to be daunting, especially when the payoff is a faster, leaner, and more extensible editor. With better defaults, modernized architecture, and streamlined feature handling, TinyMCE 8 sets the stage for a more efficient editing experience. There are some other minor breaking changes that are good to know about before you migrate, so be sure to check out the official TinyMCE 8 Migration documentation.
While you're exploring TinyMCE 8, be sure to check out Suggested Edits, one of our most exciting and most requested new features. It brings stronger, better collaboration into the editor so teams can review and suggest changes without altering the original content. Ready to see it in action? Try out Suggested Edits in TinyMCE 8 today with a free 14-day TinyMCE API key.
