


From publishers like the Washington Post to ecommerce shops like Nike, tons of major web applications run on React and Next.js for speed, flexibility, and scalable architecture.
All of these apps require a rich text editor (RTE) for creating content, managing products, or publishing articles. And that RTE needs to allow users to work quickly without errors, and developers to integrate all the necessary features easily.
TinyMCE meets these needs as a powerful, developer-friendly editor built for modern frameworks. This guide will walk you through creating a React and Next.js project with a robust RTE built in.
Step one: Create a React project with Next.js
It’s best to create a React project with a framework for routing and creating modular components. According to the official React documentation, Next.js is recommended for its compatibility with React project architecture.
To create a basic React project with Next.js, run this command in the CLI:
npx create-next-app@latestThe React installation will request your permission to install all the right packages.
Need to install the following packages:
create-next-app@15.4.5
Ok to proceed? (y)Once you choose y to proceed, Next.js will ask you eight questions before it creates your new app.
- What is your project named?
- We recommend naming this project tinymce-react-demo.
- Would you like to use TypeScript?
- Yes, you do want to use TypeScript. TypeScript is a great framework for JavaScript that introduces stricter typing for easier development.
- Would you like to use ESLint?
- Yes, we recommend using ESLint to keep your code clean.
- Would you like to use Tailwind CSS?
- Yes, you would like to use Tailwind CSS. Tailwind CSS is a library full of useful, flexible, and device-optimized CSS classes ready to go for your use.
- Would you like your code inside a `src/` directory?
- Yes, you would like your code inside the src/ directory.
- Would you like to use App Router?
- Yes, you do want to use App Router. This is a built-in routing capability that makes it quicker to connect different React components in your Next app.
- Would you like to use Turbopack for `next dev`?
- No, you don’t need Turbopack for this guide.
- Would you like to customize the import alias (`@/*` by default)?
- No, we’ll handle our own import aliases for this guide.
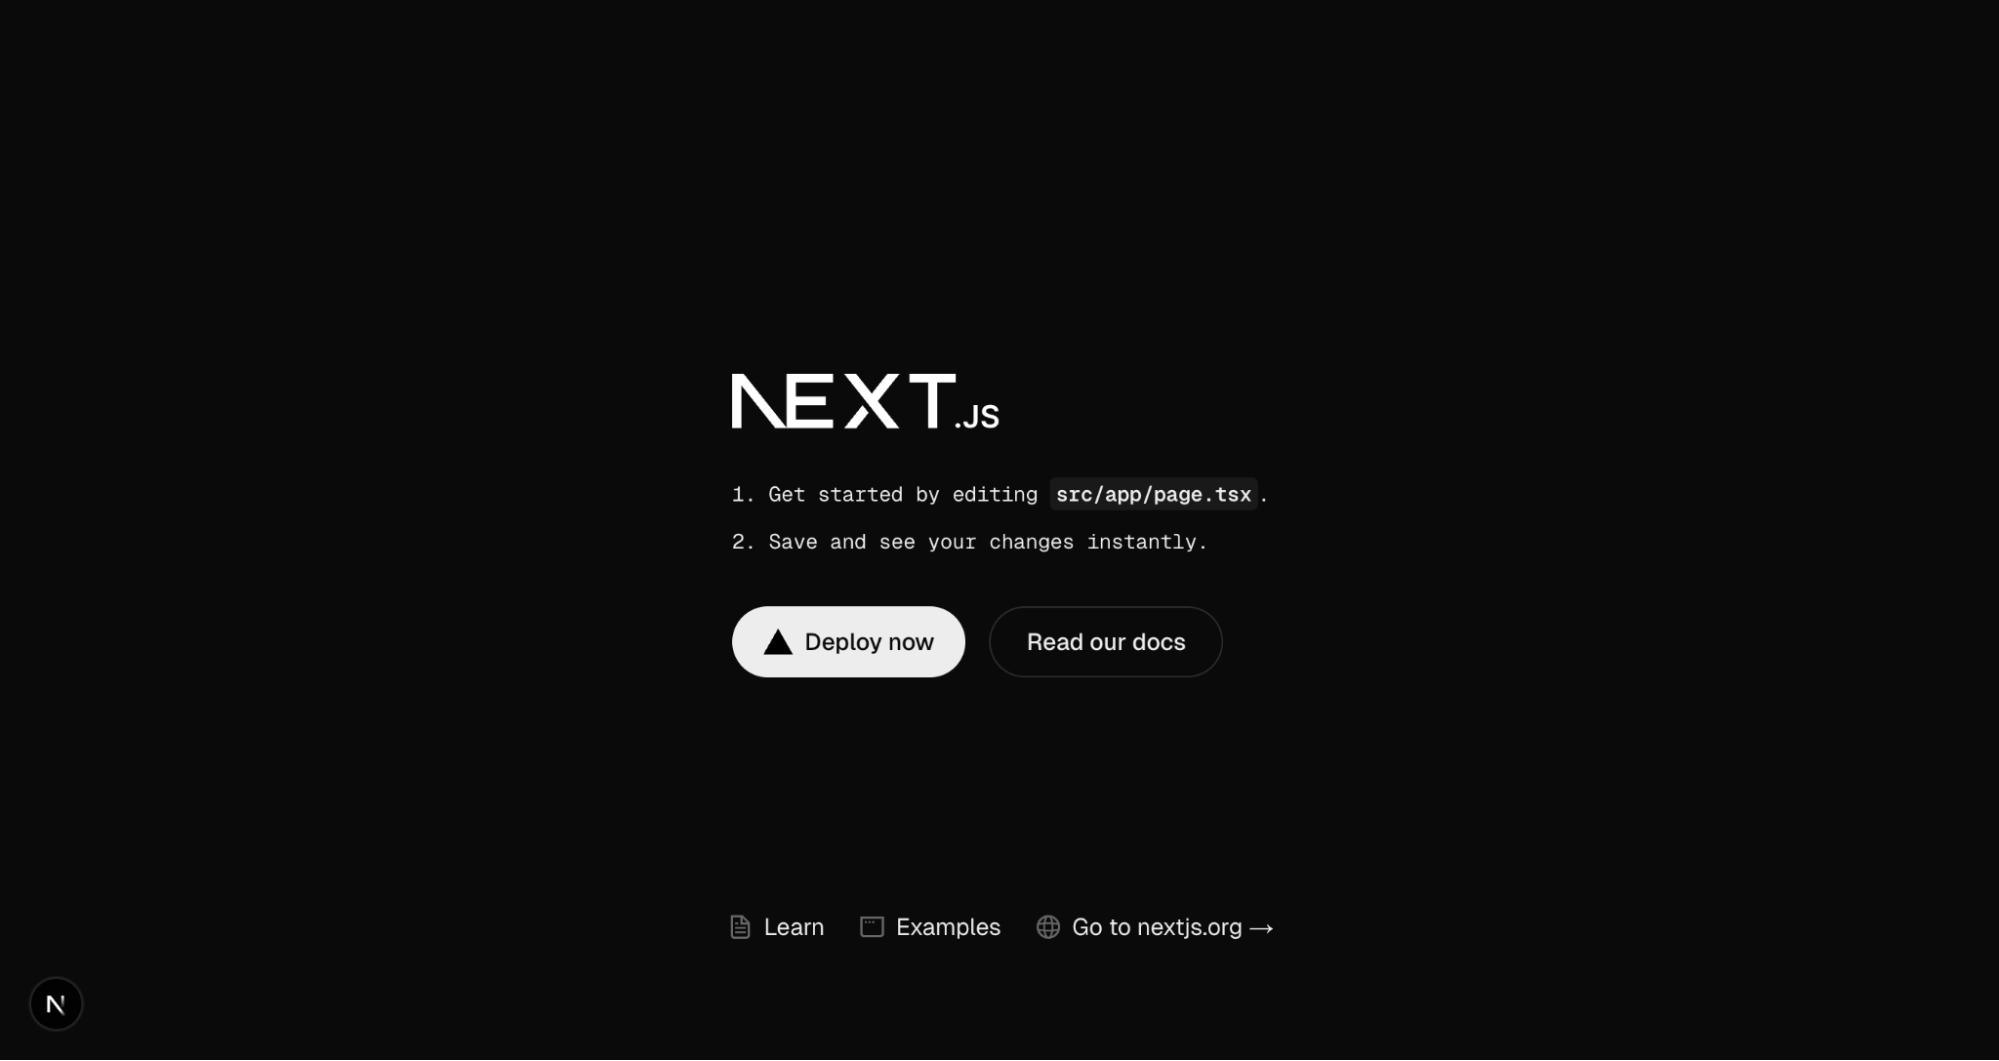
Once you choose all of your options, you’ll get a message from Next.js that says “Creating a new Next.js app in /path/to/directory.”, and the project will be created for you.
React project structure
If you‘ve never worked with React and Next.js together, it’s important to understand the project structure from the start.
Here’s a foundational React + Next.js project structure, minus commonly known JavaScript project files and directories such as .gitignore, README.md, node_modules, and package.json.
tinymce-react-demo/
├── public/
├── src/
│   ├── app/
│   │   ├── favicon.ico
│   │   ├── globals.css
│   │   ├── layout.tsx
│   │   └── page.tsx
├── eslint.config.mjs
├── next-env.d.ts
├── next.config.ts
├── postcss.config.mjs
└── tsconfig.jsonAs you can see, a Next.js project is simple from the outset.
Install dependencies and launch the app
To get started with the Next.js app you’ve created, install all project dependencies and launch the app locally to make sure everything is working properly. To do this, run this command inside the tinymce-react-demo folder in the CLI:
npm run devOnce you’ve run both of these commands, Next.js will launch your new React + Next.js project to localhost:3000, where you can view your new app! 🎉
Step two: Add a rich text editor to your React + Next.js project
The next step is to add a robust rich text editor to the React application. To do this, you’ll need to:
- Install TinyMCE’s React wrapper.
- Create an EditorClient.tsx component.
- Add the new EditorClient component to the main page.tsx component.
The process is painless, and we’ve included all the code you need for a working demo, so let’s walk through it together.
Install TinyMCE’s React wrapper
The first thing you’ll do is install TinyMCE’s React wrapper with a quick NPM command inside the tinymce-react-demo folder:
npm install @tinymce/tinymce-reactThis adds the TinyMCE rich text editor to the project dependencies.
Create EditorClient.tsx
Now that you have TinyMCE available, create an EditorClient.tsx file inside a new directory under src/ called components/.
Your project structure in src/ should now look like this:
src/
├── app/
├── components/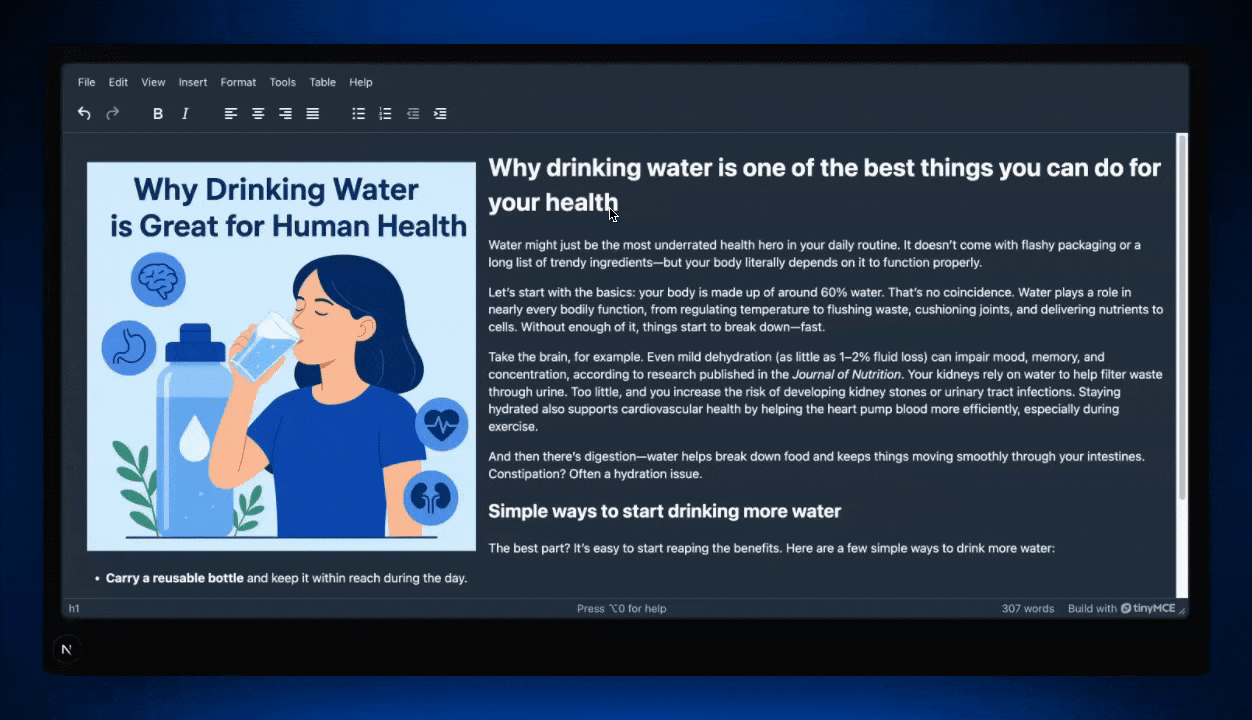
│ ├── EditorClient.tsxIn EditorClient.tsx, paste the following code containing a basic TinyMCE configuration in dark mode to match the dark Next.js app:
"use client";

import { Editor } from "@tinymce/tinymce-react";

export default function EditorClient() {
  return (
    <Editor
      apiKey="no-api-key"
      init={{
        height: 500,
        plugins: "lists link image table code help wordcount",
        toolbar:
          "undo redo | formatselect | bold italic emoticons | alignleft aligncenter alignright alignjustify | bullist numlist outdent indent",
        skin: "oxide-dark",
        content_css: "dark",
      }}
    />
  );
}
Now save EditorClient.tsx, and it’s time to add the RTE to the main page of the app.
⚠️ Note: Don’t forget to replace no-api-key in the Editor apiKey option with a real TinyMCE API key. If you don’t already have one, you can get a TinyMCE API key with all the premium features free for 14 days.
Add EditorClient to page.tsx
To add the EditorClient to the main page of your app, replace everything in page.tsx with this code:
"use client";

import dynamic from "next/dynamic";

const EditorClient = dynamic(() => import("../components/EditorClient"), {
  ssr: false,
});

export default function Page() {
  return (
    <main>
      <EditorClient />
    </main>
  );
}
Save the updated page.tsx file and refresh your app in the browser at localhost:3000. Now you have a React + Next.js app that’s got a robust, feature-rich RTE ready to use!
Your app will look something like the example below. We’ve added some content to show the editor in action.
🔥 Hot Tip: If you stopped your app at any point, just run the command npm run dev in the tinymce-react-demo folder again, and it will relaunch the React app.
(Optional) Step three: Add some premium features
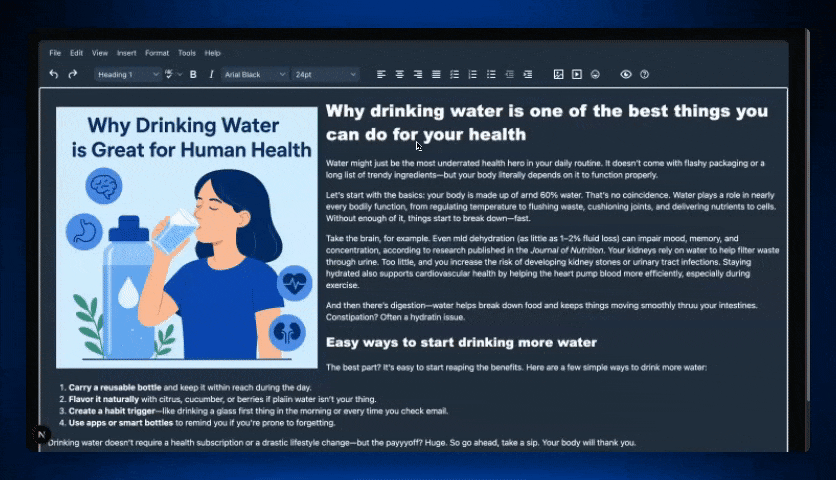
You’ve already created a React app with a powerful rich text editor with just the basic features. You could take it further by adding some premium features with the quick implementation we’ve included here. With your 14-day free trial of TinyMCE you’ll have access to all of the premium features so that you can try them out for yourself.
Here’s a quick list of the features we’ve included in this TinyMCE 8 + React example:
- PowerPaste
- Spell Checker
- Enhanced Lists
- Enhanced Tables
- Autoresize
- Autolink
… And several more. It’s easy to add any feature you want to TinyMCE with just one or two configuration options (and sometimes less!), so check out the TinyMCE documentation to read the full list of available features.
To try out all of these features, replace the TinyMCE init script in EditorClient.tsx with the following code:
       init={{
        height: 500,
        plugins: 'lists link advtable code image media help wordcount autoresize anchor autolink powerpaste checklist charmap emoticons tinymcespellchecker preview',
        toolbar: 'undo redo | blocks spellchecker bold italic fontfamily fontsize | alignleft aligncenter alignright alignjustify checklist numlist bullist outdent indent | image media emoticons | preview help',
        spellchecker_language: 'en-US',
        spellchecker_dialog: true,
        skin: 'oxide-dark',
        content_css: 'dark'
}}If you choose to implement this code, you’ll have a fully featured rich text editor at your fingertips, ready to go!
Wrap up: What will you create?
And there you have it: a simple, straightforward path to embedding TinyMCE in your React and Next.js app. It’s up to you what you create next! Whether you're building a polished CMS, or just need a better editing experience for your users, the React + TinyMCE combo is a fantastic choice that gives you a secure, powerful, feature-rich editor. So go ahead, roll up your sleeves, and give it a try with that free 14-day trial of TinyMCE.


