


React is ideal for reusable components. That’s one of the reasons that the framework led the pack as one of the top frameworks for web development in Stack Overflow’s 2024 annual developer survey.
Building a rich text editor (RTE) from scratch is a heavy lift, employing lots of potentially reusable components, so it makes sense that React, liked and used by 70% of front-end developers, would integrate an RTE like TinyMCE or Tiptap.
Tiptap and TinyMCE each have their own benefits: one is headless and gives developers complete management over every pixel, the other comes ready out-of-the-box with a customizable UI for fast implementation. How do these RTEs compare in React, and how do you migrate from Tiptap to TinyMCE?
In part one of this guide, we’ll talk about how TinyMCE and Tiptap compare in React when it comes to implementation, UX, customizability, and developer experience. In part two we’ll cover how to migrate from Tiptap to TinyMCE in React.
How TinyMCE and Tiptap compare in React
TinyMCE and Tiptap are both fairly quick and easy to set up in React. All you need to do in each case is add the editor to the .jsx file that will hold your application’s RTE. For the purposes of this guide, we’ll show both Tiptap and TinyMCE in the default App.jsx file.
Time to implementation
It’s fairly speedy to start up a new React project with Vite. React has templates built-in, so you can create a quick React project with a single shell command:
npm create vite@5 tinymce-react-demo -- --template react-swcInstalling TinyMCE in React
Once you have a React project, you can import the TinyMCE editor quickly. See a full example of upgrading a React textarea with TinyMCE. There are three steps to this process.
- Install TinyMCE into the React project via npm:
npm install @tinymce/tinymce-react - Add TinyMCE to the list of imports in the .jsx file where your RTE will live:
import { Editor } from "@tinymce/tinymce-react"; - Initialize TinyMCE as the Editor with a basic setup:
<Editor
  apiKey="no-api-key"
  initialValue="<p>Welcome to TinyMCE!</p>"
  init={{}}
/>;
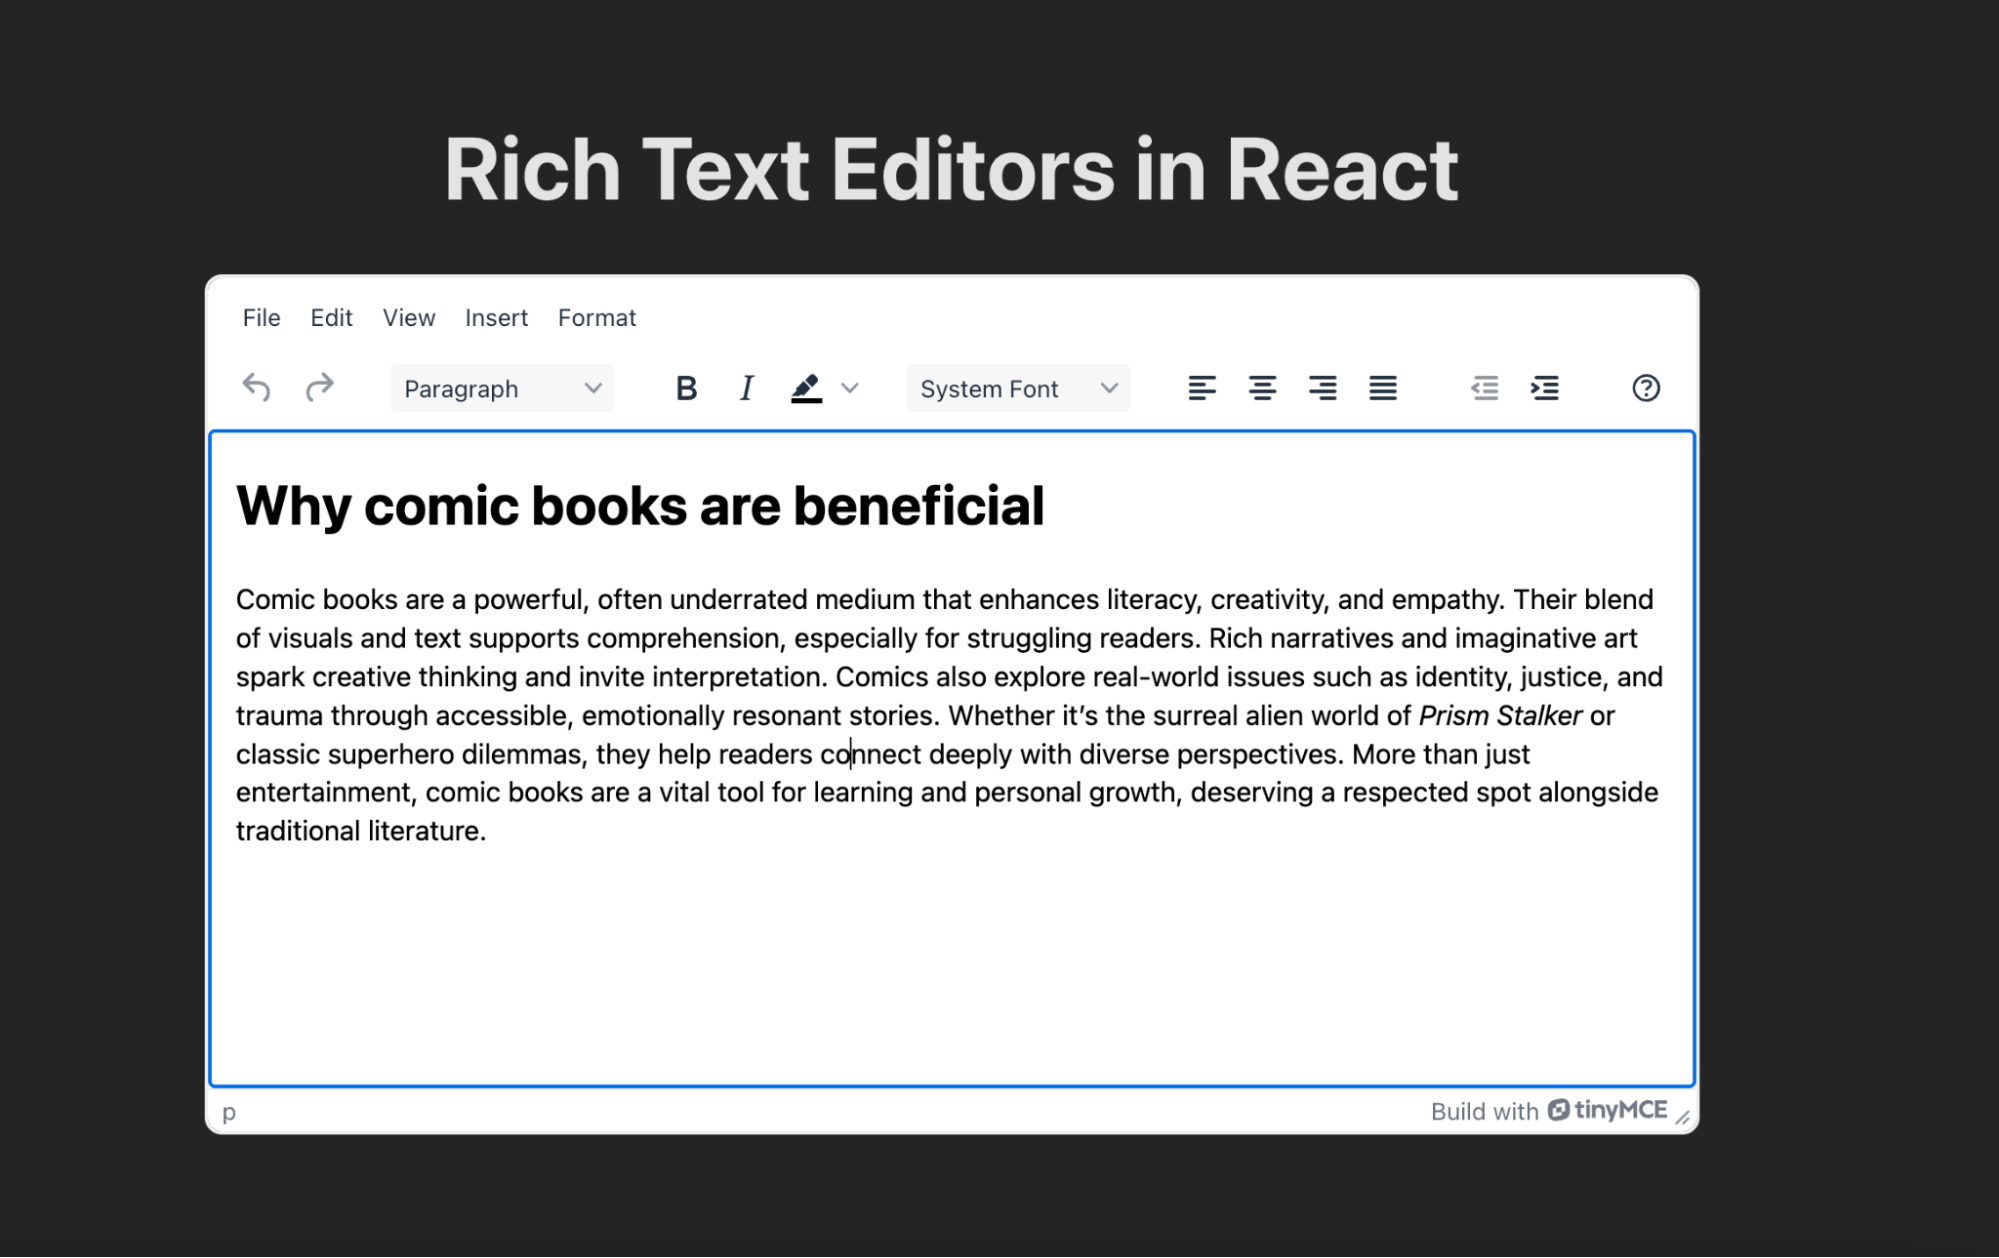
After a quick npm install and npm run dev, here’s what a working App.jsx file looks like with a TinyMCE instance at http://localhost:5173/. You can see that there are a few added plugins and an added toolbar, along with a bit of content added to initialValue. You don't need to add these extras to get TinyMCE working, they're just a bonus!
import { Editor } from "@tinymce/tinymce-react";
import "./App.css";

function App() {
  return (
    <div className="App">
      <h1>Rich Text Editors in React</h1>
      <Editor
        apiKey="no-api-key"
        initialValue="<h1>Why comic books are beneficial</h1><p>Comic books are a powerful, often underrated medium that enhances literacy, creativity, and empathy. Their blend of visuals and text supports comprehension, especially for struggling readers. Rich narratives and imaginative art spark creative thinking and invite interpretation. Comics also explore real-world issues such as identity, justice, and trauma through accessible, emotionally resonant stories. Whether it’s the surreal alien world of <i>Prism Stalker</i> or classic superhero dilemmas, they help readers connect deeply with diverse perspectives. More than just entertainment, comic books are a vital tool for learning and personal growth, deserving a respected spot alongside traditional literature.</p>"
        init={{
          height: 500,
          menubar: true,
          plugins: ["lists visualblocks code fontfamily code help wordcount"],
          toolbar:
            "undo redo | blocks | bold italic backcolor | fontfamily | alignleft aligncenter alignright alignjustify | bullist numlist outdent indent | help",
        }}
      />
    </div>
  );
}

export default App;
⚠️ Note: You’ll need to replace no-api-key in the apiKey value if you want TinyMCE to work in your demo. If you don’t already have one, you can get a free TinyMCE API key.
It’s that easy to add TinyMCE to a React project.
Installing Tiptap in React
Tiptap is also fairly quick to install in a React project but does require a few extra steps to integrate fully. To do so, you need to:
-
Install Tiptap into the React project via npm:
npm install @tiptap/react @tiptap/pm @tiptap/starter-kit - Create a TiptapEditor.jsx file with a basic Editor inside it.
import { EditorProvider, FloatingMenu, BubbleMenu } from "@tiptap/react"; import StarterKit from "@tiptap/starter-kit"; const extensions = [StarterKit]; const content = "<p>Hello World!</p>"; const Tiptap = () => { return ( <EditorProvider extensions={extensions} content={content}> <FloatingMenu editor={null}>This is the floating menu</FloatingMenu> <BubbleMenu editor={null}>This is the bubble menu</BubbleMenu> </EditorProvider> ); }; export default Tiptap;⚠️ Note: By default, Tiptap’s
useEditorhook will re-render the editor on every change. Tiptap must be its own component in a React project in order for the app to scale. Otherwise, the editor is re-rendered too often, and the React app has performance issues. - Add the TiptapEditor component to the list of imports in the .jsx file where your RTE will live:
import Tiptap from "./TiptapEditor.jsx"; - Add Tiptap to the page wherever you want the component to appear:
<Tiptap />;
After a quick npm install and npm run dev, Tiptap works on a local instance at http://localhost:5173/, just like TinyMCE. Here’s what a working App.jsx file looks like with Tiptap:
import "./App.css";
import Tiptap from "./TiptapEditor.jsx";

function App() {
  return (
    <div className="card">
      <h1>Rich Text Editors in React</h1>
      <Tiptap />
    </div>
  );
}

export default App;
The basics aren’t much to look at since Tiptap is headless, but it does work in a local dev instance after these steps: 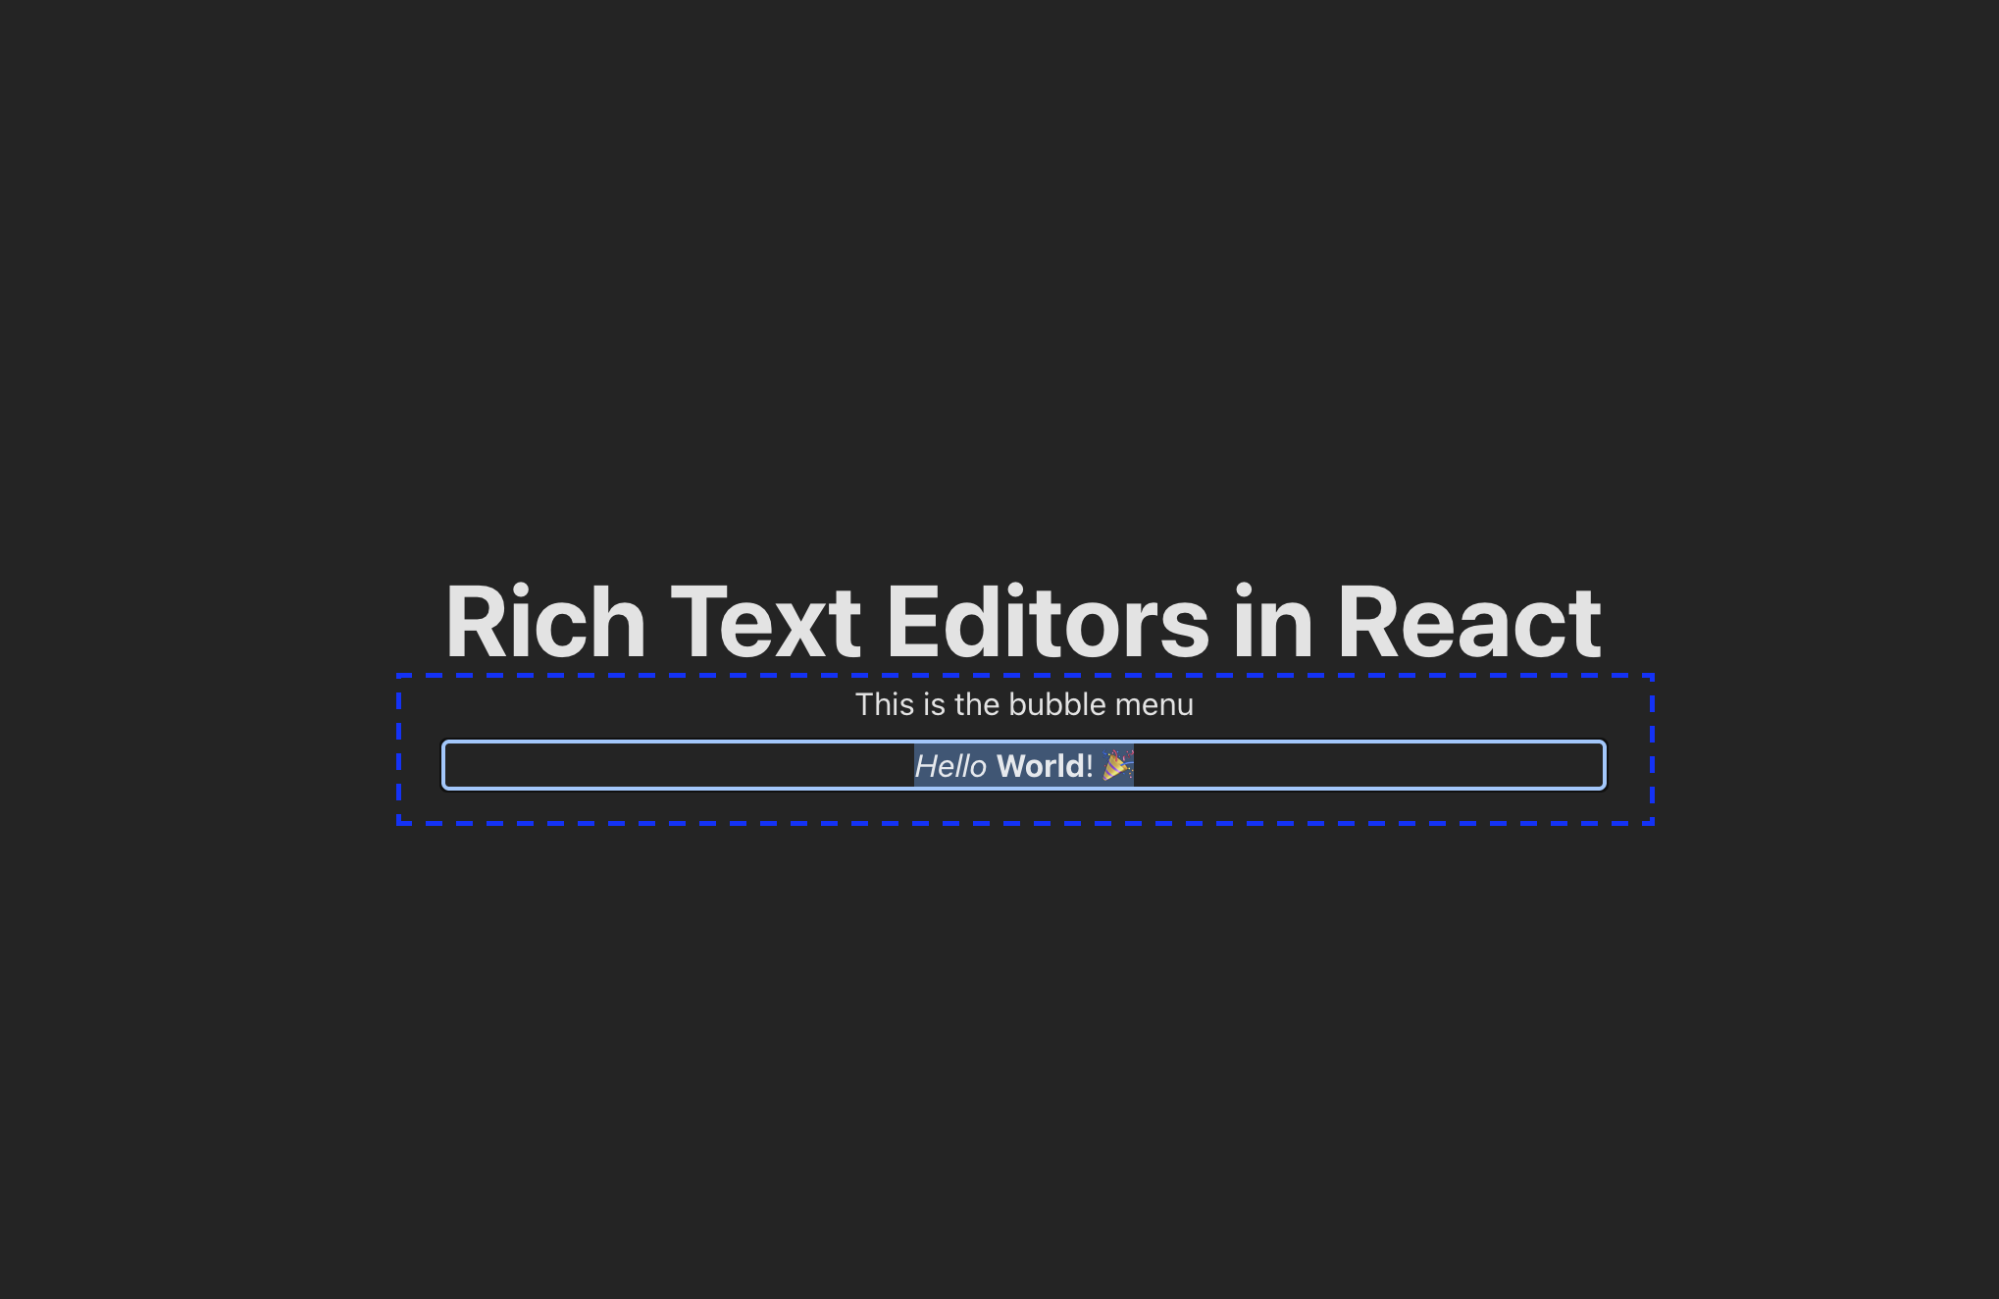
All in all, installing both TinyMCE and Tiptap in React is straightforward and similar to importing other components and libraries into a React project. On the one hand, TinyMCE doesn’t require extra file creation to generate an RTE inside a .jsx file. On the other hand, Tiptap only requires one extra file on initial installation.
Basic configuration and toolbar
Both Tiptap and TinyMCE offer some basics without any customization and are highly customizable. Tiptap is headless, so it requires a lot more control and more UI management in the editor itself. TinyMCE offers detailed customization, and custom skin creation through the CSS framework, Less.
Let’s look at a quick overview of what you get with each RTE out-of-the-box and the effort needed to create a toolbar in each.
Default configuration
Tiptap
Tiptap’s default configuration doesn’t come with much. The Starter Kit comes with just a few basics expected for an RTE, like:
- Text lists
- Text blocks (Paragraph, Blockquote, Headings)
- Horizontal rule
- Basic formatting (Bold, Italic, Code, Strikethrough)
Remember that Tiptap is headless, so it leaves a lot of customization up to the developer.

TinyMCE
Even without add-ons, TinyMCE installs with a host of useful, typical tools found in most rich text editors, such as:
- Headings and paragraph blocks
- Basic formatting (Bold, Italic, Strikethrough, Underline, Code, Subscript, Superscript)
- Text alignment
- Text indentation
- Text color
- Text background color
- Line height
…and several more beyond just these. A clean install of TinyMCE without any toolbar, menubar, or plugin options being used still gets us more functionality at the outset, just from an RTE standpoint.
Creating a basic toolbar
TinyMCE
It only takes a few moments to create a basic toolbar in TinyMCE. Add the plugins and toolbar options to the TinyMCE init, and then add the features you want in those configurations. Here’s an example with the Fonts toolbar added to Tiny:
       init={{
          plugins: [
            "fontfamily",
          ],
          toolbar:
            "fontfamily"
}}Once I’ve added these options, I get a toolbar I can customize:
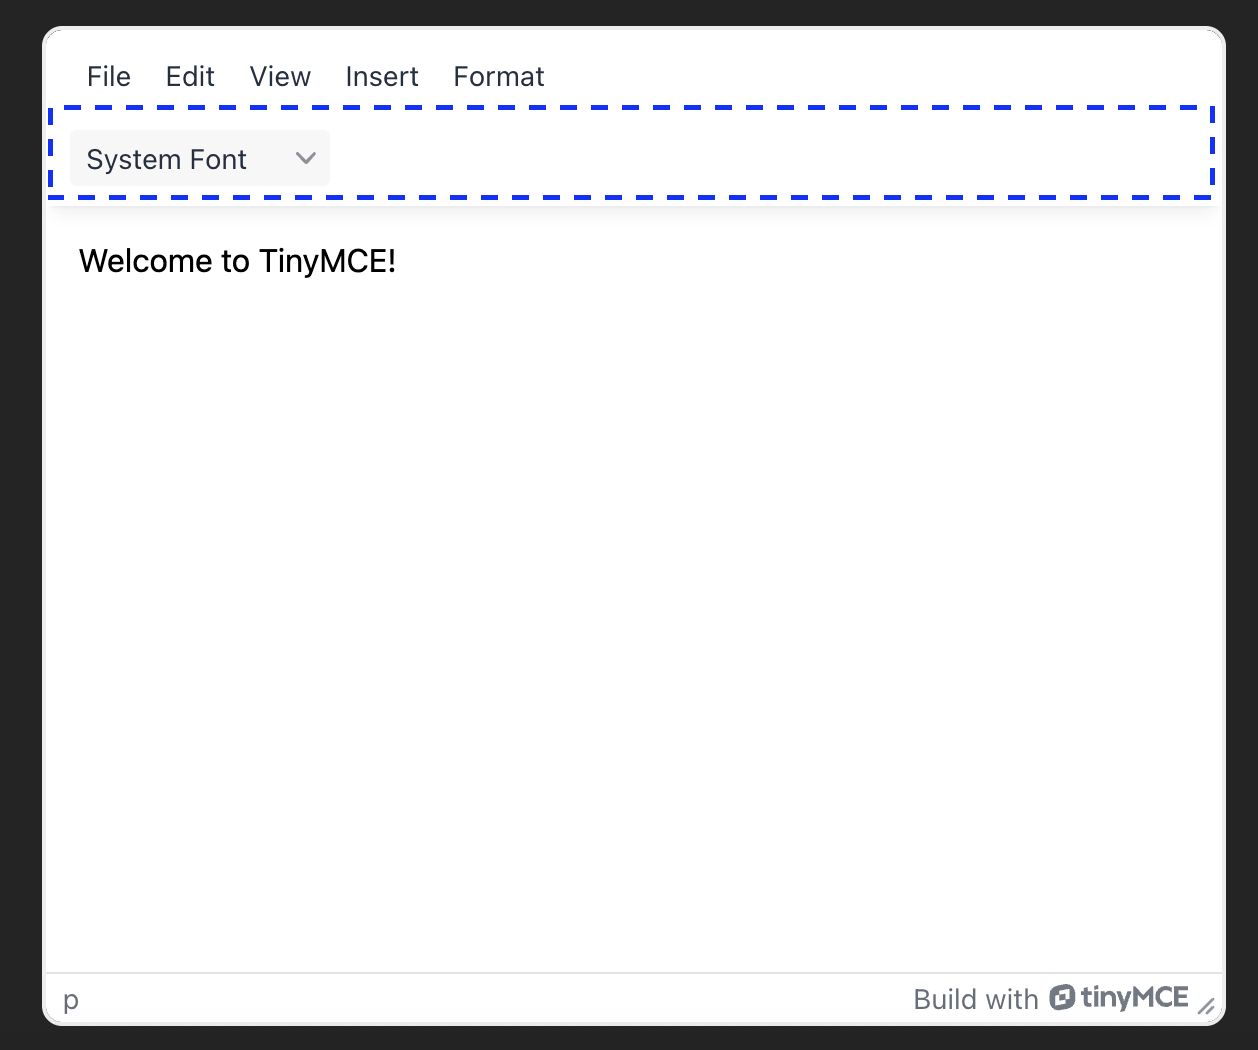
It’s an easy process to create a basic toolbar, like the one implemented when TinyMCE was installed earlier in this guide. The toolbar can be customized even further with a few common options:
toolbar: Customizes, configures, and organizes the toolbar buttons.toolbar_mode: If your toolbar is overflowing with buttons, you can choose a mode for handling the overflow: floating, sliding, scrolling, or wrap.toolbar_groups: This setting creates a handy toolbar button that holds all the buttons in the specified group. Only available when toolbar_mode is set to floating.toolbar_location: Choose if the toolbar appears on the top or the bottom of the RTE.
Some of the more complex Tiny features, like Revision History or Image Optimizer do require a more complicated setup, but configuration generally remains inside the TinyMCE init script. It’s also worth noting that it’s fairly easy to add any plugin to the Tiny toolbar with a single reference.
Tiptap
Creating a toolbar in Tiptap is a bit of a beast. Luckily there’s a React Tiptap sample I could take some code from, because creating the Tiptap toolbar from scratch is a tedious task regardless of the framework you choose for your project.
The general process for adding an extension to Tiptap so that you can then add it to the toolbar roughly follows this pattern every time:
- Add the new button to the toolbar
- Add the button HTML and its CSS class to the toolbar
- Find and implement the open source Remix icon that matches the extension to use it for the toolbar button
- Search for the icon on the Remix website
- Grab the code for the icon
- Copy and paste that code into the button’s name to replace the button title
- Connect the button to the extension
- Install the Tiptap extension via NPM
- Add the Tiptap extension to the
extensionsarray - Add any new methods or functions to
export default {} - Change or add any CSS styles necessary
It takes a lot of repetitive coding to create an entire Tiptap toolbar according to your specific app’s needs. You’ll have to choose which extensions you need, add them to the toolbar using custom icons, and style the toolbar along the way. This is great for developers who need to control every pixel of the editor, not for someone who needs a working toolbar quickly.
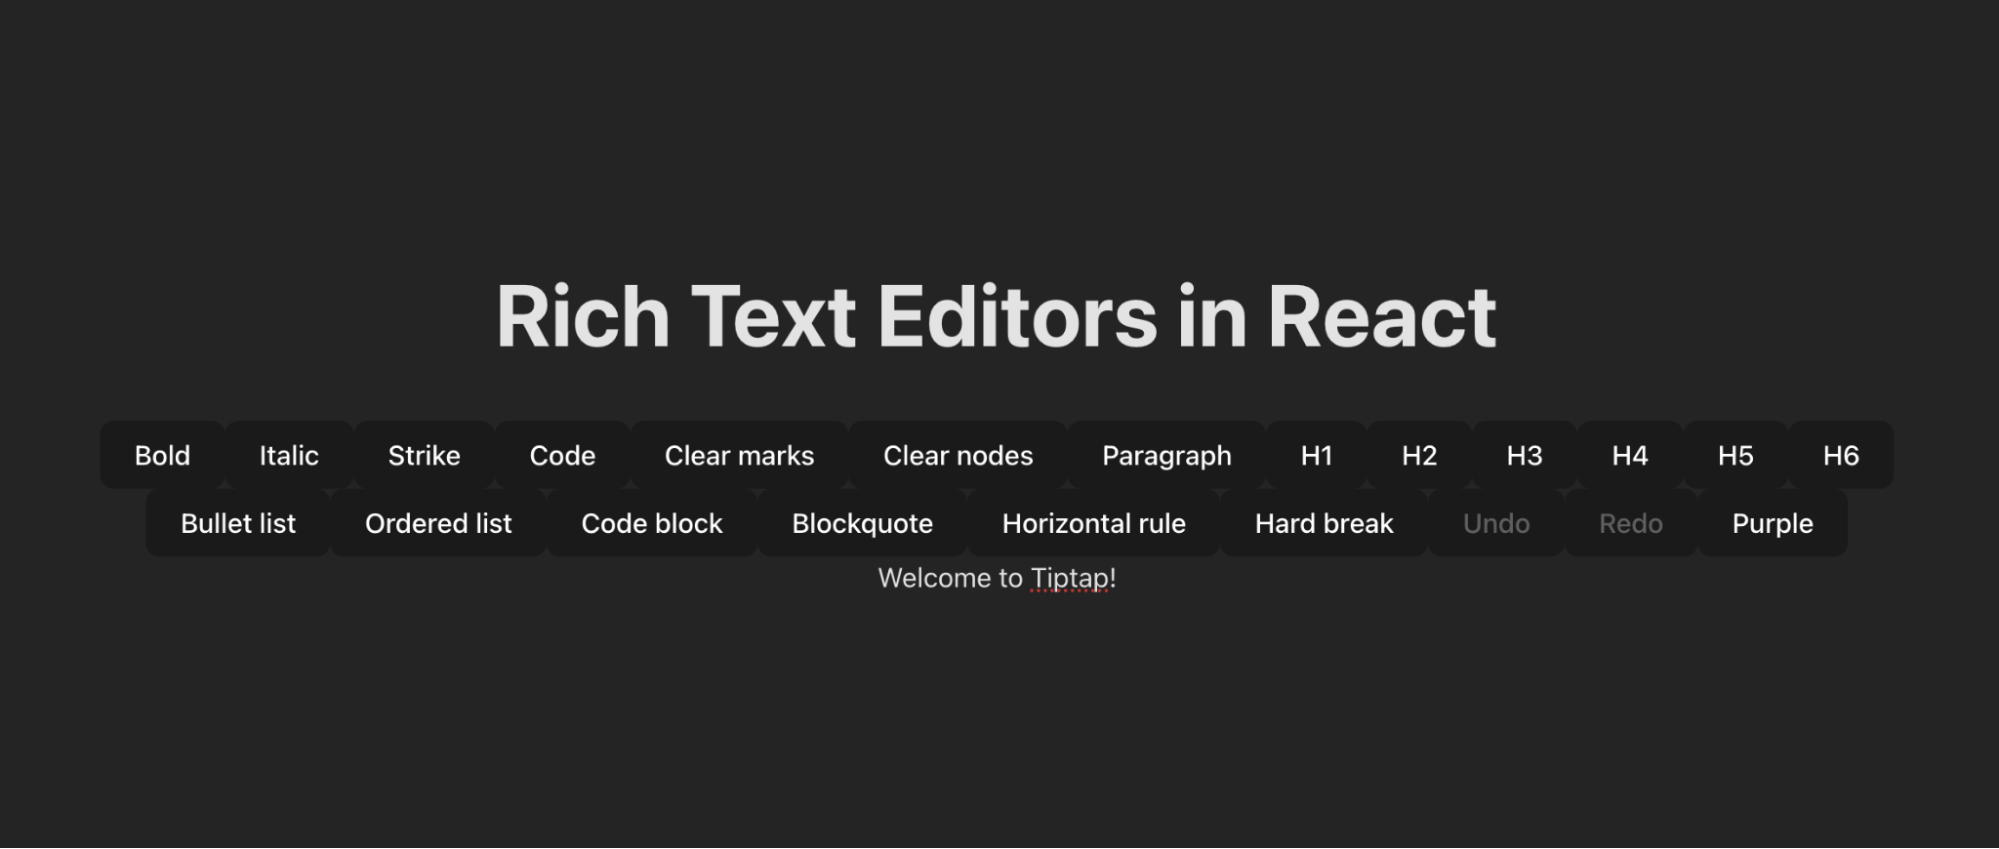
A basic Tiptap toolbar copied from their docs (no Remix icons) looks like this in my React app:
Extensibility
TinyMCE and Tiptap both offer features beyond the basics: in TinyMCE they’re called plugins, in Tiptap they’re called extensions. Both RTEs have a host of options we can look at when it comes to extending the editor’s capabilities well beyond formatting text.
Tiptap
Extensibility is limited in Tiptap, because it’s a brand new RTE on the market. It’s an RTE that’s so fresh off the block its first stable release isn’t even three years old. That being said, they are adding many advanced extensions, which is necessary for their unseasoned editor. Some of the Pro extensions that Tiptap offers now, for example, are:
- AI Agent
- AI Suggestion
- AI Changes
- Comments
- Version History
- Export to .docx
Tiptap also has a unique way of breaking apart their extensions. For example, rather than “text formatting” being one packaged extension, each formatting option (Bold, Italic, Strikethrough, Code etc.) is its own extension. While this gives us granular control of each and every extension, it also creates a repetitive pattern of tasks necessary to implement multiple related extensions.
Most of Tiptap’s extensions are simply the most basic elements that are expected from any RTE, such as rudimentary text formatting, different types of lists, text alignments, emojis, tables, fonts, and wordcount. If you’re used to Tiptap’s extensibility, you’ll be blown away by TinyMCE’s options when you migrate.
TinyMCE
TinyMCE has been around for over twenty years and has a library of over 50 official plugins. On top of that, there are numerous TinyMCE plugins that extend the open source editor, written by open source developers over the last twenty years. Thanks to its longevity and its use by millions of developers worldwide, its extensibility has grown exponentially. As a result, you can do just about anything with TinyMCE.
TinyMCE, like Tiptap, has both open source and premium features available. Most of the common RTE functionalities are open source, like tables, media embedding, text formatting, emojis, fonts, wordcount, and many others.
The extended capabilities aren’t what everyone needs, but for those that do it’s where TinyMCE shines. Some of the premium plugins TinyMCE offers are:
- Image Optimizer
- AI Assistant
- Revision History
- Comments
- User Mentions
- Export to PDF and Word
- PowerPaste
Where Tiptap breaks their extensions apart, TinyMCE packages multiple features into plugins together. TinyMCE’s AI Assistant handles translations, suggestions, changes, and content comparisons all in a single plugin. Image Optimizer optimizes images for apps, devices, and connections—but it also allows users to edit pictures inside the RTE and style them to match the content. As a rule, TinyMCE builds more than one capability into each of their plugins.
Most of TinyMCE’s plugins have a strong and specific value add for developers and users. TinyMCE’s extensibility is built to match what the app needs so devs are focused on developing the rich text editor experience for users. From Accessibility Checker to Word Count, each feature has been requested by developers using TinyMCE with the Tiny Roadmap.
What’s next? Choose the add-ons you want
At the end of the day, it comes down to what your team needs the most. If you want to build a rich text editor from the ground up and want complete control over even the smallest aspect of the editor, Tiptap is for you. If you’re looking for a polished, flexible rich text editor that’s fast to implement, comes with built-in advanced capabilities, and is easy to scale, TinyMCE is the clear winner. Try it today with a free 14-day trial of TinyMCE and get access to the editor and its premium features.


