


If you’re building a robust web application like a learning management system or an internal SaaS app, you’ll need a secure, feature-rich rich text editor (RTE) that plays well with your frontend stack. TinyMCE is a lightweight, flexible JavaScript RTE that’s surprisingly easy to get up and running in JavaScript. In this post, we’ll walk through the basics in just two steps. Let’s turn a plain textarea into a powerful rich text editor!
Step one: Create a basic index.html file
To get started with adding TinyMCE in JavaScript, you’ll need to create an index.html file that contains the JavaScript RTE.
You can copy and paste the following code into the file to use as a basic HTML template:
<!doctype html>
<html lang="en">
<head>
  <meta charset="utf-8">
  <title>TinyMCE 8</title>
  <style>
  	body {margin: 2%;}
  </style>
</head>
<body>
  <h1>TinyMCE 8</h1>
    <textarea></textarea>
</body>
</html>Once you’ve done this, you can test your setup with the quick and easy-to-install NPM package, http-server.
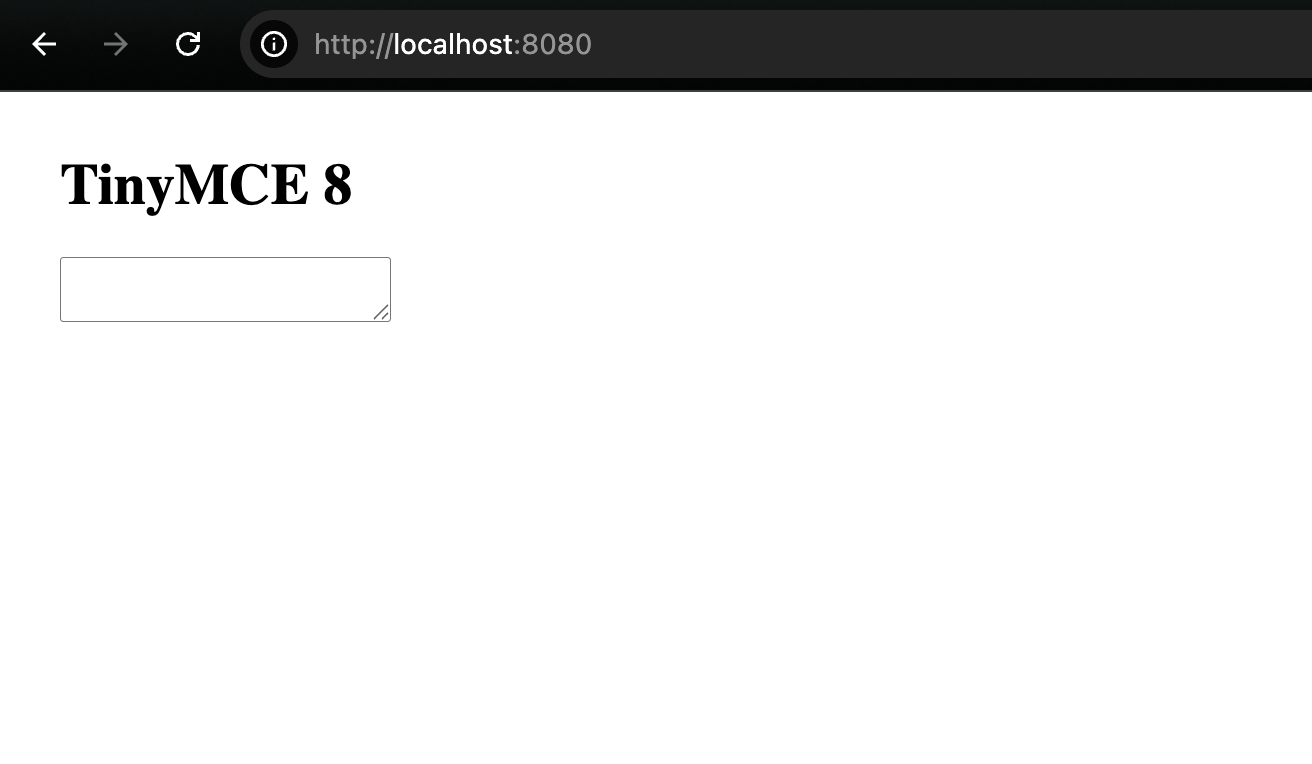
Test your setup with http-server
To see index.html as a web app, you can install http-server in the same directory as the HTML file with this command:
npm i http-serverOnce that’s installed, then you can run the command http-server in the same directory, and it will launch the app to 127.0.0.1:8080 (also known as localhost:8080).
Step two: Add a rich text editor to index.html
Now that you’ve got a basic HTML web page, let’s add a rich text editor. To do this, you will:
- Add TinyMCE’s script reference to the
<head>of index.html:
<head> <meta charset="utf-8"> <title>TinyMCE 8</title> <!-- Replace no-api-key below with a real TinyMCE API key --> <script src="https://cdn.tiny.cloud/1/no-api-key/tinymce/8/tinymce.min.js" referrerpolicy="origin"></script> <style> body {margin: 2%;} </style> </head> - Add the TinyMCE editor script to the
<body>of the page:
<body>
  <h1>TinyMCE 8</h1>
    <script>
      tinymce.init({
        selector: 'textarea',
        min_height: 550,
        plugins: 'lists link table code help wordcount autoresize',
        toolbar: 'undo redo | blocks | bold italic | fontfamily fontsize | alignleft aligncenter alignright alignjustify | outdent indent'
      })
    </script>
    <textarea></textarea>
</body>
After these two additions, your index.html should look like this:
<!doctype html>
<html lang="en">
<head>
  <meta charset="utf-8">
  <title>TinyMCE 8</title>
  <!-- Replace no-api-key below with a real TinyMCE API key  -->
  <script src="https://cdn.tiny.cloud/1/no-api-key/tinymce/8/tinymce.min.js"
  referrerpolicy="origin"></script>
  <style>
  body {margin: 2%;}
</style>
</head>
<body>
  <h1>TinyMCE 8</h1>
    <script>
      tinymce.init({
        selector: 'textarea',
        min_height: 550,
        plugins: 'lists link table code help wordcount autoresize',
        toolbar: 'undo redo | blocks | bold italic | fontfamily fontsize | alignleft aligncenter alignright alignjustify | outdent indent'
      })
    </script>
    <textarea></textarea>
</body>
</html>⚠️ Note: Don’t forget to replace no-api-key with a real TinyMCE API key. If you don’t have one, you can get a free TinyMCE API key for 14 days with all the premium features included.
Now, when you visit localhost:8080, after refreshing the page, you’ll be able to see your HTML page with TinyMCE built in!

⚠️ Note: http-server will point you to http://127.0.0.1:8080, but this won’t work by default. 127.0.0.1 is not initially an approved domain on the TinyMCE dashboard, but localhost is. You can always add it to the approved domains, but for the sake of this tutorial, just use localhost instead.
And that’s it! 🎉 You’ve installed TinyMCE with HTML and JavaScript, the world’s most trusted WYSIWYG editor.
What’s next? Take it further
With just a few lines of code, you’ve transformed a basic <textarea> into a powerful rich text editor that you can use in any application you’re building where users need a content creation tool. But what you’ve created with this tutorial is just the start. From here, you can explore plugins, custom toolbars, and advanced integrations to tailor the editor to your app’s exact needs. TinyMCE makes it easy to start simple and scale up fast, so go ahead and give your users an editing experience they’ll enjoy.


