


Vue.js is a lightweight, easy to learn JavaScript framework that’s great for building web applications like ecommerce sites, publishers, and image-heavy apps. Vue is a top framework when it comes to developing web applications, and it’s no surprise. Websites like Adobe Portfolio, BMW, Trivago, and Alibaba run on Vue and its associated frameworks, like Vite and Nuxt. And all of those web applications need a rich text editor (RTE), whether it’s for inputting product descriptions, creating rich sales pages, developing content creation tools, or enhancing destination showcases.
TinyMCE is a rich text editor that’s often used in Vue apps. It’s a robust RTE with a host of advanced collaboration features, image optimization, and even a bring-your-own AI Assistant that works with a half dozen AI service providers. TinyMCE 8 is the latest and greatest version of this surprisingly powerful web component. In this guide, we’ll show you how Vue and TinyMCE work perfectly together and why. We’ve included a technical step-by-step process so you can see the two in action. Let’s dive in!
Why Vue 3 and TinyMCE 8 are a new evolution together
TinyMCE 8 is a significant upgrade for Vue projects using the RTE. TinyMCE 8’s move to update plugins into ES modules is a big upgrade across the board, but it specifically pairs well with Vue 3’s Composition API if you want on-demand plugin loading, or clean reactive bindings to make Vue and TinyMCE snappier together.
TinyMCE 8 also targets modern JavaScript by officially dropping IE11, and now TinyMCE is structured for building smaller bundles and tree-shaking. Vue 3’s default Vite setup works faster and leaner with smaller bundles, so this is another hearty handshake between TinyMCE 8 and Vue 3 that makes web applications built with both faster and lighter.
Last but not least, TinyMCE’s official Vue wrapper also received an update. Now the wrapper supports reactive props and lifecycle events like onEditorChange for a stronger integration. Earlier versions required workarounds, so developers will appreciate the attention now given to Vue.
Step one: Create a new Vue.js project
To create a new Vue project, navigate to the directory where you’ll be working and run this npm command:
npm create vue@latestYou’ll get a response like this one, depending on the latest version of Vue. As of this guide, we’re on Vue 3:
Need to install the following packages:
create-vue@3.18.0
Ok to proceed? (y)Enter “y” and hit the Enter button.
Vue will then ask you to configure your project options to get started. Contrary to the usual scaffolding setup, Vue will need you to select your answers with the Space bar, and then press Enter at the end when you’ve chosen what you want.
For this guide, we recommend a light Vue app with the following answers:
- Project name:
- tinymce-vue-demo
- TypeScript
- Yes, TypeScript is a fantastic JavaScript framework that has stricter typing and is easy to learn.
- JSX Support
- No, you won’t need JSX support for this demo.
- Router (SPA development)
- No, no need for it.
- Pinia (state management)
- No, you’re not building a large application.
- Vitest (unit testing)
- No, you’re not adding unit tests.
- End-to-End Testing
- No, no need.
- ESLint (error prevention)
- Yes, it’s best practice to have ESLint wherever you can.
- Prettier (code formatting)
- Yes, it’s best practice to have Prettier to clean up your code and identify any errors early on.
Once you’ve chosen the three Yes options with the Space bar, hit Enter to continue.
Vue will then ask you if you want to include any experimental features, to which you will simply press Enter to bypass this part.
The final question Vue will ask you is if you want to skip all example code and start with a blank Vue project.
After this, the project will build and appear in your chosen directory. Vue will tell you to run a series of commands to install necessary dependencies and launch your project locally. We recommend running all of the following commands, and skipping the GitHub commands.
  cd tinymce-vue-demo
  npm install
  npm run format
npm run devIf you’re not familiar with npm run format, it’s a great way to run Prettier and clean up all of your code and find any bugs or compiling problems before launching the application.
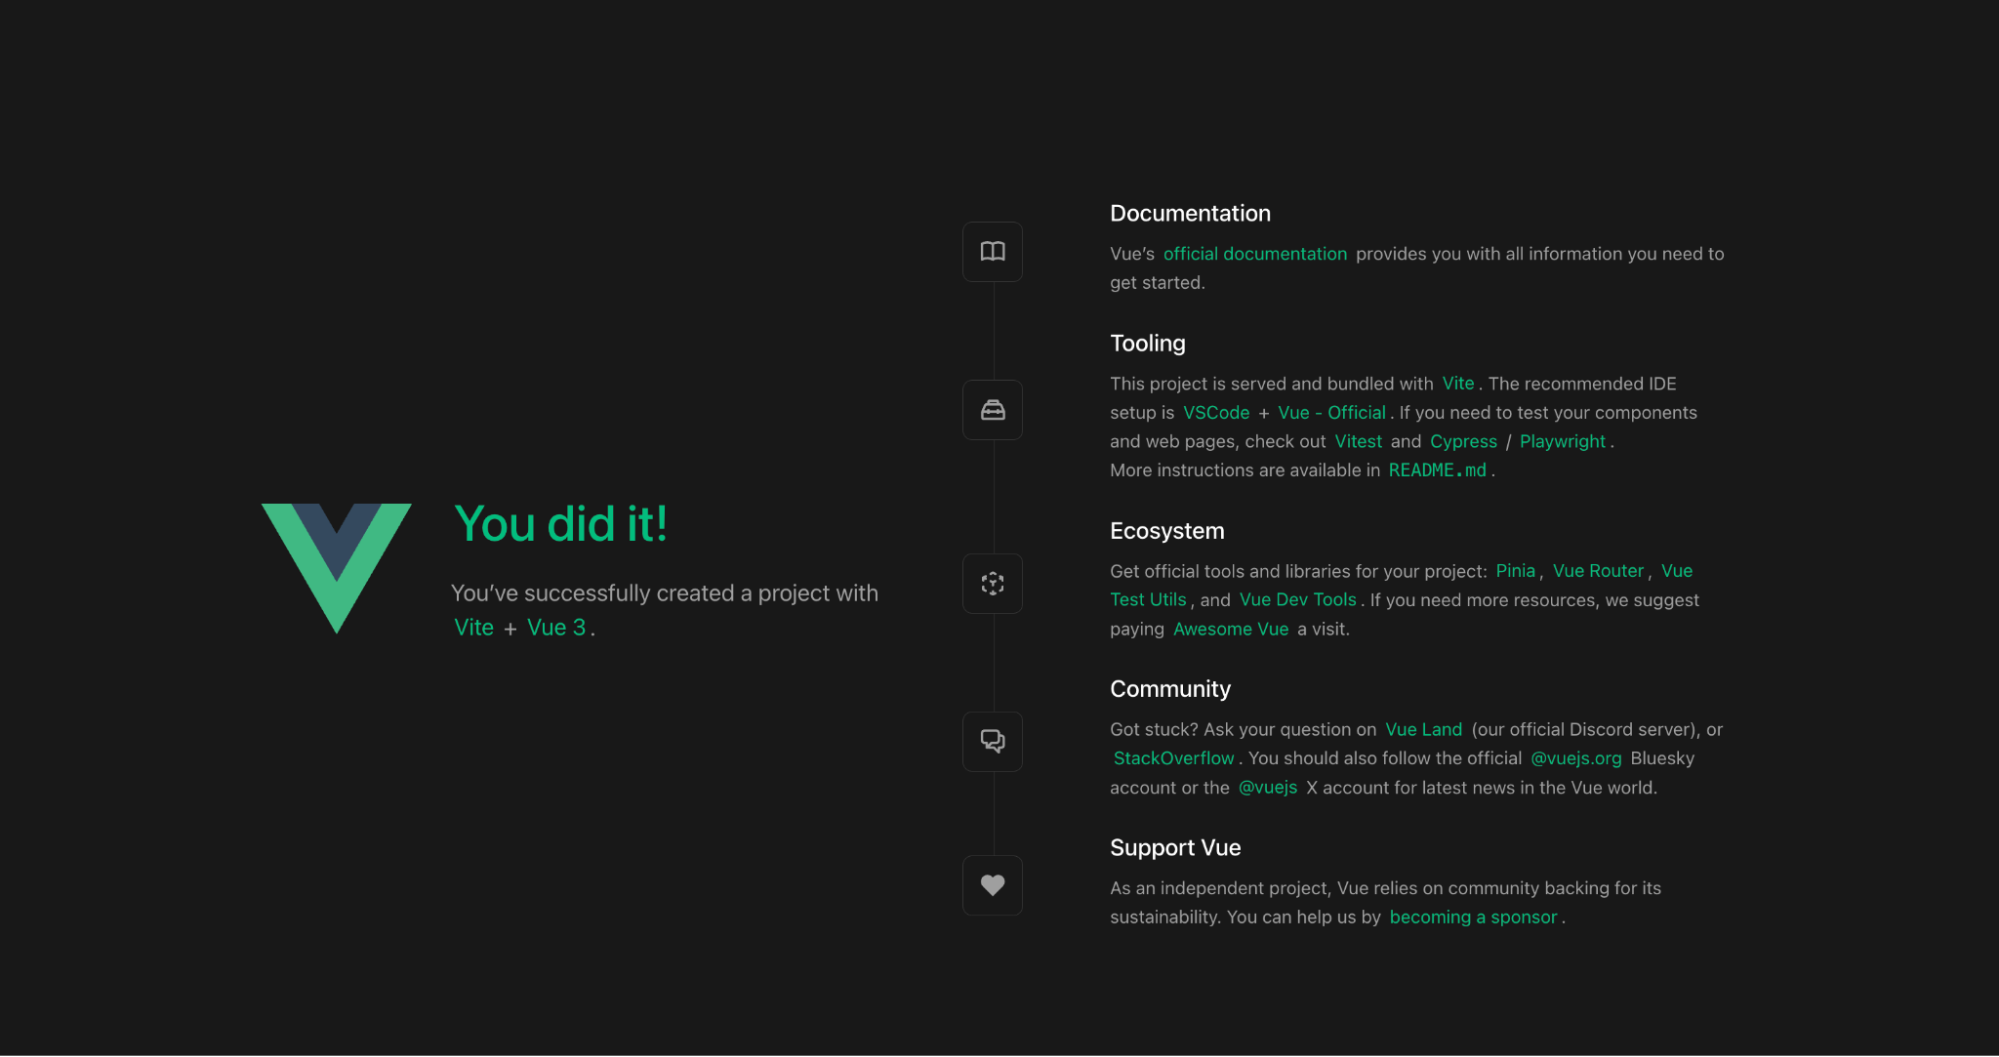
Nice! Now you can see your Vue app in any browser at http://localhost:5173/. 🎉
Vue 3 project structure
If you haven’t worked with Vue yet, it’s good to understand a foundational Vue project structure from the start. Let’s take a look.
Here is a basic Vue project structure, minus some common npm, Node.js, ESLint, Prettier, TypeJS files and folders.
tinymce-vue-demo/
├── src/
│   ├── assets/
│   ├── components/
│   │   ├── icons/
│   │   ├── HelloWorld.vue
│   │   ├── TheWelcome.vue
│   │   └── WelcomeItem.vue
│   ├── App.vue
│   └── main.ts
├── index.html
├── tsconfig.json
└── vite.config.tsThe directory components holds different components and visual assets that App.vue can call at any time.
The starting App.vue looks like this:
<!-- Primary App.vue file -->
<script setup lang="ts">
import HelloWorld from './components/HelloWorld.vue'
import TheWelcome from './components/TheWelcome.vue'
</script>

<template>
  <header>
    <img alt="Vue logo" class="logo" src="./assets/logo.svg" width="125" height="125" />

    <div class="wrapper">
      <HelloWorld msg="You did it!" />
    </div>
  </header>

  <main>
    <TheWelcome />
  </main>
</template>

<style scoped>
header {
  line-height: 1.5;
}

.logo {
  display: block;
  margin: 0 auto 2rem;
}

@media (min-width: 1024px) {
  header {
    display: flex;
    place-items: center;
    padding-right: calc(var(--section-gap) / 2);
  }

  .logo {
    margin: 0 2rem 0 0;
  }

  header .wrapper {
    display: flex;
    place-items: flex-start;
    flex-wrap: wrap;
  }
}
</style>Now that we have a Vue 3 project ready to go, let’s take a look at how to add a robust, responsive, secure, and feature-rich RTE to your project.
Step two: Add a rich text editor to the Vue project
We recommend opening the tinymce-vue-demo project in your favorite IDE.
To add TinyMCE 8 to the Vue project, you will:
-
Install the TinyMCE Vue package in the tinymce-vue-demo folder.
npm install @tinymce/tinymce-vue -
Import the
Editorto App.vue and removeTheWelcomeat the beginning of the file in the import section.<script setup lang="ts"> import HelloWorld from './components/HelloWorld.vue' import Editor from '@tinymce/tinymce-vue' </script>; - Replace the
TheWelcometag with theEditorone, complete with helpful foundational features, inside<main>in the App.vue page.
...
 <main>
    <editor
      id="uuid"
      apiKey="no-api-key"
      :init="{
        plugins:
          'advlist anchor autolink charmap code fullscreen help image insertdatetime link lists media preview searchreplace table visualblocks wordcount',
        toolbar:
          'undo redo | styles | bold italic underline strikethrough | alignleft aligncenter alignright alignjustify | bullist numlist outdent indent | link image',
        height: 500,
      }"
    />
  </main>
...
Once you follow these steps, your App.vue should look like this:
<!-- Primary App.vue file -->
<script setup lang="ts">
import HelloWorld from './components/HelloWorld.vue'
import Editor from '@tinymce/tinymce-vue'
</script>

<template>
  <header>
    <img alt="Vue logo" class="logo" src="./assets/logo.svg" width="125" height="125" />

    <div class="wrapper">
      <HelloWorld msg="You did it!" />
    </div>
  </header>

  <main>
    <editor
      id="uuid"
      apiKey="no-api-key"
      :init="{
        plugins:
          'advlist anchor autolink charmap code fullscreen help image insertdatetime link lists media preview searchreplace table visualblocks wordcount',
        toolbar:
          'undo redo | styles | bold italic underline strikethrough | alignleft aligncenter alignright alignjustify | bullist numlist outdent indent | link image',
        height: 500,
      }"
    />
  </main>
</template>

<style scoped>
header {
  line-height: 1.5;
}

.logo {
  display: block;
  margin: 0 auto 2rem;
}

@media (min-width: 1024px) {
  header {
    display: flex;
    place-items: center;
    padding-right: calc(var(--section-gap) / 2);
  }

  .logo {
    margin: 0 2rem 0 0;
  }

  header .wrapper {
    display: flex;
    place-items: flex-start;
    flex-wrap: wrap;
  }
}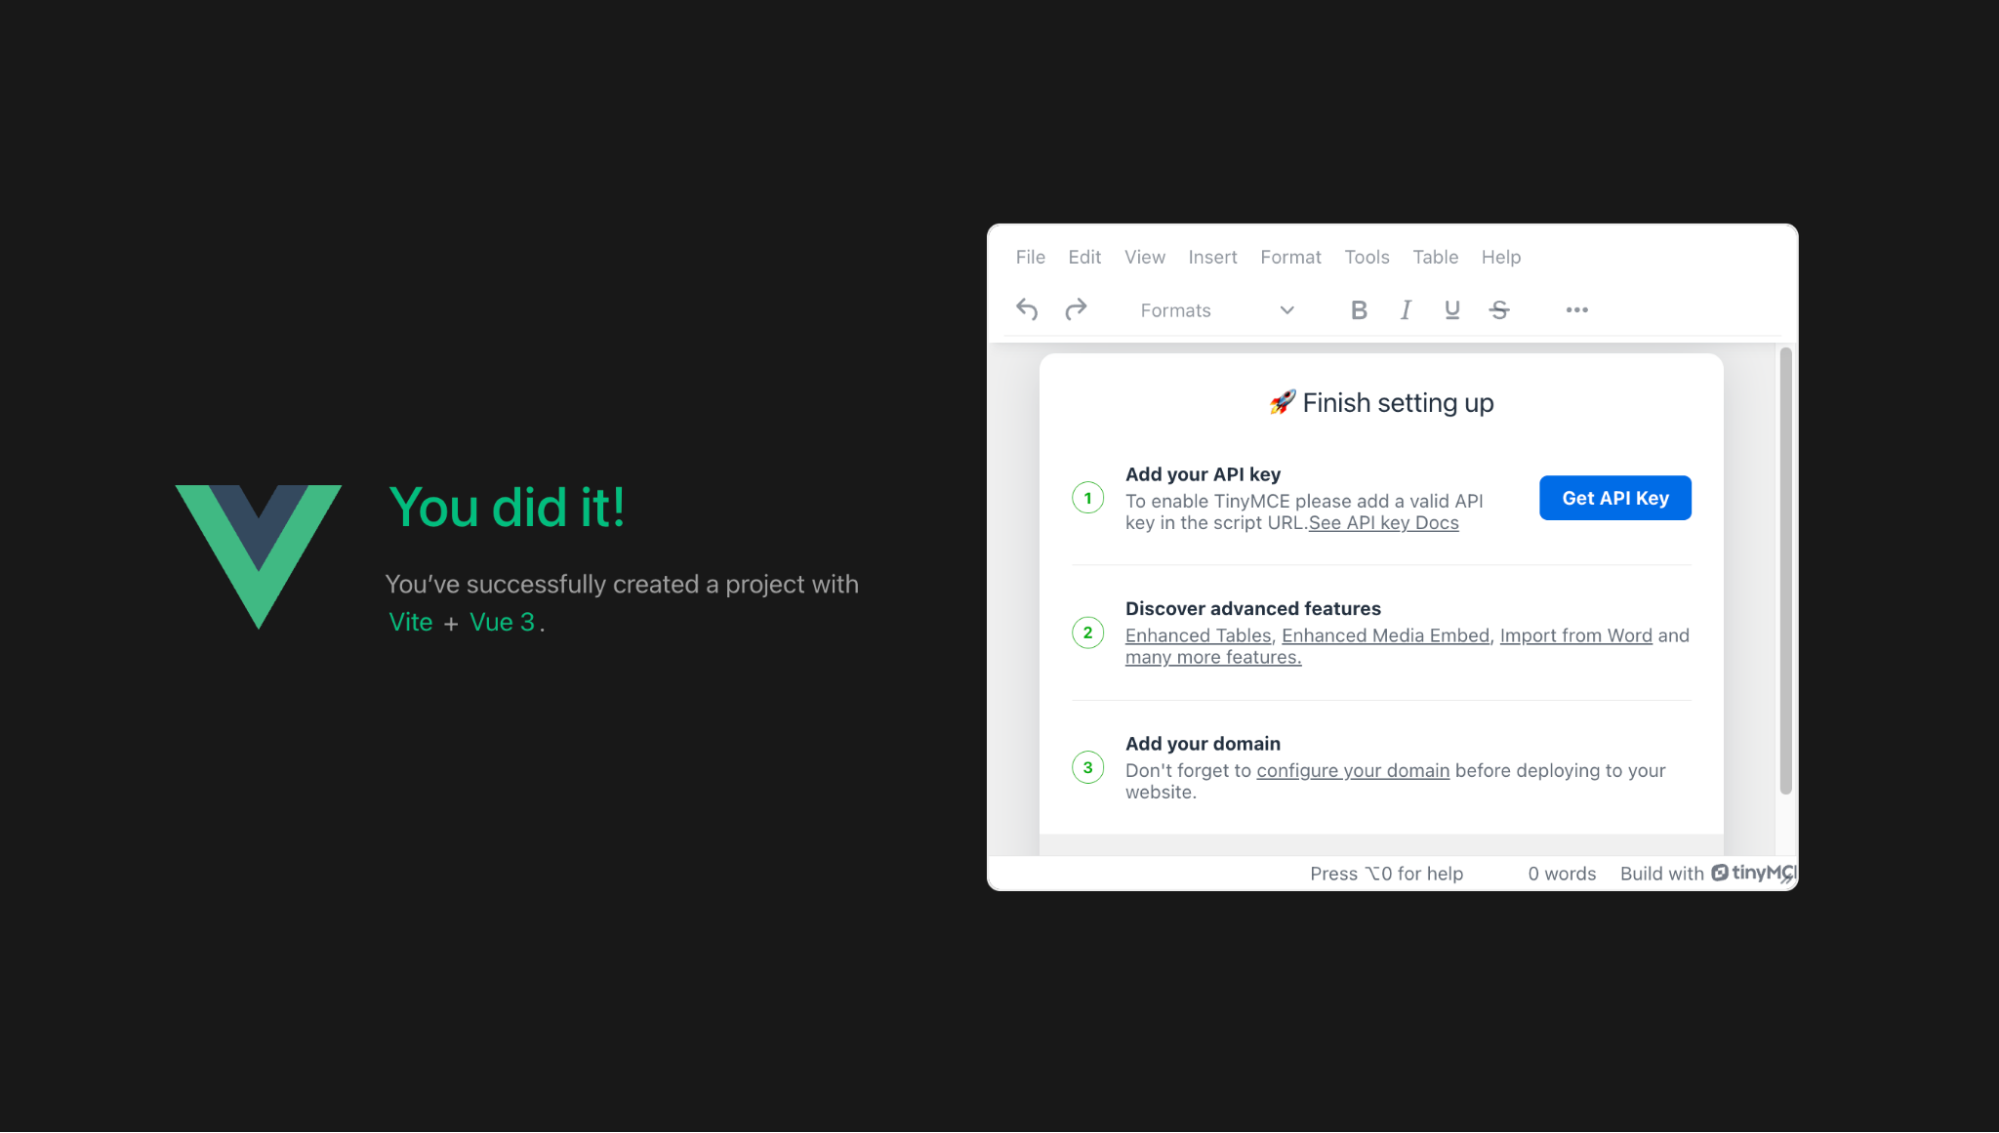
</style>localhost:5173 will refresh automagically, and you’ll see this as your app now:
The final step to get TinyMCE working is to add an API key where it says no-api-key in the Editor configuration. To get a free TinyMCE API key, simply sign up for our 14-day trial which gives you access to all of the premium features available in a WYSIWYG editor used by over a million developers.
Once you’ve added an API key, you’ll have an RTE with added features like Autolink, Tables, Advanced List, and more. Try it out for yourself, and add any of the 50+ TinyMCE features available for integration in the TinyMCE documentation.
What’s next? Take it further
You’re up and running with TinyMCE in your Vue.js app! Whether you're building a content management platform, an ecommerce site, or just need a slick WYSIWYG experience, this integration gives you the flexibility and power of TinyMCE with the reactive elegance of Vue.
Ready to see it in action? Sign up for a free TinyMCE API key and start building with Vue today. Your future users (and your future self) will thank you. 👩💻✨


