


TinyMCE recently cohosted a webinar with Nylas to build an advanced email editor with React, complete with features like templates, inline CSS, enhanced code editing, accessibility checking, and more. We live-coded an email editor with React, TinyMCE, and Nylas Email API. You can check out the replay below or walk through this guide to build an email messaging app at your own pace.
Why React for email builders?
React keeps things modular with reusable components, making UI development flexible. Its virtual DOM enables smooth updates so everything feels snappy. With a huge ecosystem, including TinyMCE for rich text editing, you can easily customize, extend features, and hook into APIs like Nylas Email API with very little hassle.
Build an email editor with TinyMCE & Nylas Email API: Part one
Our guide will have two parts. Part one, which we’ll cover in this blog, will go over how to:
- Clone the working code
- Authenticate and launch your email app
- Add a rich text editor with advanced features
Part two will cover the back end, where we’ll get into the Nylas Email API and how to send emails from the app we build. For now, let’s get the basic app set up and add some powerful features.
Prerequisites
You’ll need a few things to get started in part one:
- Node.js: Install the free JavaScript runtime environment tailored for web apps
- A TinyMCE API key: Get a free TinyMCE API key if you don’t already have one
- A Nylas account: Get a free Nylas account if you don’t have one
- The tinymce-webinar-frontend branch in the TinyMCE-Nylas-Email-API GitHub repository: It’s critical to specifically clone the tinymce-webinar-frontend branch to run this project according to this guide.
Let’s get our email editor up and running!
Step one: Clone the GitHub repository
The first step is to clone the React project from the tinymce-webinar-frontend branch in the GitHub repo to a local folder and fetch the code. You can do this by cloning and running the branch locally:
git clone -b tinymce-webinar-frontend --single-branch https://github.com/nylas-samples/TinyMCE-Nylas-Email-API.gitStep two: Start up the front and back ends
You’ll need to start the back end before you start the front end. This can be done quickly because the example code is already in place from the GitHub repository. We’ll explore the repository code further in Part Two of this guide, where we’ll build a working back end with the Nylas Email API.
Find and fill out your Nylas credentials in the .env folder
We need to implement Nylas Email API credentials in our project to make sure we can run our email through the API and into our email app. The Nylas Email API provides connections with Google, Microsoft, iCloud, and more
Depending on the email provider you choose to use for this guide, it’s best to follow the Nylas API Quickstart to make sure your Nylas account information is working properly. You can usually retrieve your API Key and Client ID from your Nylas dashboard. Check out the Nylas API Quickstart docs if you need more info.
Now that we have a Nylas API Key and Client ID, we need to create an .env file inside the backend folder that contains these credentials. Based on the Nylas Email API documentation, we suggest something like this:
# .env
NYLAS_CLIENT_ID="client-id"
NYLAS_API_KEY="nylas-api-key"
NYLAS_API_URI="https://api.us.nylas.com"You’ll need to replace nylas-api-key and client-id with your real Nylas API key and Nylas Client ID.
Run the back end
We’re ready to run the back end now that we’ve authenticated. Navigate to the /backend folder in shell. We’ll install the dependencies necessary for the backend:
npm iOnce that’s done, start the back end:
npm startThis should launch your backend service! If you have any trouble, double check the Nylas Email API authentication documentation. We’ll dive in deeper in Part Two for how to configure the back end in more detail.
Run the front end
Next, we start the front end. Navigate to the /frontend folder and run:
npm iThis installs all the necessary dependencies for the front end. Let’s build the front end:
npm run buildNice job! We can start up our app!
npm startOnce it’s started, the app will open in your default browser at http://localhost:3000/. It will look like this:
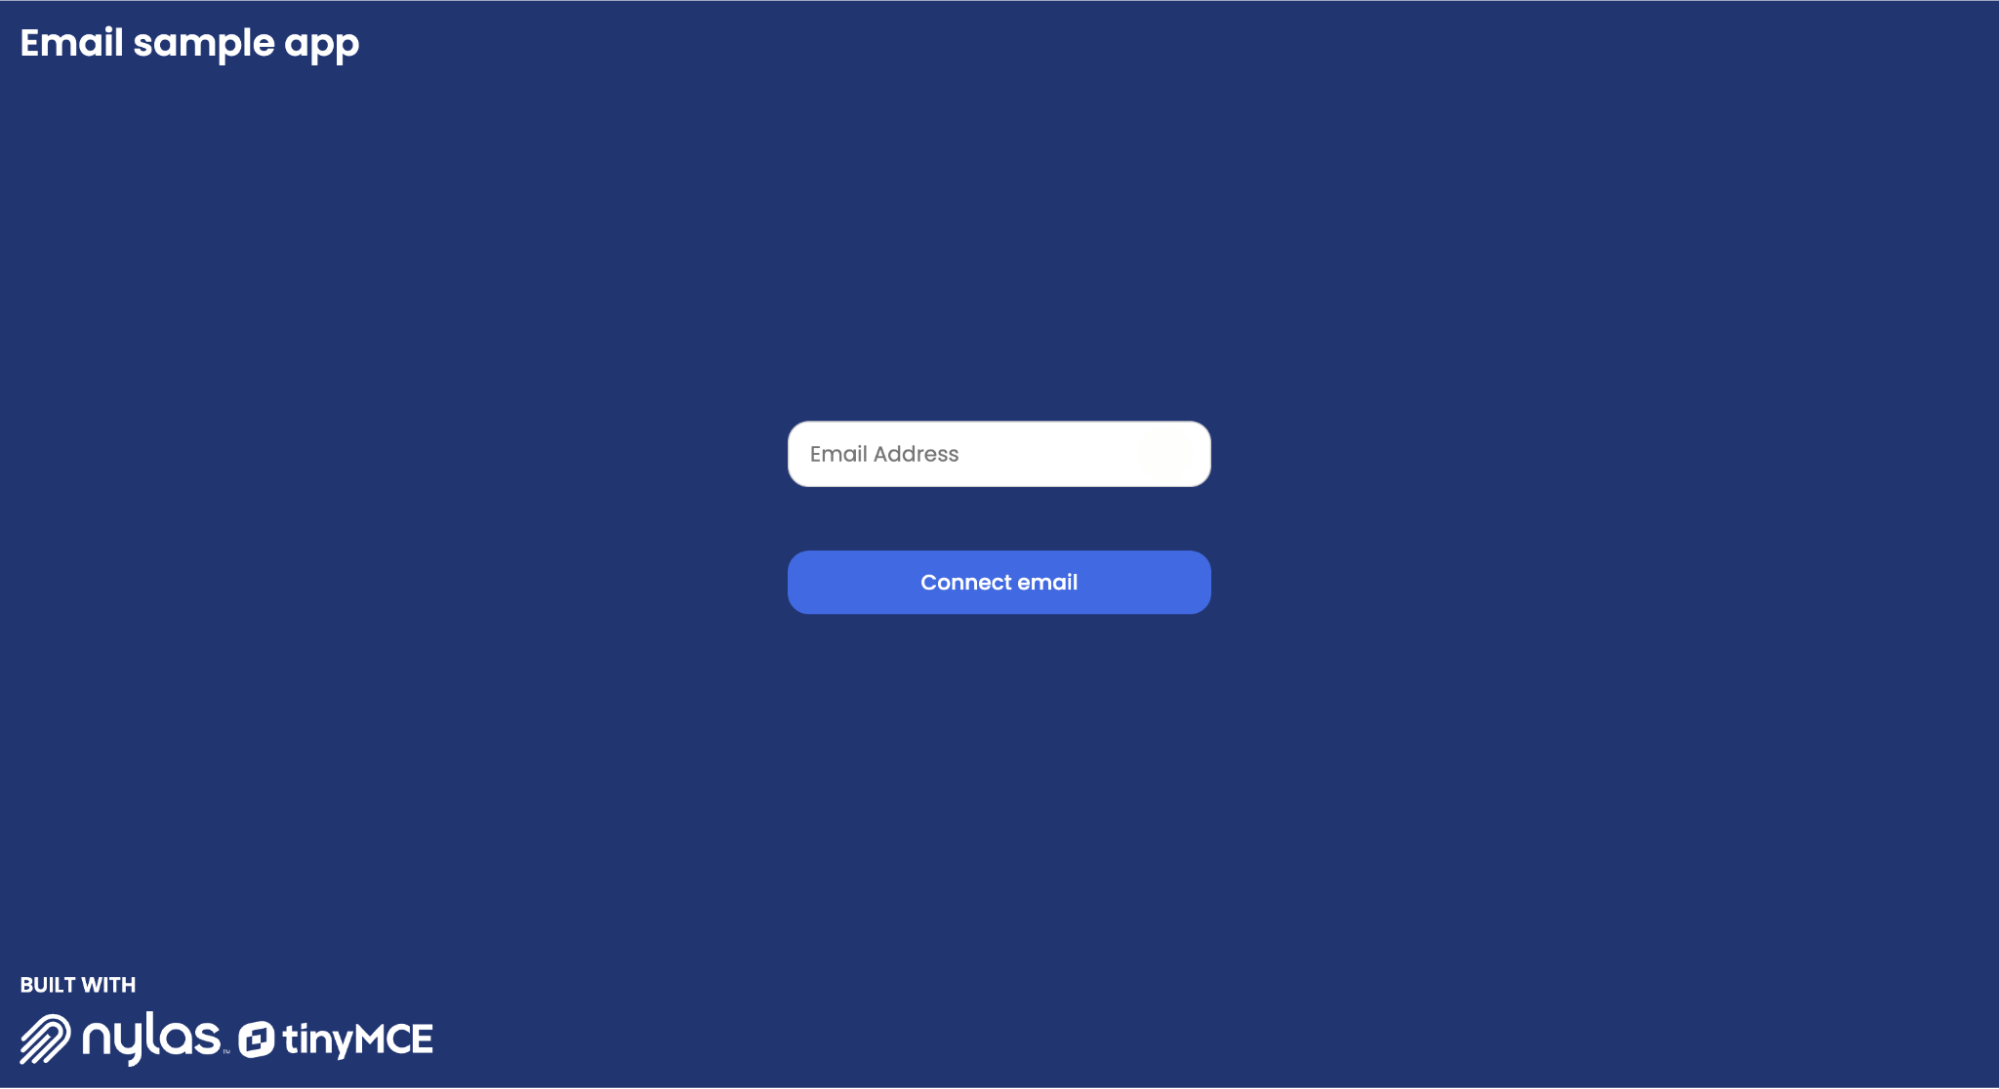
Our app is launched 🎉
All you need to do is log in to the app with your attached Gmail account. Once you do, you’ll see something like this, but with a sample of your own emails in the inbox: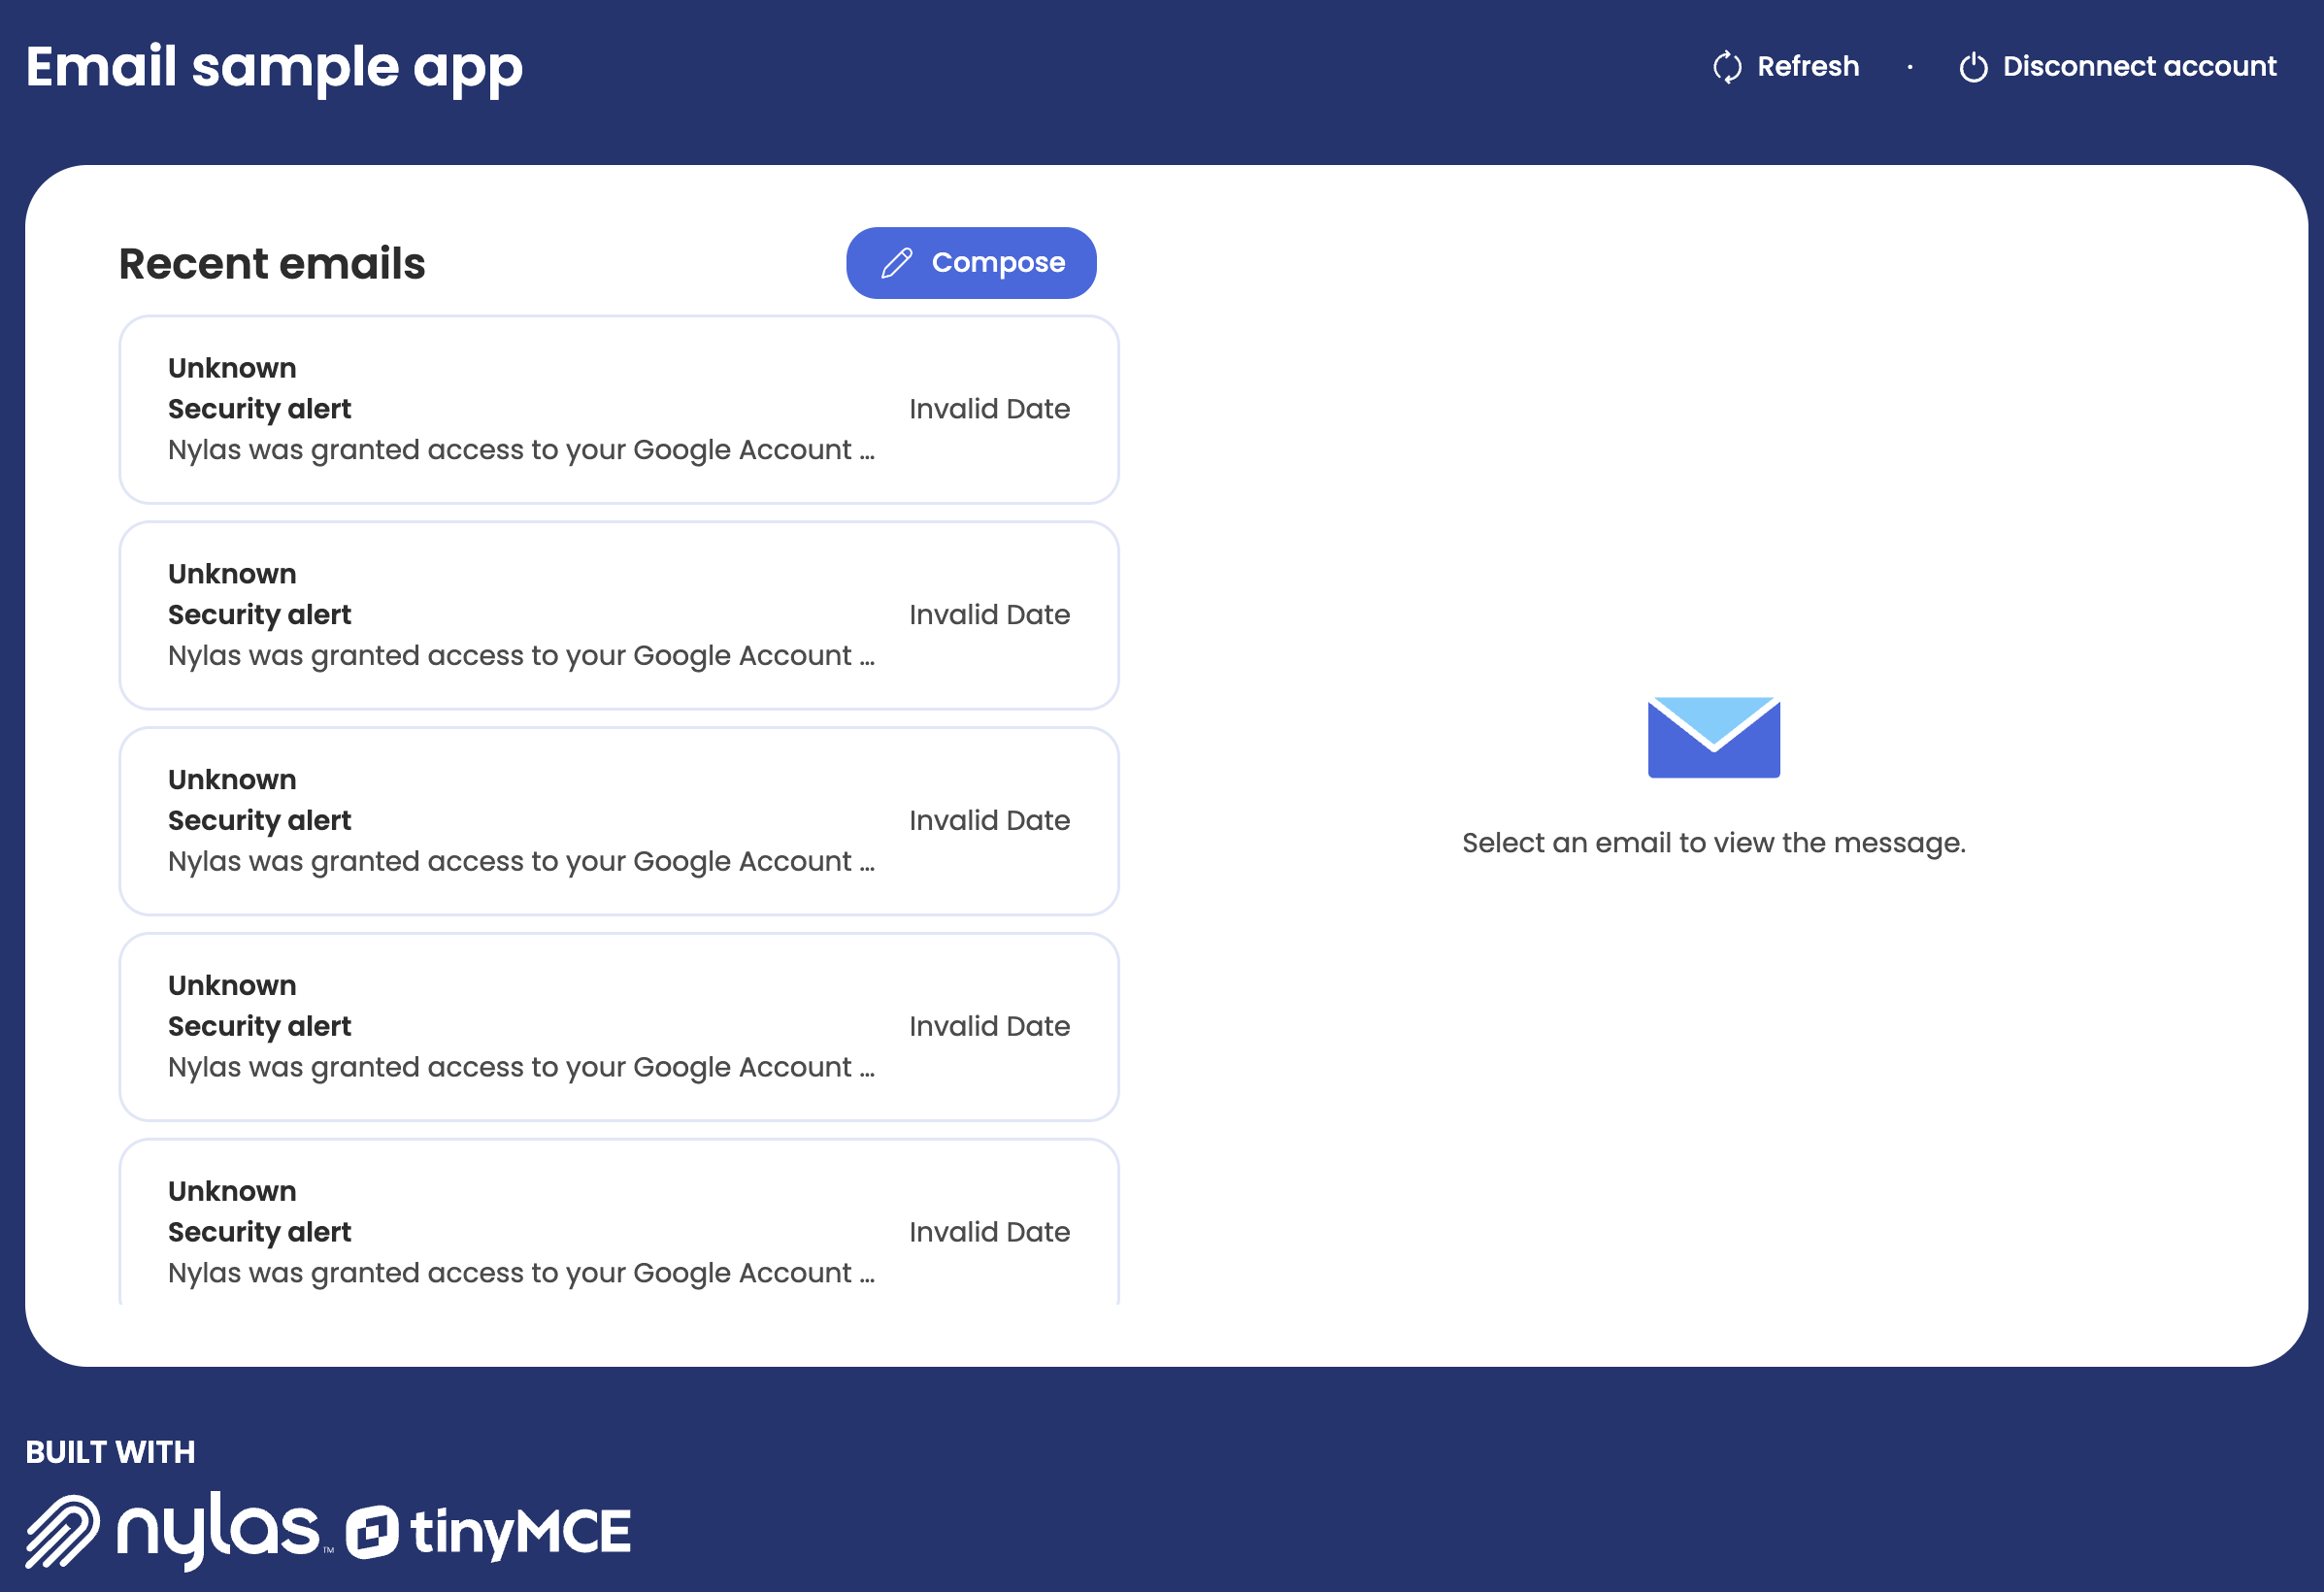
Step three: Design the user interface with basic plugins and setup toolbar
Now we can replace the standard text area in our email editor with a TinyMCE rich text editor to add essential formatting features. A basic text area allows plain text input, but a rich text area allows users to apply bold, italics, fonts, links, and you can add enhancements like templates and AI Assistant, making email composition more flexible and fully-featured.
Configure the email composer’s rich text editor in the /frontend folder
To do this, navigate to the /frontend folder in your shell and run the installation for TinyMCE:
npm i --save @tinymce/tinymce-reactReplace the textarea in SendEmails.jsx with a rich text editor
Open the SendEmails.jsx file and import TinyMCE at the top of the file:
import React, { useState, useEffect, useRef } from "react";
import { Editor } from "@tinymce/tinymce-react";
Create a constant for the editorRef:
const editorRef = useRef(null);
Now replace the whole <textarea> block with an Editor configuration containing the rich text editor and some basic plugins like fonts, bold, italic, and alignment:
<Editor
  apiKey={import.meta.env.VITE_TINYMCE_API_KEY}
  initialValue={initialValue}
  value={value}
  onEditorChange={(newValue) => {
    setValue(newValue);
    setBody(newValue);
  }}
  init={{
    height: 500,
    menubar: false,
    plugins: ["image", "table", "code", "help", "wordcount"],
    toolbar:
      "fontfamily fontsize | bold italic underline strikethrough | forecolor backcolor | alignleft aligncenter alignright alignjustify | bullist numlist outdent indent | image table code help",
    content_style:
      "body { font-family:Helvetica,Arial,sans-serif; font-size:14px }",
  }}
/>;
⚠️ Note: You’ll notice for the TinyMCE apiKey configuration, it says import.meta.env.VITE_TINYMCE_API_KEY, which is a reference to a local .env file that will hold a VITE_TINYMCE_API_KEY value. For this demo, create an .env file in the frontend folder and add your real TinyMCE API key as the VITE_TINYMCE_API_KEY value.
Restart the front end:
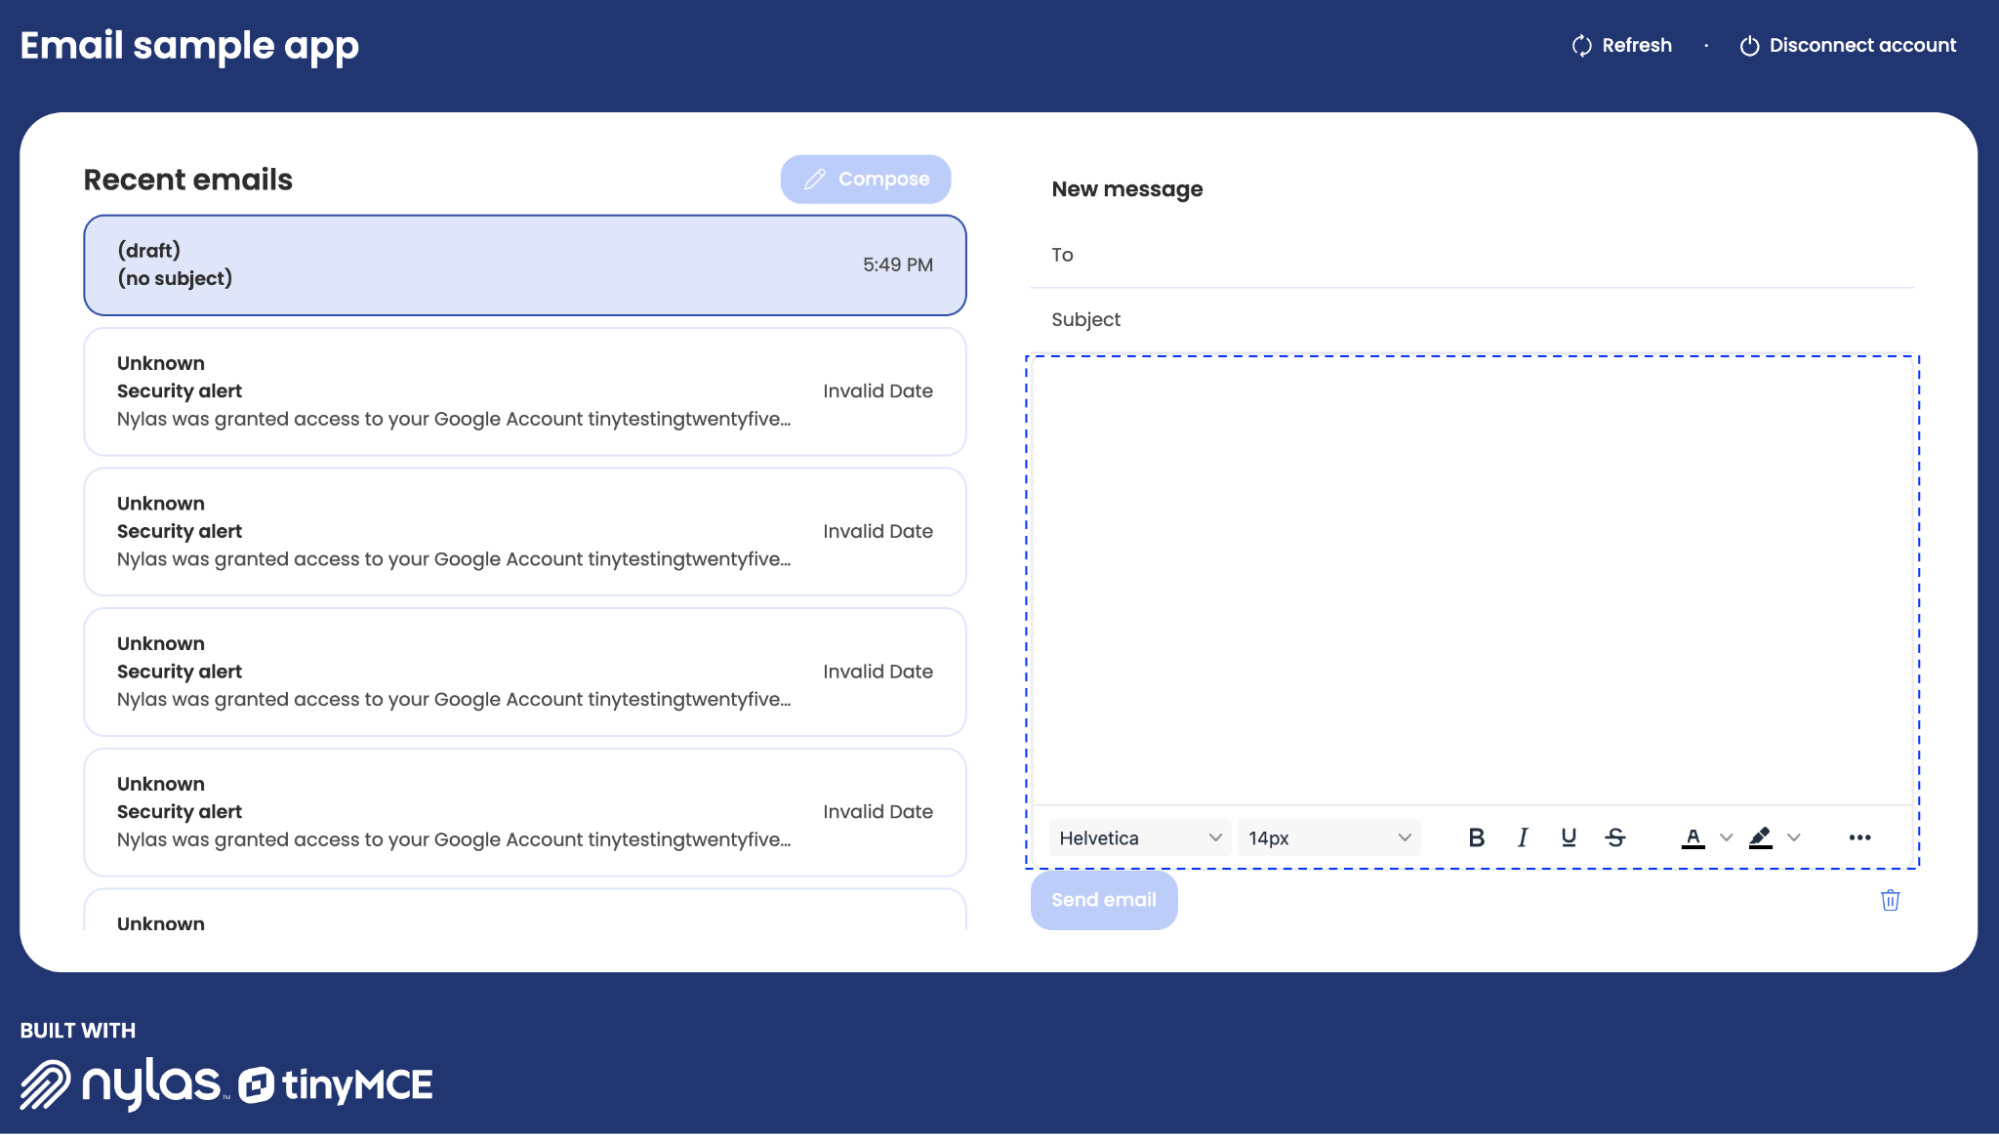
npm startGreat! If you reload your app you’ll see TinyMCE available in the Compose Email section.

Customize the toolbar
Popular email editors like Gmail position their toolbar at the bottom of the editor, keeping formatting options easily accessible while typing. To achieve this, we'll update our TinyMCE configuration by changing the toolbar location, disabling the status bar, and applying custom styles for content styling in our editor’s configuration:
content_style: 'body { font-family:Helvetica,Arial,sans-serif; font-size:14px }',
          statusbar: false,
          toolbar_location: 'bottom'
}}A simple refresh of your http://localhost:3000/ page will show that the toolbar has moved.
As configured, our toolbar includes a wide range of functionality, which makes it appear cluttered and overwhelming, both in terms of screen space and UX. To improve usability, we can group related features using toolbar_groups. This allows us to organize features into visually distinct categories. For this guide, we’ll create a group called formatgroup to show how grouping tools improves both visual hierarchy and overall UX.
To implement this, add the toolbar_groups configuration to your Editor init in SendEmails.jsx. You’ll need to create a toolbar group name. For this example, call the toolbar group formatgroup, and put it inside the toolbar_group configuration:
         toolbar_location: 'bottom',
         toolbar_groups: {
            formatgroup: {
              icon: 'format',
              title: 'Format',
              items: 'fontfamily fontsize | bold italic underline strikethrough | forecolor backcolor | alignleft aligncenter alignright alignjustify | bullist numlist outdent indent'
            }
          }
}}Once you save SendEmails.jsx and refresh your local app in the browser, you’ll have a beautiful new toolbar:

Now you have more rich text options installed and working in the email composer. 🎉 Next steps? Let’s make our email composer even more powerful on the front end!
Enhancing your editor with TinyMCE plugins
We have a customizable yet simple editor already built into our app. You can take it further and enhance it for users by adding inline CSS, advanced HTML control, templates, merge tags, spellchecker, and accessibility. We cover all of these in the rest of this guide, and highly recommend you try at least one or two of these awesome features.
Inline CSS and Enhanced Code Editor
The TinyMCE Inline CSS plugin is a great little tool for when you're not working with a full backend yet but still want your content to look polished. It stores editor content as HTML with inline CSS, so styles stick exactly where you put them. No need to rely on external stylesheets or class names that might not exist yet. Right now, the plugin button is more of a visual example than a live integration. It’s there to show how the output would look when styling is baked directly into the content. Think of it like a style safety net while your data layer is still catching up.
To make things easier for ourselves in the UI, we’re going to add a button for copying our HTML with inline CSS to the clipboard before we install the Enhanced Code Editor and Inline CSS.
Add a button to the UI for copying our HTML with inline CSS
Navigate to SendEmails.jsx and look for the Editor block. Find the div with the className composer-button-group below the Editor and add this custom button to composer-button-group.
<div className="composer-button-group">
<button
type="button"
className="secondary"
onClick={() => {
const editor = tinymce.get(0);
const pluginAPI = editor.plugins.inlinecss;
pluginAPI.getContent().then((content) => {
navigator.clipboard.writeText(content.html).then(() => {
setToastNotification({
type: 'success',
message: 'HTML with inline CSS copied to clipboard!',
show: true,
});
setTimeout(() => {
setToastNotification(null);
}, 3000);
}).catch(err => {
setToastNotification({
type: 'error',
message: 'Failed to copy to clipboard',
show: true,
});
setTimeout(() => {
setToastNotification(null);
}, 3000);
});
});
}}
>
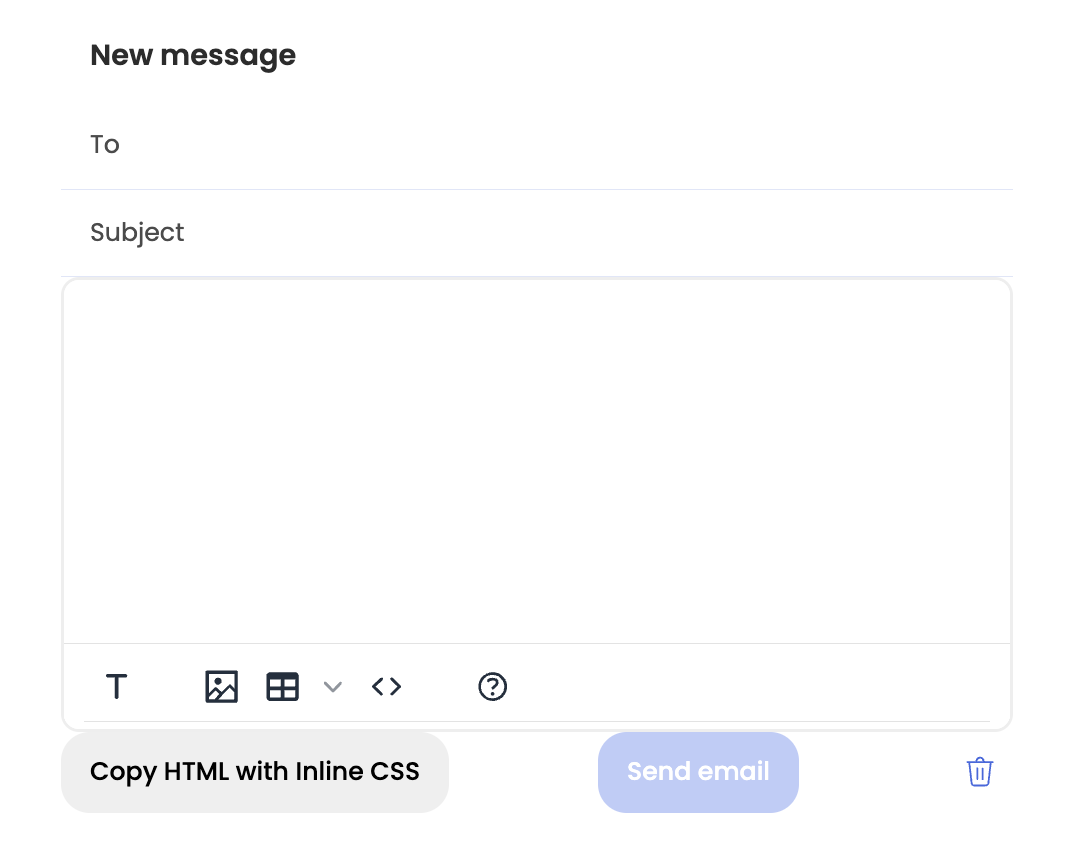
Copy HTML with Inline CSS
</button>Save the file and refresh the page. You’ll see your new button. 🌟
Add Inline CSS
Since most email clients don’t support external CSS, the Inline CSS feature processes RTE content so that the previously separate CSS is applied inline to each HTML element. This makes sure proper formatting works in a single, email-friendly HTML file. Add inlinecss to the plugins array in the Editor initialization:
plugins: [
   'image', 'table', 'help', 'wordcount', 'inlinecss'
],Test your setup
Now that you’ve saved everything and refreshed the email web app, visit http://localhost:3000/ to test out creating and copying your email templates with inline CSS.
Add Enhanced Code Editor
Enhanced Code Editor is invaluable for editing structured emails, from newsletters to business communications to marketing. For any users that need to control their HTML formatting for the perfect email, it’s a must-have that adds editing modes, helps format HTML properly, works inline, and more.
First add advcode in the plugins array in the Editor initialization:
plugins: [
   'image', 'table', 'help', 'wordcount', 'inlinecss', 'advcode'
],Then add the configuration that shows the Enhanced Code Editor inline instead of in a popup modal, to the bottom of your Editor init:
advcode_inline: true;
Test your setup
Now that you’ve saved everything and refreshed the email web app, visit http://localhost:3000/ to test out the Enhanced Code Editor.
You’ve added Enhanced Code Editor, and Inline CSS. 🎉
Merge Tags and Templates
Both Merge Tags and Templates make it much easier to create dynamic, rich emails inside an email messaging system. Every organization has some form of newsletter, client communication, or internal discussion that requires repetitive information like recipient names, personalized greetings, or an internal email disclaimer. Let’s install both.
Add Merge Tags
First, add mergetags to the plugins array and the toolbar in the Editor initialization:
plugins: [
'image', 'table', 'help', 'wordcount', 'inlinecss', 'advcode', 'mergetags'
],
toolbar: 'mergetags | formatgroup | image table code | help',In order to use merge tags, we need to define a structured list within the editor’s initialization configuration. This list acts as a reference, allowing users to insert predefined dynamic placeholders into their emails. Below is an example array that organizes merge tags into categories, such as personal details and email information:
mergetags_list: [
  { value: "First.Name", title: "First Name" },
  { value: "Email", title: "Email" },
  {
    value: "Current.Date",
    title: "Current date in DD/MM/YYYY format",
  },
  {
    value: "Current.Time",
  },
  {
    title: "Person",
    menu: [
      {
        value: "Person.Name.First",
        title: "first name",
      },
      {
        value: "Person.Name.Last",
        title: "last name",
      },
      {
        value: "Person.Name.Full",
        title: "full name",
      },
      {
        title: "Email",
        menu: [
          {
            value: "Person.Email.Work",
          },
          {
            value: "Person.Email.Home",
          },
        ],
      },
    ],
  },
];
These give us some basic values to work with in the app when we’re inserting merge tags. Let’s give it a try now that we’ve installed them!
Visit http://localhost:3000/ to test out inserting the merge tags.
Add Templates
Merge tags are a natural introduction to using templates. Templates can be created easily using merge tags. The two features work perfectly together for creating reusable content.
First, we’ll add advtemplate to our plugins and toolbar configurations, and inserttemplate to the toolbar configuration:
plugins: [
'image', 'table', 'help', 'wordcount', 'inlinecss', 'advcode', 'mergetags', 'advtemplate'
],
toolbar: 'mergetags inserttemplate | formatgroup | image table code | help',Secondly, we need to tell our Editor configuration where to find our templates:
         contextmenu: 'advtemplate',
          advtemplate_templates: advtemplate_data
}} Finally, we’ll need to make some template data available in an array called advtemplate_data for this demo. At the top of SendEmails.jsx, where the other values are listed, add:
const advtemplate_data = [
  {
    title: "Quick replies",
    items: [
      {
        title: "Message received",
        content:
          '<p dir="ltr">Hey {{Customer.FirstName}}!</p>\n<p dir="ltr">Just a quick note to say we’ve received your message, and will get back to you within 48 hours.</p>\n<p dir="ltr">For reference, your ticket number is: {{Ticket.Number}}</p>\n<p dir="ltr">Should you have any questions in the meantime, just reply to this email and it will be attached to this ticket.</p>\n<p><strong> </strong></p>\n<p dir="ltr">Regards,</p>\n<p dir="ltr">{{Agent.FirstName}}</p>',
      },
      {
        title: "Thanks for the feedback",
        content:
          '<p dir="ltr">Hi {{Customer.FirstName}},</p>\n<p dir="ltr">We appreciate you taking the time to provide feedback on {{Product.Name}}.</p>\n<p dir="ltr">It sounds like it wasn’t able to fully meet your expectations, for which we apologize. Rest assured our team looks at each piece of feedback and uses it to decide what to focus on next with {{Product.Name}}.</p>\n<p dir="ltr"><strong> </strong></p>\n<p dir="ltr">All the best, and let us know if there’s anything else we can do to help.</p>\n<p dir="ltr">-{{Agent.FirstName}}</p>',
      },
      {
        title: "Still working on case",
        content:
          '<p dir="ltr">Hi {{Customer.FirstName}},</p>\n<p dir="ltr">Just a quick note to let you know we’re still working on your case. It’s taking a bit longer than we hoped, but we’re aiming to get you an answer in the next 48 hours.</p>\n<p dir="ltr">Stay tuned,</p>\n<p dir="ltr">{{Agent.FirstName}}</p>',
      },
    ],
  },
  {
    title: "Closing tickets",
    items: [
      {
        title: "Closing ticket",
        content:
          '<p dir="ltr">Hi {{Customer.FirstName}},</p>\n<p dir="ltr">We haven’t heard back from you in over a week, so we have gone ahead and closed your ticket number {{Ticket.Number}}.</p>\n<p dir="ltr">If you’re still running into issues, not to worry, just reply to this email and we will re-open your ticket.</p>\n<p><strong> </strong></p>\n<p dir="ltr">All the best,</p>\n<p dir="ltr">{{Agent.FirstName}}</p>',
      },
      {
        title: "Post-call survey",
        content:
          '<p dir="ltr">Hey {{Customer.FirstName}}!</p>\n<p dir="ltr"> </p>\n<p dir="ltr">How did we do?</p>\n<p dir="ltr">If you have a few moments, we’d love you to fill out our post-support survey: {{Survey.Link}}</p>\n<p><strong> </strong></p>\n<p dir="ltr">Thanks in advance!<br>{{Company.Name}} Customer Support</p>',
      },
    ],
  },
];
💡 Note: It’s best practice to store your templates in a secure file in your database that’s not available to the front end and reference them. For this guide, we’re adding templates directly to SendEmails.jsx.
In this section we’ve:
- Added the Merge Tags plugin and configured it
- Added the Templates plugin and configured it
- Added several templates for our demo
Let’s take a look at the app so far at http://localhost:3000/.
One more pair of plugins to go!
Spell Checker and Accessibility Checker
Spellchecking is always a must-have in an email messaging system. An accessibility checker is a plus for compliance, and for making sure that emails can reach the largest number of people in the audience.
Add Spell Checker
It’s quick to add spell checking to your rich text editor. In the Editor, you will:
- Add
tinymcespellcheckerto plugins - Add
spellcheckdialogto the toolbar - Identify a language for the spellchecker using ISO language code, hyphenated for regional variants
...
         plugins: [
            'image', 'table', 'help', 'wordcount', 'inlinecss', 'advcode', 'mergetags', 'advtemplate', 'tinymcespellchecker'
          ],
          toolbar: 'mergetags inserttemplate | formatgroup | image table code | spellcheckdialog | help',
          content_style: 'body { font-family:Helvetica,Arial,sans-serif; font-size:14px }',
          statusbar: false,
          toolbar_location: 'bottom',
          spellchecker_language: 'en_US',
          toolbar_groups: {
...After a save and a refresh, you can visit http://localhost:3000/ to test out Spell Checker ✅
Add a11y Checker
The TinyMCE Accessibility Checker feature uses a11y standards for checking content. By adding it here, we’ll make it easy for anyone with a screen reader to understand an email sent from this app. For the basic Accessibility Checker, we’ll just add it to the plugins and toolbar in our Editor init:
plugins: [
   'image', 'table', 'help', 'wordcount', 'inlinecss', 'advcode', 'mergetags', 'advtemplate', 'tinymcespellchecker', 'a11ychecker'
],
toolbar: 'mergetags inserttemplate | formatgroup | image table code | spellcheckdialog a11ycheck | help',And that’s it! An easy way to check that the Accessibility Checker is working is to insert an empty table into the email. Empty tables are not accessibility compliant without a few changes, which the checker will suggest for you. Try it out on http://localhost:3000/. 🎉
What’s next? Show off your React email editor!
During this guide, we upgraded a basic email application, turning it into an advanced and layered rich text editor that gives users the power to create well designed emails, control the look and feel, and check accessibility and spelling. Incredible! Thanks for joining us on the journey.
We want you to share your React email editor with us. Follow @joinTiny on X and mention us with a link to your project. We love to promote what developers are building with TinyMCE. And check back soon for Part 2 of Building an Email Editor with React, TinyMCE, and Nylas! 👋


