


WYSIWYG? Then show me!
At Tiny, we know you want to get hands-on with a piece of tech to really understand what it's all about before you sign up or download.
So here are three ways you can try out TinyMCE for yourself before you commit too much of your time and effort.
1. Check out the live demo on the home page
Go to our Demo page and find the classic editor. There you can try almost all of the features available in TinyMCE 5. Add some text...click some buttons...have fun with it!
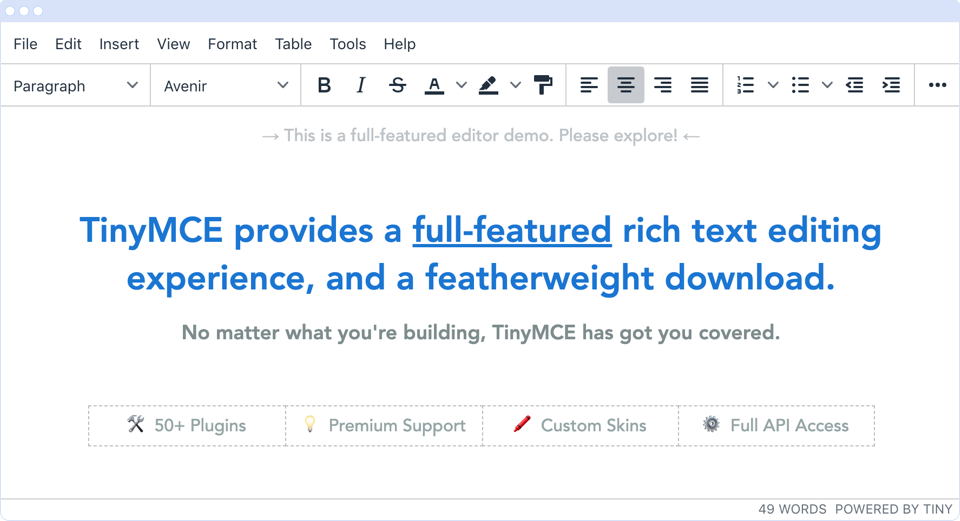
Try the new modes. Try out the new inline and distraction free modes available in version 5 while you're there. These options provide a pleasant experience for those who enjoy a more streamlined authoring experience. To view the context-sensitive menu, click some text in inline mode, or select some text in distraction free mode.
2. Delve deeper into the premium plugins
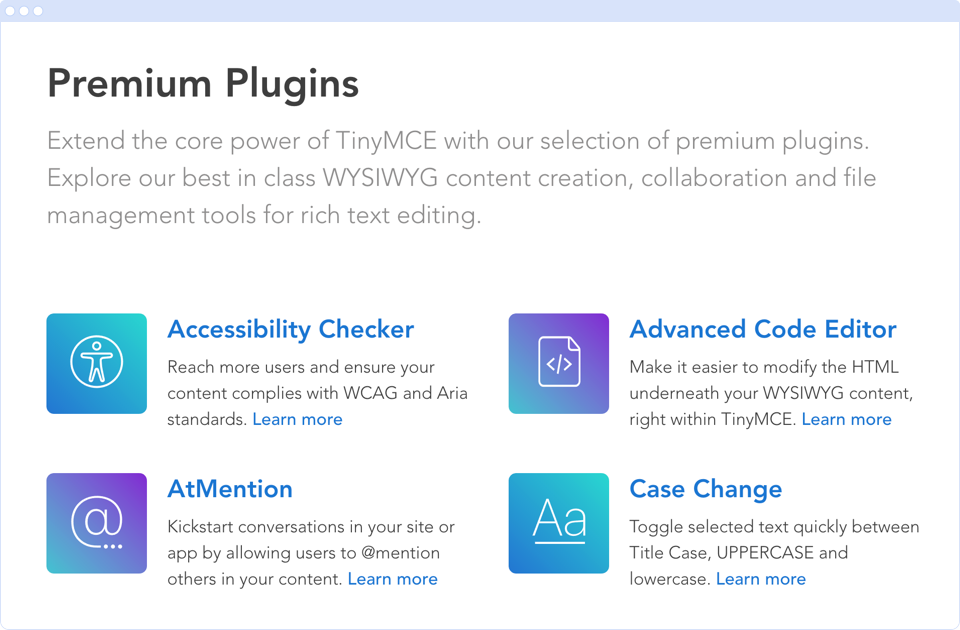
PowerPaste, Accessibility Checker, Spell Checker Pro, and Advanced Code Editor are some of our most popular plugins.
If you're keen to take a closer look at any of our premium plugins, go to the Features Directory (where there's also more information about our core and partner plugins). From there, you can investigate each one in more depth, including access to tailored live demos so you can see how they work in action.
Note that, if you sign up for a FREE API Key, you also get a 14 day trial of the premium plugins. And the Tiny Pro Bundle is a cost-effective way for you to have access to all of the plugins beyond that period.
3. Play around with the configuration
If you'd like to try out your own configuration, you can do this using the TinyMCE fiddle.
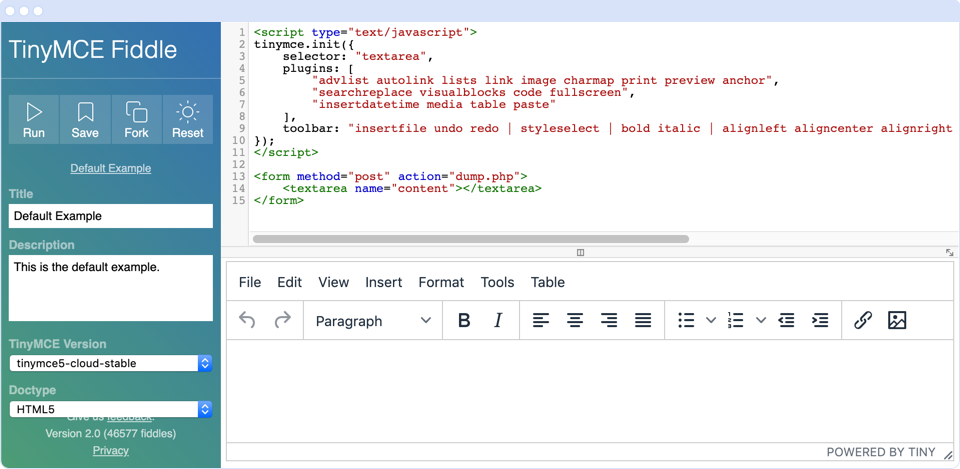
Open the fiddle and make changes to the Javascript to add and remove plugins or otherwise configure the editor. For example, remove the word bold from the script, then click Run and see what happens.
For more information on configuring the different plugins, check out the documentation.
Just note that, in the fiddle, you won't be able to configure plugins that require server-side setup like Comments, AtMention, MoxieManager, the Spell Checker plugins, Link Checker, Enhanced Media Embed, and Drive. To test these plugins, you'll need to sign up for a free API Key and set up your own environment.
What next?
Now that you've familiarized yourself with TinyMCE and its plugins, get TinyMCE up and running in your own project.


