


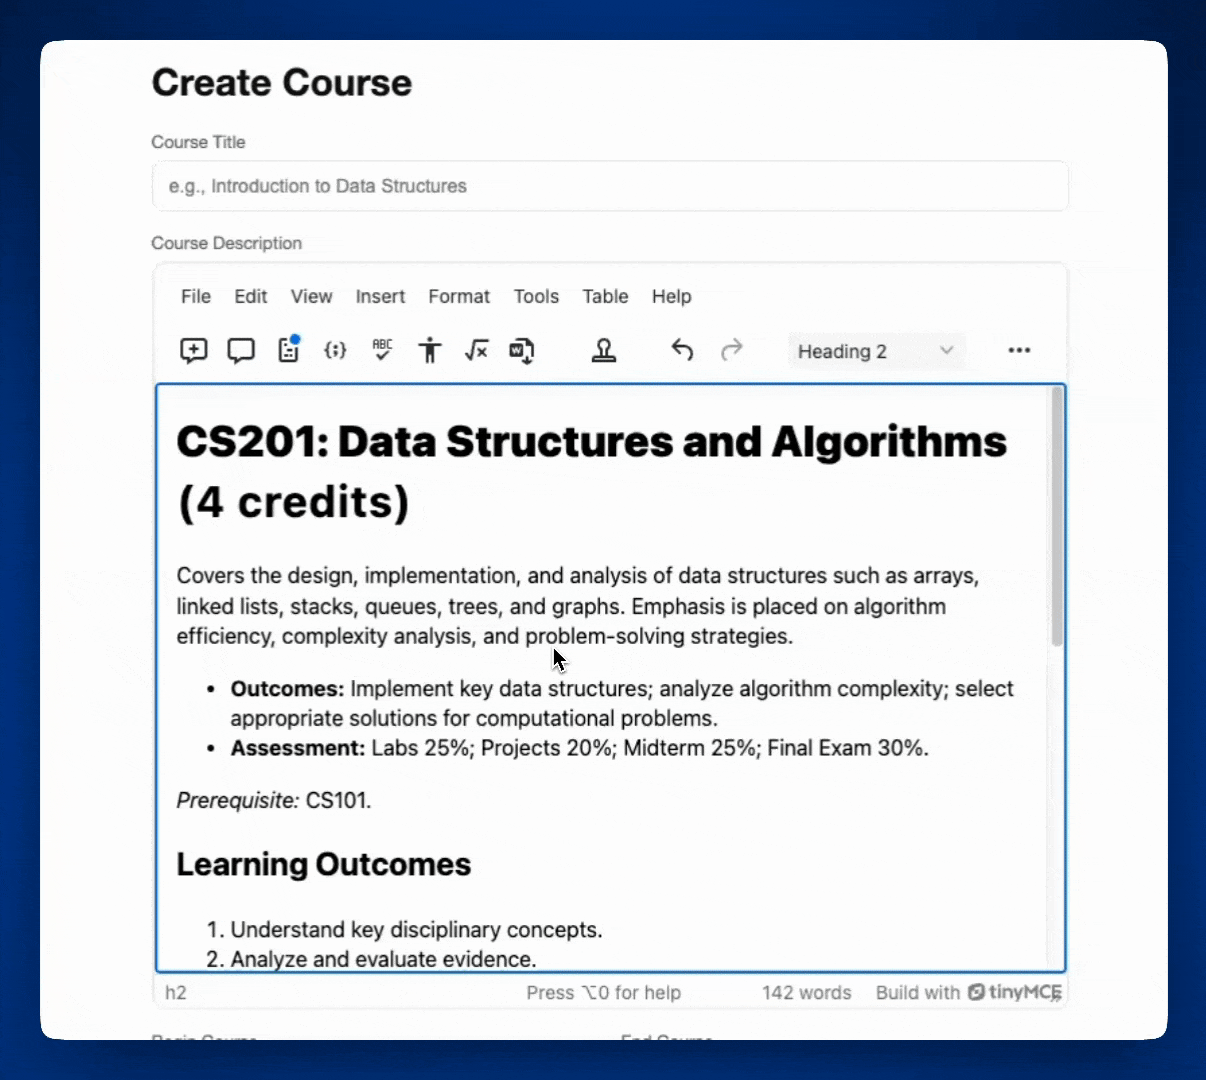
In the first part of this series, you got a Vue.js LMS up and running with TinyMCE, configuring templates, math equations, and accessibility tools. Now it’s time to turn that basic LMS into a fully collaborative learning platform.
In Part Two, you'll implement TinyMCE’s built-in collaboration features: Suggested Edits, Comments, Mentions, and Revision History. These tools give your LMS real-time feedback workflows, version tracking, and multi-user editing capabilities without building custom logic from scratch.
Before you get started on this part of the series, you’ll want to:
- Open the Vue project folder blog-lms-demo that you built in part one: How to Build an LMS with TinyMCE and Vue.js. This code is from the TinyMCE LMS Demo GitHub repository, with your additions like Templates and Math Equations.
- Open the project folder in your favorite IDE, and run npm run dev in the Terminal to launch your Vue LMS to localhost:5173/.
Step one: Add Suggested Edits to TinyMCEEditor.vue
Suggested Edits adds change tracking to TinyMCE without requiring you to build diff logic or version comparison from scratch. Instead of managing content state yourself, the feature tracks proposed changes as structured data you can approve, reject, or store for review.
In this demo, you'll enable basic change tracking with an anonymous user to see how edits are captured. In production you'd integrate your user system to attribute each suggestion to a specific author, making it easier to audit or filter changes by contributors. TinyMCE handles the UI for reviewing suggestions, and you just wire up the user data and storage layer.
To add Suggested Edits to TinyMCE:
- Add
suggestededitsto thepluginsarray. - Add
suggestededitsto thetoolbararray.
Your code will look like this:
...
   :init="{
      plugins:
        'suggestededits codesample tinymcespellchecker a11ychecker exportword math advtemplate advlist anchor autolink charmap code fullscreen help image insertdatetime link lists media preview searchreplace table visualblocks wordcount',
      toolbar:
        'suggestededits codesample spellcheckdialog a11ycheck math exportword | inserttemplate addtemplate | undo redo | styles | bold italic underline strikethrough | alignleft aligncenter alignright alignjustify | bullist numlist outdent indent | link image',
...🔥 Hot Tip: In production, you'd connect the User Lookup API, and implement login functionality to control user content access.

To take tracking changes between users further, try the vanilla JavaScript guide to installing Suggested Edits to test it in a multi-user setup.
Step two: Add Comments to TinyMCEEditor.vue
Comments let you add inline annotation to TinyMCE content without building a custom threading or anchor system. It creates comment threads tied to specific content ranges, so feedback stays contextual even as the document changes.
This is faster than rolling your own comment infrastructure, especially for LMS workflows where instructors or reviewers need to leave feedback on specific sections of a course or assignment. TinyMCE handles all the comment placement, thread management, and the display UI, and allows you to control where comments are stored and who can see or reply to them.
TinyMCE offers two modes: Callback Mode and Embedded Mode. Embedded Mode stores comments client-side, while Callback Mode connects to your own storage system to retrieve comment data using the TinyMCE Comments APIs.
For this demo, you'll add Comments in Embedded Mode since it's faster to implement. You’ll need to:
- Add
tinycommentsto thepluginsarray. - Add
addcommentand showcomments to thetoolbararray. - Add
tinycomments_mode: ‘embedded’toinit. - Add
tinycomments_author: ‘Artemis’toinit.
Once you’ve made these changes, your TinyMCE init will look like this:
...
   :init="{
      plugins:
        'tinycomments suggestededits codesample tinymcespellchecker a11ychecker exportword math advtemplate advlist anchor autolink charmap code fullscreen help image insertdatetime link lists media preview searchreplace table visualblocks wordcount',
      toolbar:
        'suggestededits codesample spellcheckdialog a11ycheck math exportword | inserttemplate addtemplate | undo redo | styles | bold italic underline strikethrough | alignleft aligncenter alignright alignjustify | bullist numlist outdent indent | link image',
      height: 500,
      advtemplate_templates,
      spellchecker_language: 'en-US',
      tinycomments_mode: 'embedded',
      tinycomments_author: 'Artemis',
...Save your TinyMCEEditor.vue file, and your refreshed demo will be ready!
Take Comments in Embedded Mode further with the TinyMCE tutorial, “How to Set Up Comments Plugin in Rich Text Editor.”
Step three: Add Mentions to TinyMCEEditor.vue
Mentions give you autocomplete-based user tagging in TinyMCE using the @ symbol. Instead of building your own autocomplete or notification trigger system, just configure a user list, and TinyMCE handles the input detection and suggestion UI.
This makes it easy to add collaboration hooks to your LMS editor. When a user mentions someone, you can trigger notifications, assignment alerts, or access control logic on the backend. In production, you'd pull your user list from your LMS database and tie mentions to your notification system. In this demo, you'll set up a basic mention menu.
To add Mentions to TinyMCE:
- Add the word
mentionsto thepluginsarray. - Create a list of users to substitute for fetching a real user list.
- Create a
mentions_fetchcallback function to fetch users. - Add a reference to the
mentions_fetchcallback function to the TinyMCEinit.
For this walkthrough, the mentions_fetch callback will simply fetch from a list of users that’s local to your LMS demo. In real life, you’d write a callback function that fetches a list of users from your data storage. As it is, you can add these two constant functions to the <script setup> in TinyMCEEditor.vue.
Once you’ve added Mentions, your editor should look like this:
  <editor
    id="course-description"
    placeholder="Start creating your course"
    apiKey="no-api-key"
    :init="{
      plugins:
        'mentions tinycomments suggestededits codesample tinymcespellchecker a11ychecker exportword math advtemplate advlist anchor autolink charmap code fullscreen help image insertdatetime link lists media preview searchreplace table visualblocks wordcount',
      toolbar:
        'addcomment showcomments suggestededits codesample spellcheckdialog a11ycheck math exportword | inserttemplate addtemplate | undo redo | styles | bold italic underline strikethrough | alignleft aligncenter alignright alignjustify | bullist numlist outdent indent | link image',
      height: 500,
      advtemplate_templates,
      spellchecker_language: 'en-US',
      tinycomments_mode: 'embedded',
      tinycomments_author: 'Artemis',
      mentions_fetch: mentions_fetch
    }"
  />
</template>
<style></style>And you can use this sample list for your user list. Simply paste it in TinyMCEEditor.vue after the import line.
const USERS = [
  { id: "u1", name: "Mae Jemison" },
  { id: "u2", name: "Marie Curie" },
  { id: "u3", name: "Dorothy Hodgkin" },
  { id: "u4", name: "Melba Roy Mouton" },
  { id: "u5", name: "Brenda Milner" },
];
You can do more to customize the Mentions dropdown list. Options include:
|
Name |
Type |
Description |
|
String |
Set the user to return a name or full user object with |
|
|
Number |
Set the minimum number of characters users must type before the list populates. Default value is 1. |
There are other ways to take Mentions further. To see them, read the official TinyMCE Mentions documentation.
Another option is to streamline your user fetching with TinyMCE’s User Lookup API if you’re using Mentions, Comments, and Suggested Edits, since it centralizes user fetching.
Step four: Add Revision History to TinyMCEEditor.vue
Revision History gives you automatic version snapshots in TinyMCE without writing custom diff or rollback logic. Every change is captured as a revision you can retrieve, compare, or restore–no manual versioning required.
This is critical for LMS content that evolves through multiple drafts or review cycles. Instead of building a version control system from scratch, you get structured revision data that integrates with your storage layer. TinyMCE handles the snapshot creation and comparison UI, and you control how revisions are persisted, who can access them, and what metadata gets attached to each version.
⚠️ Note: Revision History works in TinyMCE classic mode, but not in TinyMCE inline mode. Read more about this in the TinyMCE Classic editing mode docs.
Revision History: initial setup
To add Revision History to TinyMCE, first you will:
- Add
revisionhistoryto the plugins and toolbar arrays. - Add
revisionhistory_fetchto the TinyMCE editor config, and reference aPromisethat will resolve with a list of your revisions.- For this guide, since we don’t have real revisions, you’ll add some demo revisions as a
constarray to TinyMCEEditor.vue.
- For this guide, since we don’t have real revisions, you’ll add some demo revisions as a
Your <editor /> should look like this after your changes:
 <editor
    id="course-description"
    placeholder="Start creating your course"
    apiKey="no-api-key"
    :init="{
      plugins:
        'revisionhistory mentions tinycomments suggestededits codesample tinymcespellchecker a11ychecker exportword math advtemplate advlist anchor autolink charmap code fullscreen help image insertdatetime link lists media preview searchreplace table visualblocks wordcount',
      toolbar:
        'revisionhistory addcomment showcomments suggestededits codesample spellcheckdialog a11ycheck math exportword | inserttemplate addtemplate | undo redo | styles | bold italic underline strikethrough | alignleft aligncenter alignright alignjustify | bullist numlist outdent indent | link image',
      height: 500,
      advtemplate_templates,
      spellchecker_language: 'en-US',
      tinycomments_mode: 'embedded',
      tinycomments_author: 'Artemis',
      mentions_fetch: mentions_fetch,
      revisionhistory_fetch: revisionhistory_fetch,
    }"
/>Your revisionhistory_fetch Promise might look something like this:
const revisionhistory_fetch = () =>
  new Promise((resolve) => {
    setTimeout(() => {
      resolve(
        revisions
          .sort((a, b) =>
            new Date(a.createdAt) < new Date(b.createdAt) ? -1 : 1
          )
          .reverse()
      );
    }, getRandomDelay());
  });
And then you’ll add the example const revisions to your <script> in TinyMCEEditor.vue.
const revisions = [
  {
    revisionId: "3",
    createdAt: "2025-10-01T10:00:00Z",
    content:
      "Introduction to Data Storytelling — Learn how to craft compelling narratives with data through visualization, context, and audience-driven insights.",
  },
  {
    revisionId: "2",
    createdAt: "2025-10-10T14:30:00Z",
    content:
      "Modern Web Accessibility — A practical guide to designing and developing inclusive web experiences that meet WCAG standards and empower all users.",
  },
  {
    revisionId: "1",
    createdAt: "2025-10-20T09:15:00Z",
    content:
      "Foundations of TypeScript — Strengthen your JavaScript skills by mastering TypeScript’s type system, interfaces, and tooling for scalable development.",
  },
];
That’s all it takes to initially set up Revision History into TinyMCE, but there’s no authors yet. Let’s add authors to Revision History in the next step.
Revision History: author setup
In a real world scenario, you’d ideally retrieve your list of users (or authors) from your data storage and implement that list. For this guide, we’ll stick with the list of users inside USERS, from the Mentions section earlier.
To add authors to Revision History, you’ll do a few things:
- Add an author that already exists in the
USERSarray to each revision in therevisionsarray, like this:
... { revisionId: '3', createdAt: '2025-10-01T10:00:00Z', author: { id: 'u1', name: 'Mae Jemison', avatar: 'https://upload.wikimedia.org/wikipedia/commons/thumb/5/55/Mae_Carol_Jemison.jpg/500px-Mae_Carol_Jemison.jpg', }, ... - Then configure the current author in the
editor initwithrevisionhistory_author, which can point to any author object already present in your user list. - Finally, add
revisionhistory_display_author: trueto youreditor initso that you’ll see the authors available when you’re viewing revisions.
After these changes, your editor init should look like this:
:init="{
      plugins:
        'revisionhistory mentions tinycomments suggestededits codesample tinymcespellchecker a11ychecker exportword math advtemplate advlist anchor autolink charmap code fullscreen help image insertdatetime link lists media preview searchreplace table visualblocks wordcount',
      toolbar:
        'revisionhistory addcomment showcomments suggestededits codesample spellcheckdialog a11ycheck math exportword | inserttemplate addtemplate | undo redo | styles | bold italic underline strikethrough | alignleft aligncenter alignright alignjustify | bullist numlist outdent indent | link image',
      height: 500,
      advtemplate_templates,
      spellchecker_language: 'en-US',
      tinycomments_mode: 'embedded',
      tinycomments_author: 'Artemis',
      mentions_fetch: mentions_fetch,
      revisionhistory_fetch: revisionhistory_fetch,
      revisionhistory_author: {
        id: 'u1',
        name: 'Mae Jemison',
      },
      revisionhistory_display_author: true,
}"And Revision History has authors!
You can do even more with Revision History, like changing the revision loading to lazy loading or customizing the Revision History CSS to match your brand colors. Check out the Revision History documentation for more details.
What’s next? Create the LMS you need
You’re building an intuitive, powerful LMS ready for production, but you can’t get buried in complexity just to ship.
Features like tracking changes, merge tags, templates, and version history aren’t optional, but they shouldn’t slow you down either. With TinyMCE in your LMS, you get a feature-rich, drop-in rich text editor that covers your core requirements out of the box and then some. It’s built to handle the hard parts so you can focus on delivering a better learning experience for your users.
Have questions about integrating TinyMCE into your LMS? Reach out to TinyMCE and someone from the team will walk you through it.


