When your customers are writing their content, and working together on a document, it can be frustrating if the document somehow just vanishes. While save, auto-save, and other backup options are available, access to smaller, incremental document versions – and the option to restore the document version history – is sometimes preferred. But, that can involve a significant amount of overhead to set up. Don’t worry… there’s out-of-the-box options available!
Revision History is a plugin provided by TinyMCE, the world’s most trusted rich text editor. When you configure Revision History, you activate TinyMCE’s capability to view and restore document version history. And the following how-to guide walks through the steps to get the plugin configured and set up for your customer’s documents.
Document version history in TinyMCE
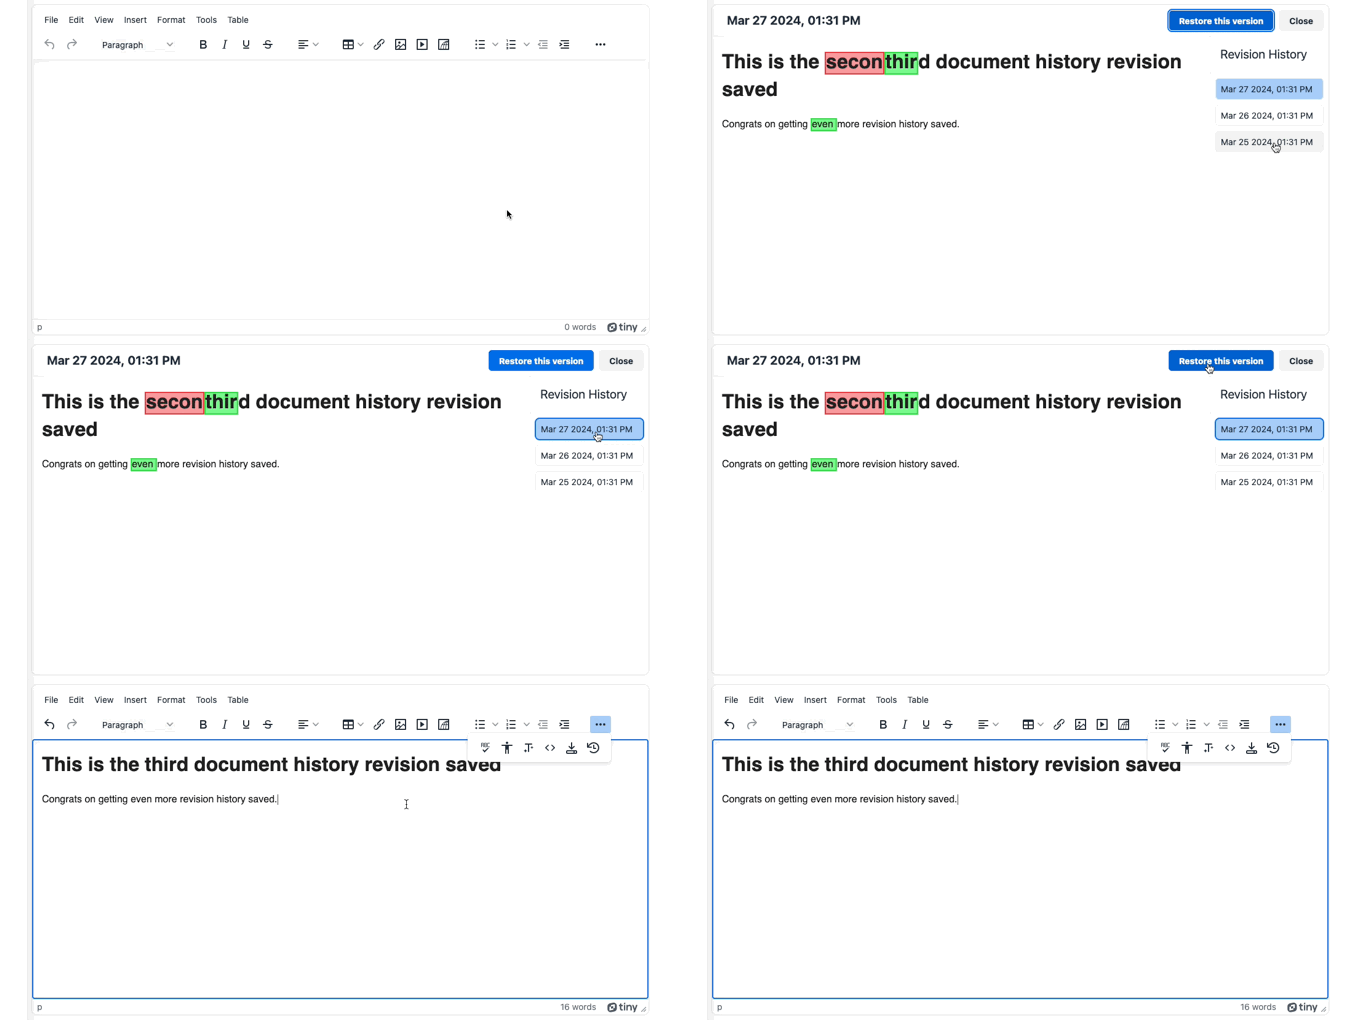
Save capabilities are available as part of TinyMCE’s existing set of features, including Save and Autosave. The Advanced features of the Revision History plugin include the ability to view and interact with each iteration of a document. Your customers can look back through all the changes made, when the document is built within TinyMCE. The interface provides clear separation of previous adjustments, edits, and improvements compared to the current document with contrasting text highlights.
Text highlighting is designed with accessibility first and foremost, so customers with diverse abilities can observe, and make a decision based on the text color highlights when they look at document history.
How to look at document history
When the Revision History Advanced plugin is configured, you can look at the revision history of a document by checking under the TinyMCE View menu option, or by using the dedicated Revision History plugin toolbar button. A sidebar containing all the document revisions gives customers the option to check back through the history of changes to the document.
How to restore version history with TinyMCE
Revision History is an Advanced feature, so you’ll need a TinyMCE API key with a Commercial License to activate and provide the document version history capabilities to your customers.
Your API key is available on the TinyMCE dashboard, which you can access with your Google or GitHub credentials. The API key comes with a 14-day FREE trial, so you can explore all the Advanced features TinyMCE has available.
Try TinyMCE 7 today as open source, or get our new Advanced plugins with a commercial licence
There are some other prerequisites:
- Knowledge of JavaScript, including sending a GET request, and Promises in JavaScript
- Text editing software, such as Visual Studio Code, Zed, or Sublime Text
- Command line access in your development environment
- SQLite installed in your development environment
Try TinyMCE 7 today as open source, or get our new Advanced plugins with a commercial licence
1. Configure TinyMCE for Document History
To get started, create a new index.html file in your environment, and copy the following HTML into it. This creates a TinyMCE demo to build from:
<!DOCTYPE html>
<html lang="en">
<head>
    <meta charset="UTF-8">
    <meta name="viewport" content="width=device-width, initial-scale=1.0">
    <title>Revison History</title>
    <script src="https://cdn.tiny.cloud/1/ADD-YOUR-API-KEY-HERE/tinymce/7/tinymce.min.js" ></script>
    <script>
    tinymce.init({
        selector: "#editor",
        plugins:
          "a11ychecker advcode advlist advtable anchor autocorrect autosave editimage image link linkchecker lists media mediaembed pageembed powerpaste save searchreplace table tinymcespellchecker typography visualblocks wordcount",
        toolbar:
          "undo redo | styles | bold italic underline strikethrough | align | table link image media pageembed | bullist numlist outdent indent | spellcheckdialog a11ycheck typography code save",
        height: 540,
        a11ychecker_level: "aaa",
        typography_langs: ["en-US"],
        typography_default_lang: "en-US",
        advcode_inline: true,
        content_style: `
              body {
                font-family: 'Roboto', sans-serif;
                color: #222;
              }
              img {
                height: auto;
                margin: auto;
                padding: 10px;
                display: block;
              }
              img.medium {
                max-width: 25%;
              }
              a {
                color: #116B59;
              }
              .related-content {
                padding: 0 10px;
                margin: 0 0 15px 15px;
                background: #eee;
                width: 200px;
                float: right;
              }
            `,
      });
    </script>
</head>
<body>
    <textarea id="editor"></textarea>
</body>
</html>2. Adding the Revision History Advanced plugin
Add Revision History to the demo by including it within the list of plugins, and the toolbar, and including the revisionhistory_fetch option to the TinyMCE init script:
    tinymce.init({
        selector: "#editor",
        plugins:
          "a11ychecker advcode advlist advtable anchor autocorrect autosave editimage image link linkchecker lists media mediaembed pageembed powerpaste revisionhistory save searchreplace table tinymcespellchecker typography visualblocks wordcount",
        toolbar:
          "undo redo | styles | bold italic underline strikethrough | align | table link image media pageembed | bullist numlist outdent indent | spellcheckdialog a11ycheck typography code save revisionhistory",
        height: 540,
        a11ychecker_level: "aaa",
        typography_langs: ["en-US"],
        typography_default_lang: "en-US",
        advcode_inline: true,
        revisionhistory_fetch: get_revisions,
        content_style: `
✏️NOTE: The revisionhistory_fetch() option currently has a value added to it called get_revisions. The next steps show how this value is assigned document version history in an array format, that the Revision History plugin needs in order to work.
3. Setting up document version history storage
Revision History requires a set of version history changes in an array format that includes:
- revisionId: A unique id value as a text string
- createdAt: A date timestamp in ISO-8061 format as a text string
- content: The document version also as a text string
✏️NOTE: You can get the current date and time, and create an ISO-8061 formatted timestamp by using the toISOstring() method, running new Date().toISOString(); in a script, for example.
The demo delivers document version history to the plugin by storing the required array information in an SQLite database, and using a GET request within a promise to retrieve the array from the database.
-
Add the following promise above the TinyMCE init script, inside the HTML script tags in the demo file:
const get_revisions = () =>
  new Promise((resolve, reject) => {
    let data = new XMLHttpRequest();
    data.open("GET", "php/connect.php");
    data.setRequestHeader("Content-Type", "application/json");
    data.onload = function () {
      if (data.status == 200) {
        let revisonData = JSON.parse(data.responseText);
        resolve(
          revisonData
            .sort((a, b) =>
              new Date(a.createdAt) < new Date(b.createdAt) ? -1 : 1
            )
            .reverse()
        );
      } else {
        reject("Array not available");
      }
    };
    data.send();
  });
-
In the same directory as your demo file, create a new directory named php/, and then change into the php/ directory, and create a new file called connect.php:
mkdir php
cd php/

touch connect.php-
Open the connect.php file in your text editor, and include the following script to access the database file, and retrieve document version history.
<?php

$connect=new SQLite3('tinymceDocumentHistory.db') or die("Could not connect to database, and save TinyMCE content");
$db="CREATE TABLE IF NOT EXISTS `DocumentHistory`(revisionId INTEGER PRIMARY KEY AUTOINCREMENT NOT NULL, createdAt TEXT, content TEXT)";

$connect->exec($db);

$select = "SELECT CAST(revisionId as TEXT) AS revisionId, createdAt as createdAt, content as content FROM DocumentHistory";
$result = $connect->query($select);

$rows = [];

if ($result === false) {
    echo "Error: " . $connect->lastErrorMsg();
    exit;
} else {
    while ($row = $result->fetchArray(SQLITE3_ASSOC)) {
      $rows[] = $row;
  }
    $response = array_values($rows);
    header('Content-Type: application/json');
    echo json_encode($response, JSON_UNESCAPED_SLASHES);
}Save the changes made to the new PHP file.
4. Testing document version history in TinyMCE
The JavaScript promise and PHP scripts are now in place, so to get the database built, use a localhost provided by PHP or similar front-end testing toolchain to open the index.html file, and try accessing the Revision History plugin:

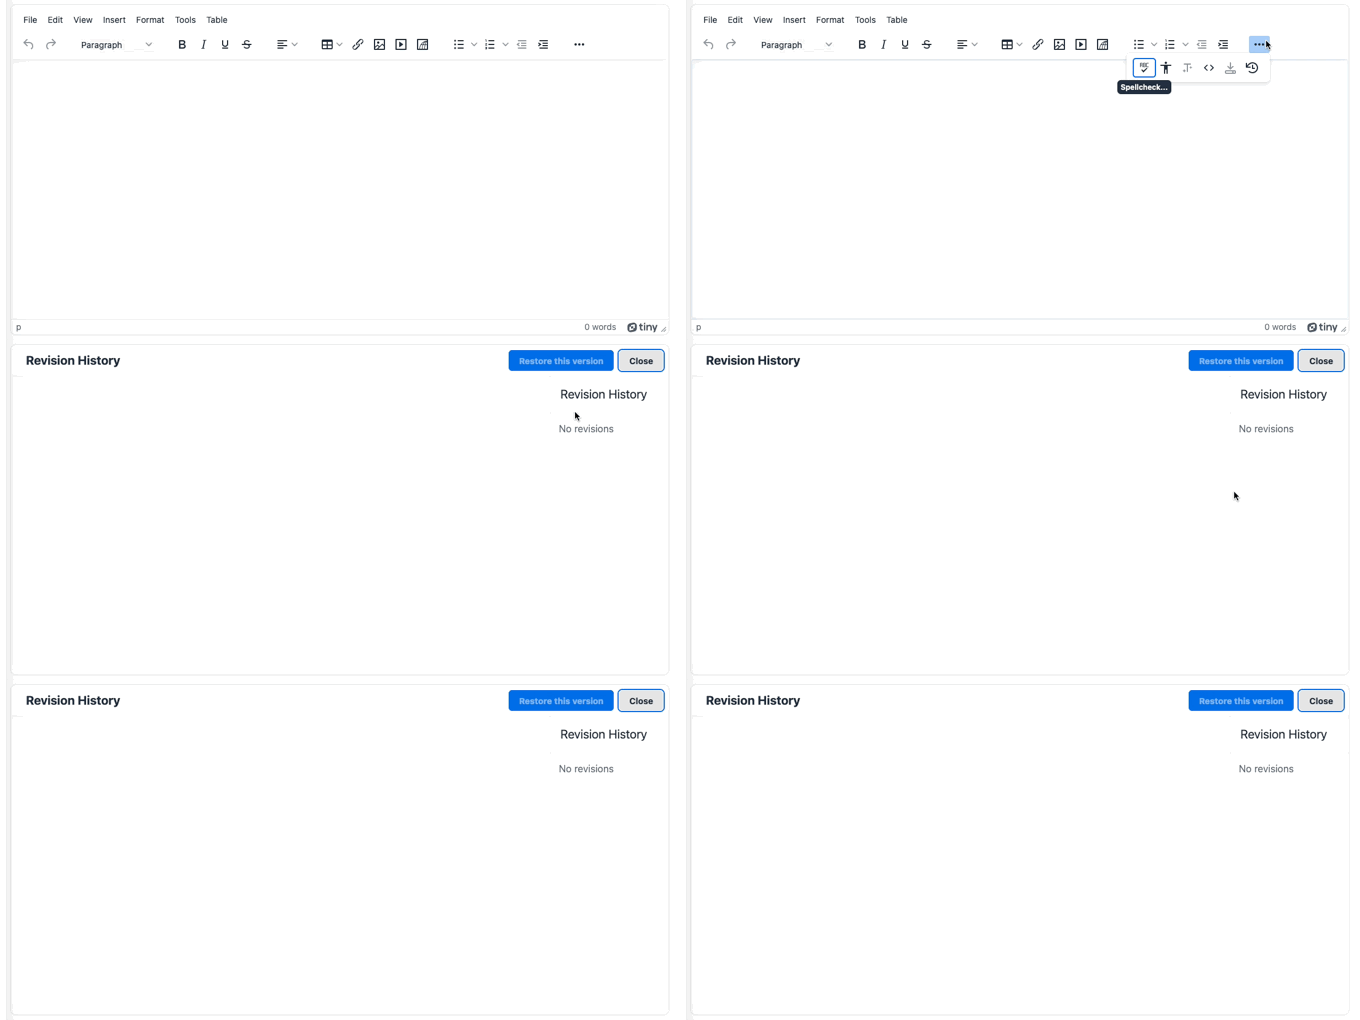
Without any document version history saved, no content appears, however you can access the newly created SQlite database file (created by the PHP script), and add some document version history.
✏️NOTE: In production, document version history capabilities would reside alongside an end-to-end Document Management System (DMS) solution, where your customers document builds are saved regularly with automation, or with a manual click of a save button. You can find out more about getting the editor content and saving it (beyond this guide’s scope) in the how-to guide on getting TinyMCE editor content.
-
Change back into the php/ directory, and access the database file:
sqlite3 tinymceDocumentHistory.db -
Check that the documentHistory database table created by the PHP script exists:
.tables -
Add the following document version history by running the following commands. Copy each one on its own, and then press the enter key after pasting each of these INSERT commands to write the values to the database:
INSERT INTO DocumentHistory (createdAt, content) VALUES ("2024-03-25T03:31:08.923Z", "<h1>This is the first document history revision saved</h1><p>Congrats on getting revision history saved.</p>");

INSERT INTO DocumentHistory (createdAt, content) VALUES ("2024-03-26T03:31:08.923Z", "<h1>This is the second document history revision saved</h1><p>Congrats on getting more revision history saved.</p>");

INSERT INTO DocumentHistory (createdAt, content) VALUES ("2024-03-27T03:31:08.923Z", "<h1>This is the third document history revision saved</h1><p>Congrats on getting even more revision history saved.</p>");-
Confirm the history has been created:
select * from DocumentHistoryThis returns the following if the the SQLite commands worked:
1|2024-03-25T03:31:08.923Z|<h1>This is the first document history revision saved</h1><p>Congrats on getting revision history saved.</p>
2|2024-03-26T03:31:08.923Z|<h1>This is the second document history revision saved</h1><p>Congrats on getting more revision history saved.</p>
3|2024-03-27T03:31:08.923Z|<h1>This is the third document history revision saved</h1><p>Congrats on getting even more revision history saved.</p>-
Exit the database with the .exit command
You can now refresh the demo in your browser, and use the Revision History option again:

More useful document capabilities with TinyMCE
For a complete guide on creating a DMS with TinyMCE, check out the tutorial explaining how to create a DMS to rival MSWord and Google Docs. And to see how TinyMCE works with data storage, you can check out the how-to guide on setting up and using the TinyMCE Advanced Templates plugin, or the guide on connecting TinyMCE content to a database.
Contact us for more information on viewing or restoring document version history in TinyMCE.
